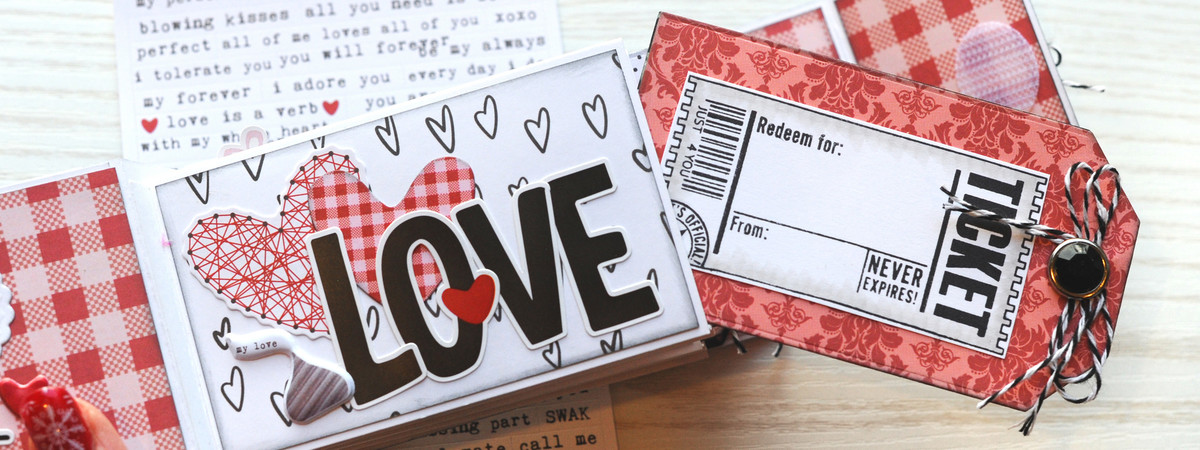
Create a customized Valentine's Day Coupon Book for that special someone this Valentine's Day!
This booklet features sleeves with tags that slide in and out. Place a stamped or handwritten coupon on each tag for your loved one to redeem for gifts, adventures, or whatever else you want. Keep reading to find out how to create this fun gift!
First, stamp several coupons on Neenah Solar White cardstock. Feel free to use one or a variety of ink colors for your coupons. Get your little tickets or coupons ready and set aside.

Use a manual die cutting machine, and the Scrapbook.com Jumbo Nested Tags Die Set to create 5 tag fronts and 5 tag backs from decorative, patterned paper.

Add a decorative brad or chipboard shape to the top of each tag, and then adhere the front and back of the tags together. Set aside. We will add the stamped coupons to the tags later, but first, let's create a booklet to hold all of the tags!

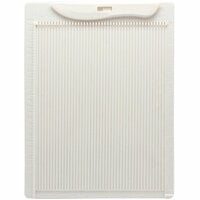
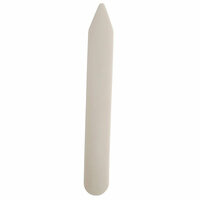
To create the front cover of the booklet, cut out an 11" x 2.75" block of Neenah Solar White Cardstock. Measure and score the cardstock at 5". From the 5" mark, measure out an additional 1" (for the spine) and score again. This will leave 5" for the back of the booklet, as shown in the photo below. A mini scoreboard is a great small tool for this project.

Next, we're going to create the back cover of the booklet. Start by cutting out a 7.75" x 2.75" block of cardstock. Measure and score the cardstock at 5". From the 5" mark, measure out an additional 1" (for the spine) and score again. This will leave 1.75" for a flap to close the book.

Adhere the back cover to the front cover by placing adhesive on the 5" section of the back cover and adhering it to the back of the front cover, as shown in the photo below. Set aside.

Let's create the sleeves to hold our tags! Cut out five 5.5" x 4" blocks from white cardstock. Measure and score each block at 2.5". Measure 2.5" from the first score and score again, leaving a 0.5" flap. Cut the ends of the flap at an angle to create a tab.
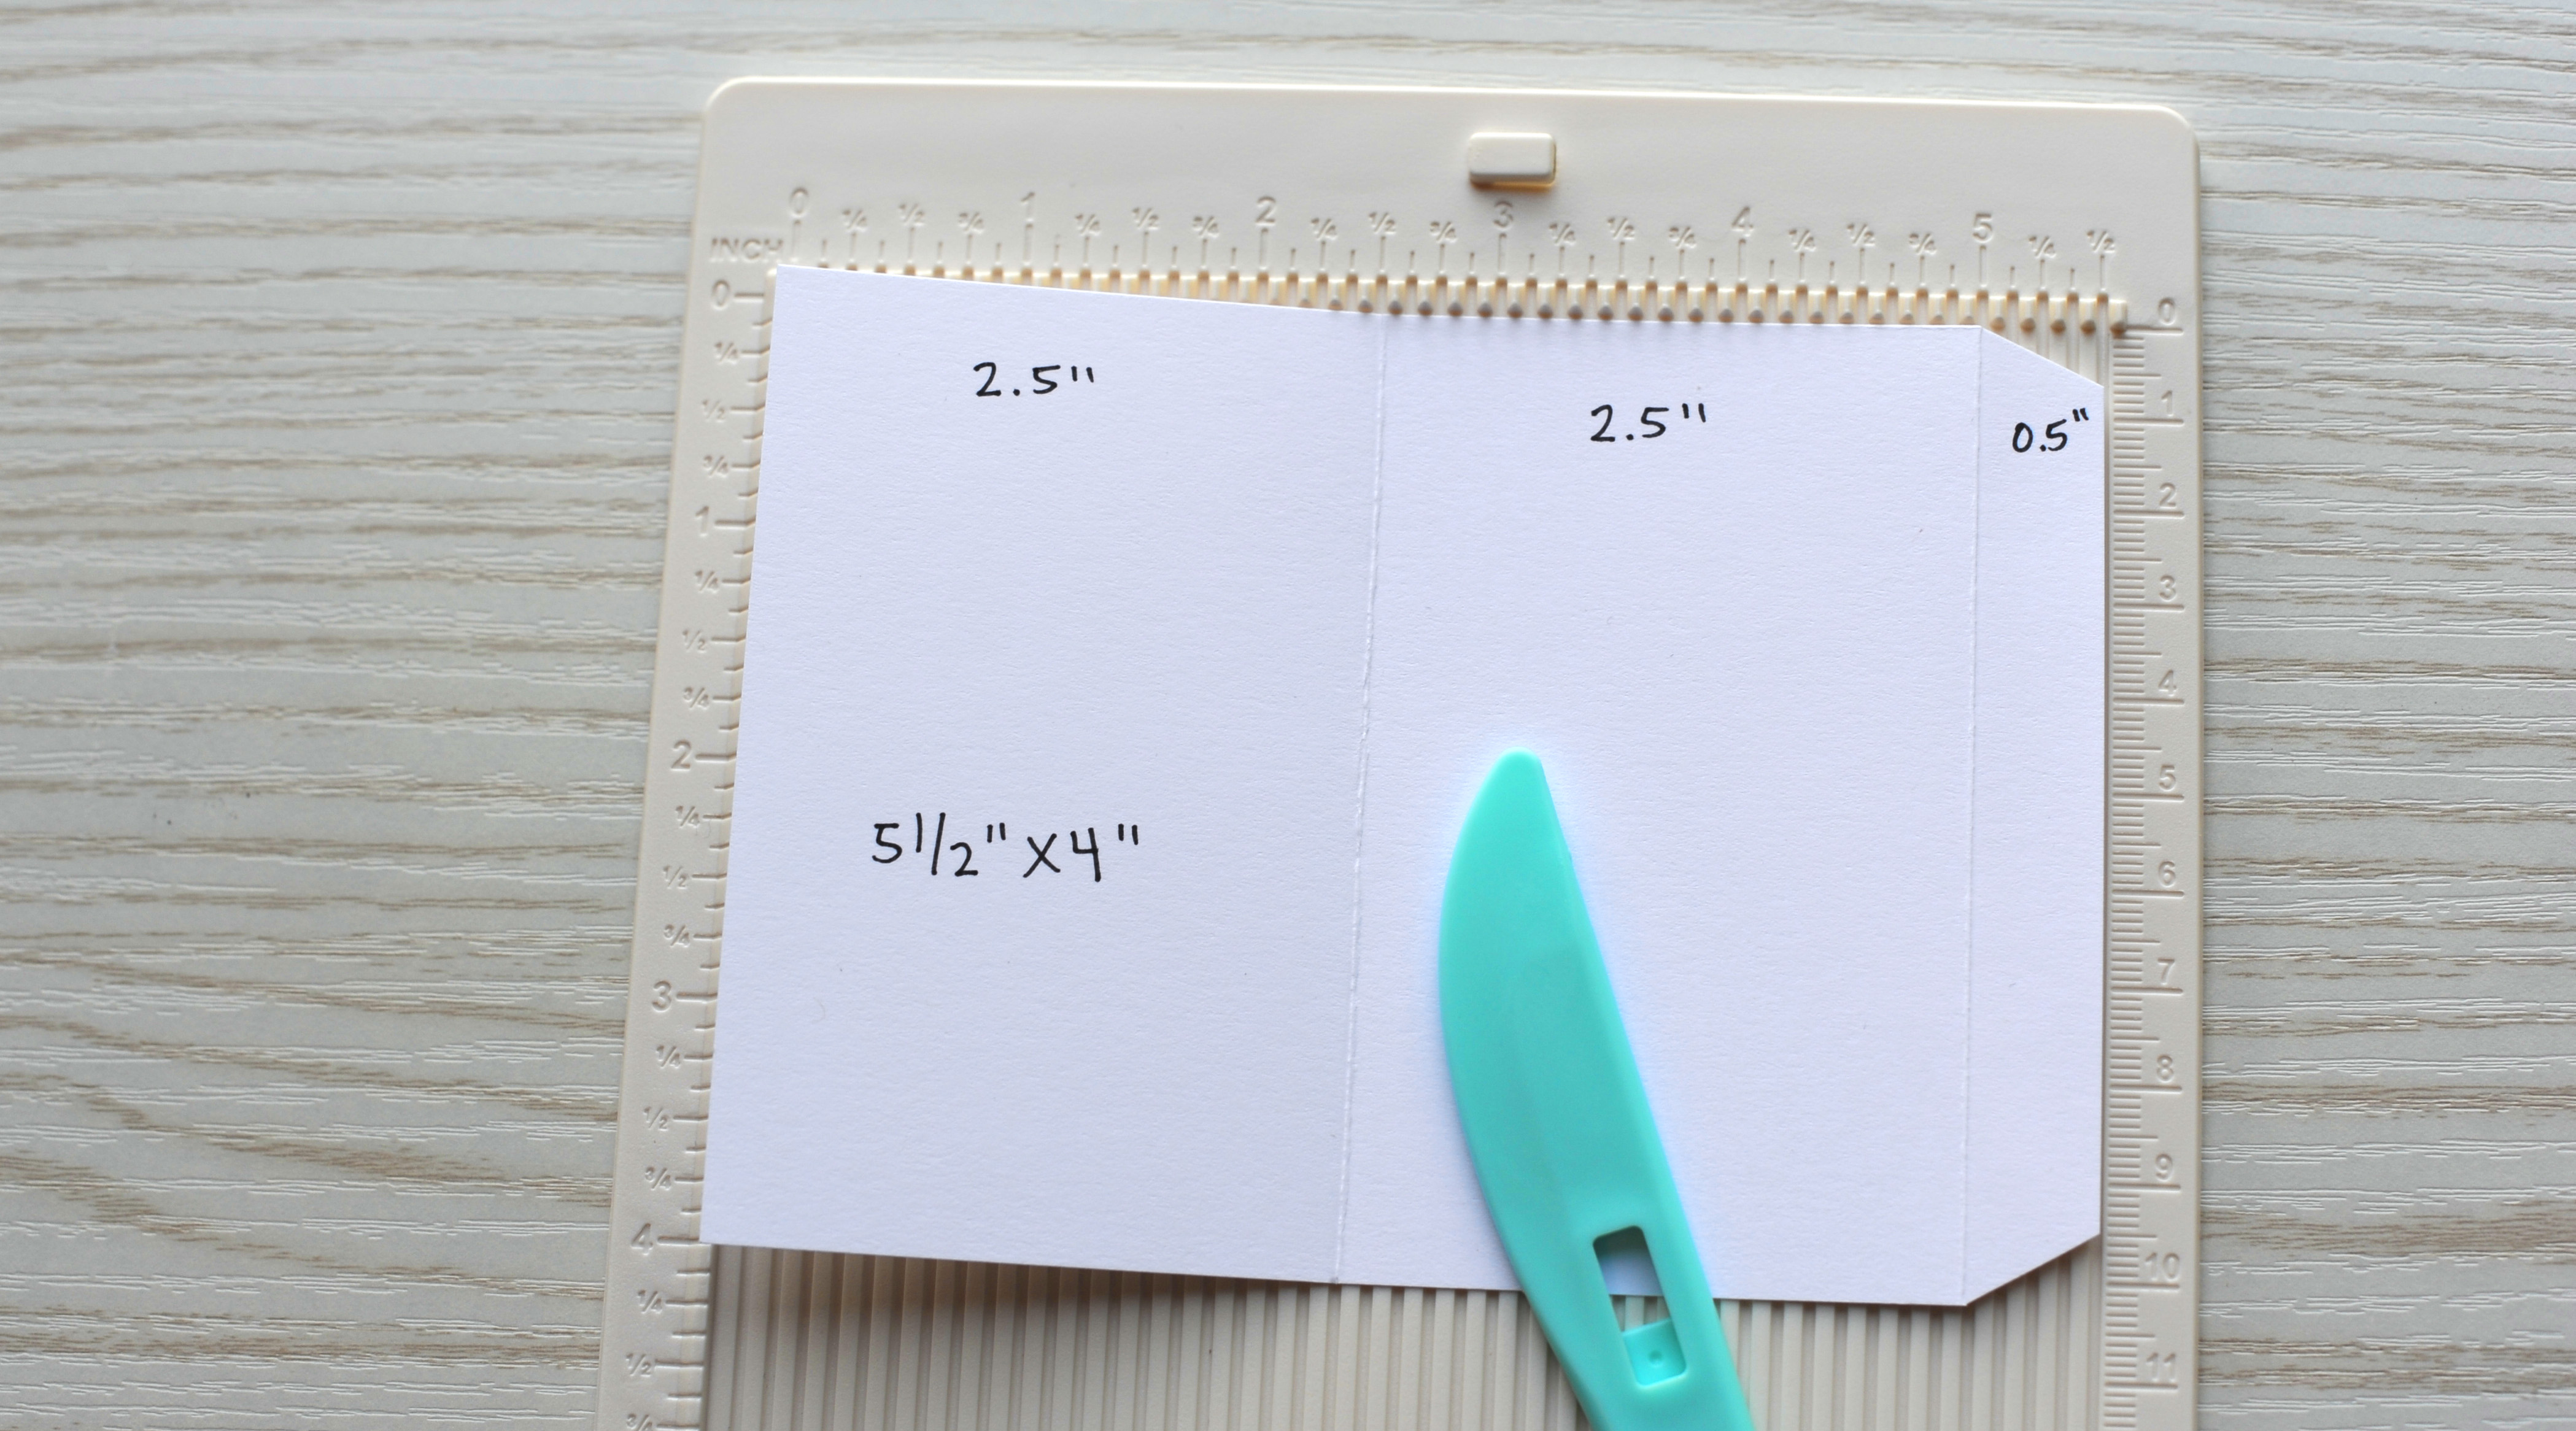
Add some adhesive to the back of the 0.5" tab section and fold it inwards. Then fold the first 2.5" section over at the score line and adhere it to the folded over 0.5" section. Once complete, you will have created a sleeve or flat "tube." Repeat for all five pages, and then set the sleeves aside.

Next, we are going to create an accordion folded spine for the page sleeves. Cut out a 6" x 2 3/8" strip of white cardstock.
Measure and score the strip as follows (this may look tricky but it's easier than it looks!):
1/4", 3/4", 1 1/4", 1 3/8", 1 7/8", 2 3/8", 2 1/2", 3", 3 1/2", 3 5/8", 4 1/8", 4 5/8", 4 3/4", 5 1/4",
5 3/4"
When you're done, there will be 10 1/2" sections, 4 1/8" sections, and the ends will each have 1/4" sections.

Fold each of the 1/2" sections accordion-style, using some adhesive to adjoin the 1/2" sections together to create peaks for the sleeves to be adhered to. (See the photo below to see what this piece will look like once it is folded and assembled.)
The 1/8" gap in between each of the sections will allow the sleeve pages to turn and also allow for dimensional embellishments on each of the pages. The 1/4" sections on the ends are for adhering to the spine of the book.

Next, adhere each of the sleeve pockets to the peaks using wet adhesive.

After adhering all of the sleeves, use some adhesive and attach the accordion spine to the 1" spine section of the cover, as shown.

NOTE: Only one sleeve is attached in the above image to show how the spine should be properly adhered to.
You have completed your unfinished coupon book. You're now ready to decorate!
First, add panels of patterned paper to the cover and to both sides of each of the pages.

Now for the fun part! Embellishing! Add the stamped coupons to each of the tags (made earlier) and insert into the sleeves. Decorate each of the sleeve pages with stickers, die cuts, puffy stickers, chipboard, etc. Here is a look at how I decorated the pages.


Don't forget to decorate the inside cover! This would be a great place to write a note to the recipient.

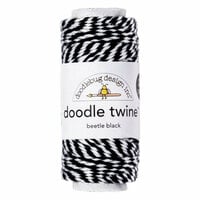
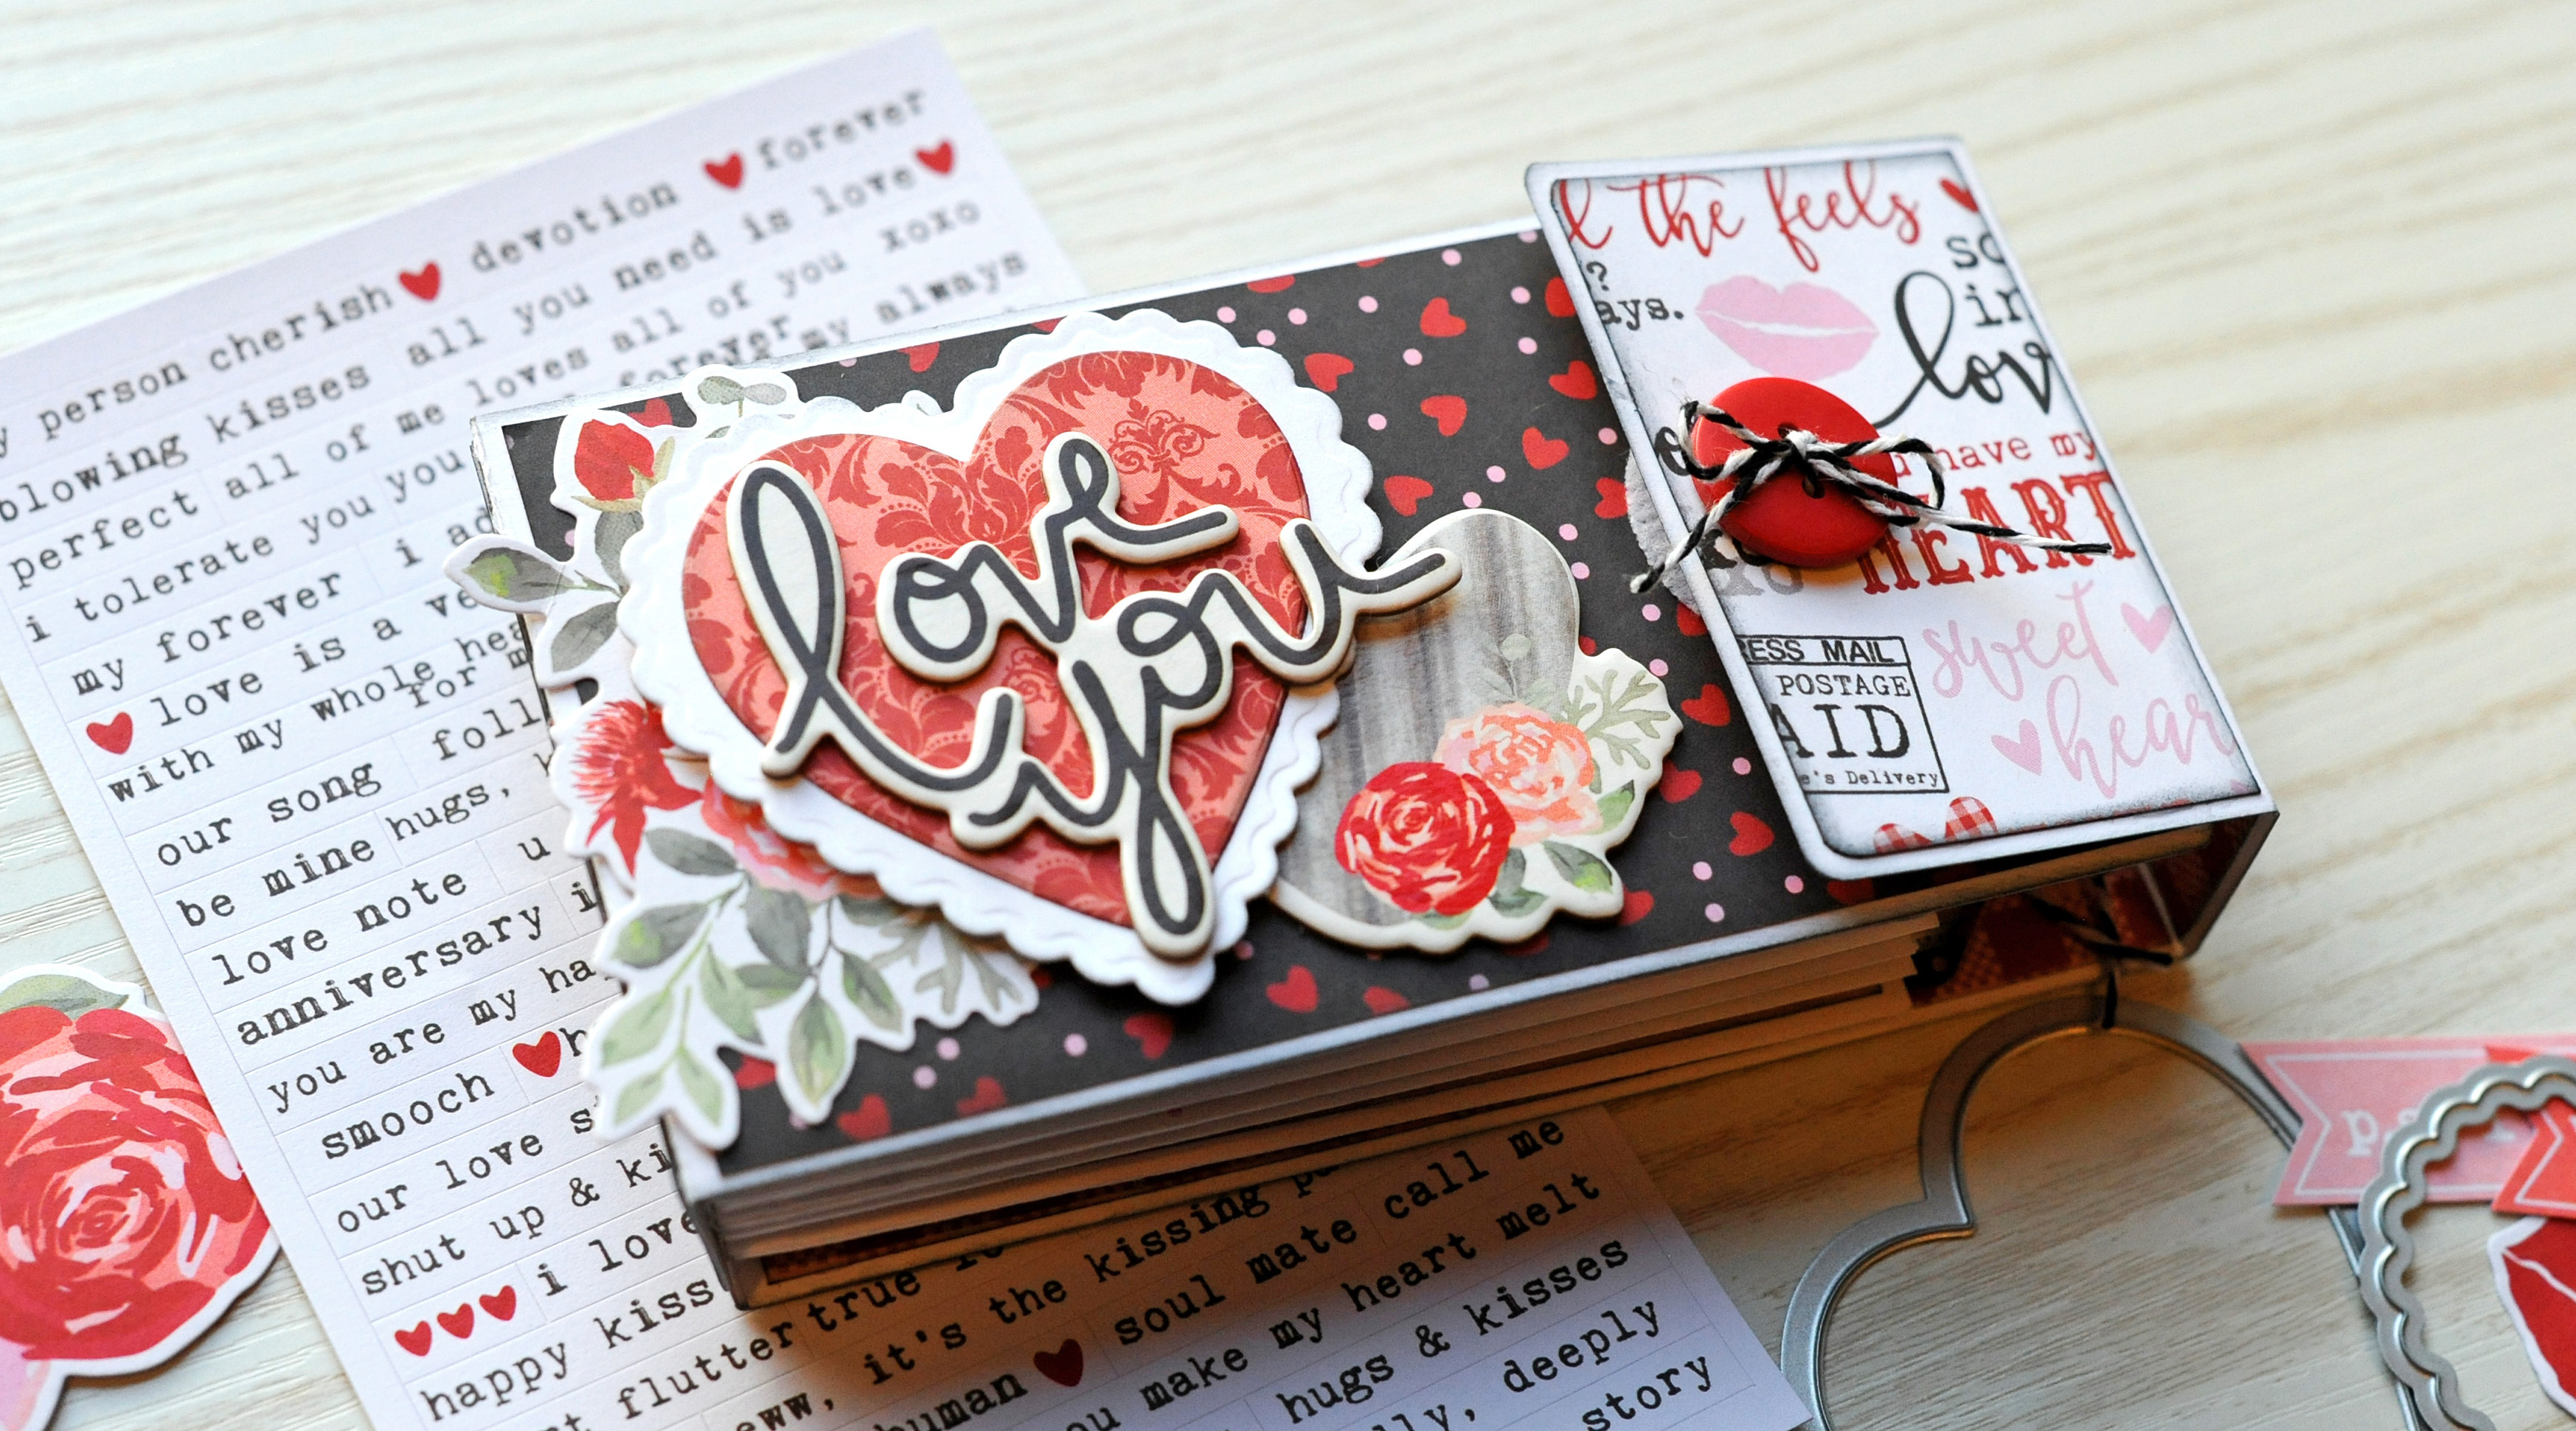
Decorate the front of the book, too! Try adding a button tied with twine to the front flap for a really cute look!
Then, add an adhesive hook and loop closure to the flap and front cover to keep the booklet closed.

All that is left to do is to write out your coupons and present your gift to your sweetheart! Enjoy!


Make sure to show Jana Eubank some love on her variety of channels! Follow her at janaeubank.wordpress.com or on her Social Media channels. You can find her Instagram Profile here and her Facebook Page here! See all of her beautiful projects in her online gallery.