This tip called "Exercises in Handwriting" was submitted by Scrapbook.com member Darl_jo and the story is attributed to Gwyn Calvetti.
A Story About Handwriting
"I once met a woman who told me that her most prized possession was a grocery list on a scrap of paper she'd found between the pages of one of her mother's cookbooks. Why? Her mother had been a perfectionist who was unhappy with her penmanship, typing everything. After her death, the discovery of this scrap of handwritten paper, in her mother's sloppy scrawl, gave this woman a tangible link to her that she could keep always. It was the only thing she had with her mother's handwriting on it."
That story is why our personal handwriting is such an important element in our scrapbooks. It creates a tangible link for our descendants who read our scrawls and chicken scratchings on our pages. If you've been reluctant to do so, read on for some ideas and tips to change your mind.
Handwriting vs. Hand Lettering
Many of us have done hand-lettering on our projects at some time. Think of hand-lettering as the pretty handwritten fonts in the Becky Higgins alphabet book, or the pretty handwritten script we often see used by many designers. We mimic some of the basic strokes from the writer's own hand and recreate it on our own. This type of hand-lettering is not the same as the handwriting used when we write out our grocery or to-do lists.
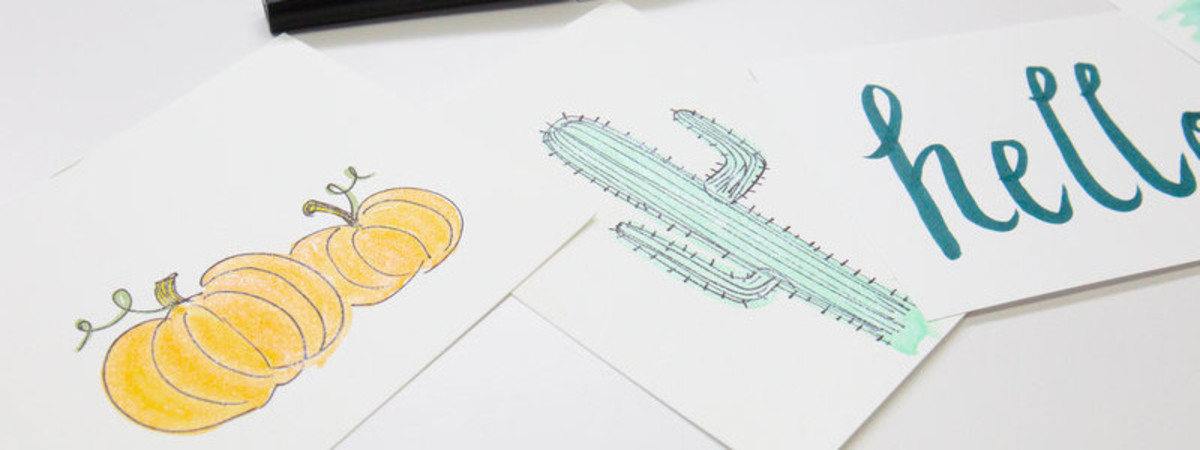
When I do my layouts, my journaling is most often done in my own handwriting, either print or script. My titles may be done with hand lettering, in which I look at an exemplar alphabet and then copy the basic shapes and strokes. As you can see, there is a place for both types of penmanship in our designs.
Using the Right Tools
To be sure you put your best hand forward, have the right tools for the job. The absolute basics are:
- number 2 pencil
- straightedge or ruler
- ink pen of your choice
- good eraser; I prefer the white artgum erasers
- You'll also want a good working space. I like working on a flat tabletop, seated in a chair, with space to spread out.
Plan Ahead and Start Slow
Maybe you're like me, and the style of cursive you learned was Palmer Script, or you're one of the new generation of D'Nealians. Either way, when we first learned to write in cursive, we warmed up and worked slowly. Both of these rules can help you improve the look of your handwritten journaling, long after you've graduated from third grade penmanship.
Remember the warm-ups? "Round and round and round she goes," where you made a smooth continuous loop of ovals? Taking a moment to do this on a scrap of paper can loosen up your pencil grip and help the script flow smoothly.
Remember how you were always told to plan ahead? This is probably the single most important step you can take to improve the look of your handwritten journaling. Think of what you want to write before you start, and leave enough space to include it all. I am far too guilty of leaving too little space, having those last few letters or lines squished into a corner of my text block. If I'd only take my own advice!
Write it out in pencil first. Use your ruler to make "lined" paper on your layout. Write out your text lightly in pencil. You can adjust your journaling as needed easily at this point.
Take Your Time
Take your time. Most of us are able to have neat handwriting if we slow down and pay attention to our spacing and letter heights. If you struggle to maintain consistent spacing between your words, use an item to create your space; it could be something as simple as a chopstick.
Retrace With a Pen
Once you're satisfied with the appearance of your journaling, go over it with your pen. Even though you've done the preparation, you still want to take your time with this step. It's so easy to want to finish and move on at this point, but don't give in to that temptation. Rushing will tighten your pencil grip and result in mistakes.
Give your ink a little time to dry, then use that white eraser to remove the guidelines and stray pencil marks. Take pride in the fact that you've left a little piece of yourself for your grandchildren to enjoy.
Want to Learn More?
Watch this video for some insider tips on how to go about your handwriting!