Life is full of occasions that are a cause for celebration - and card makers embrace each of these moments with open arms and stocked craft studios. With the albeit joyous responsibility of being the "Family Card Maker" also comes the task of hatching new creative ideas and designs spontaneously.
Our friend, card making buff Koren Wiskman, created the designs below to give you new, beautiful card making ideas that are not only unique, but also easy to make at a moment's notice.
We've done all of the note-taking for you below. Simply read through the step-by-step process and watch our video to show you exactly how to replicate each step!
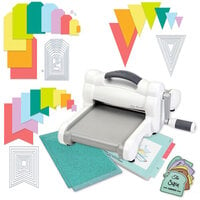
Koren utilized a drool-worthy arsenal of Scrapbook.com craft supplies to make these cards. See the entire project list below!
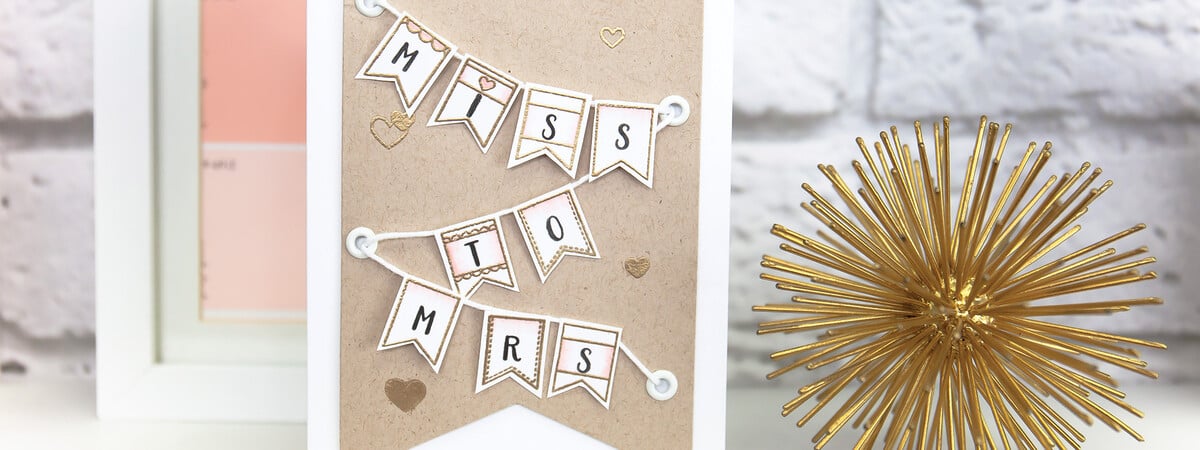
1. Bridal Shower Card for the Bride
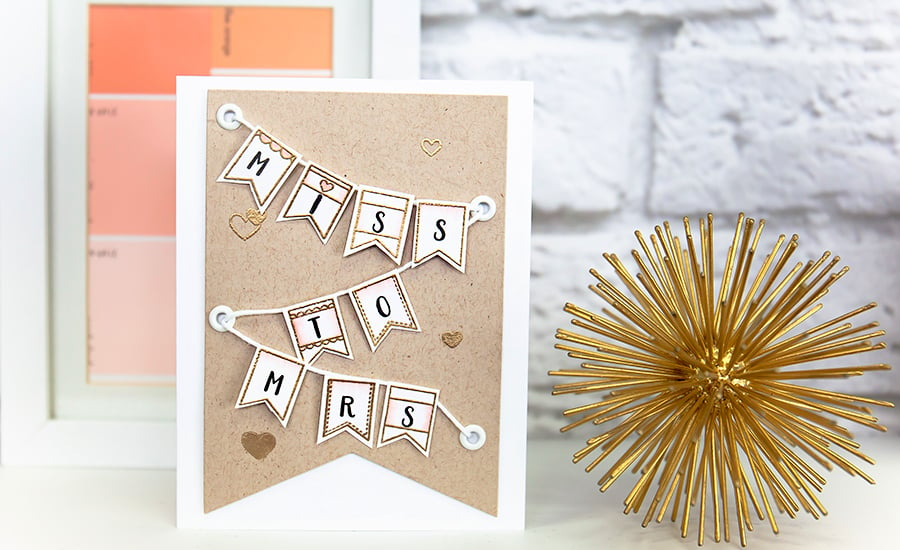
Celebrating the bride-to-be can be one of the most memorable parts of the engagement for the "Miss-to-Mrs." This unique bridal shower card looks complex, but is very easy to make!
How to Create this Miss-to-Mrs. Card
- Grab a card base and cut a banner with the Nested Banner Dies
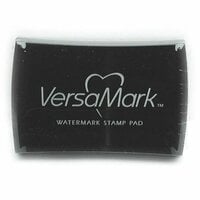
- Stamp hearts onto your banner with embossing ink
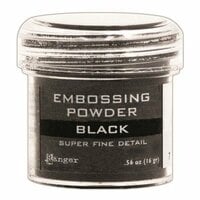
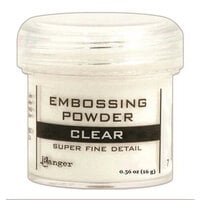
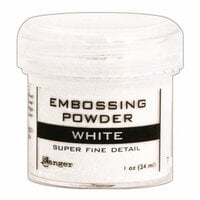
- Cover the hearts in gold embossing powder and heat set
- Across from your embossed stamped hearts, use an eyelet punch to add white eyelets
- By hand, "sew" white twine through the eyelets to create the banner
- Stamp your banners or pennants using the Build A Bunting* stamp set and cut them out
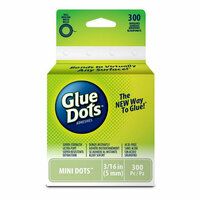
- Use mini glue dots to adhere the banners to your twine
- Place everything onto your card base!
The Build A Bunting stamp set has a wide variety of pennants, dove tail banners, scallops, and more with patterns perfect for every season and holiday!

2. Quick and Easy Handmade Birthday Card
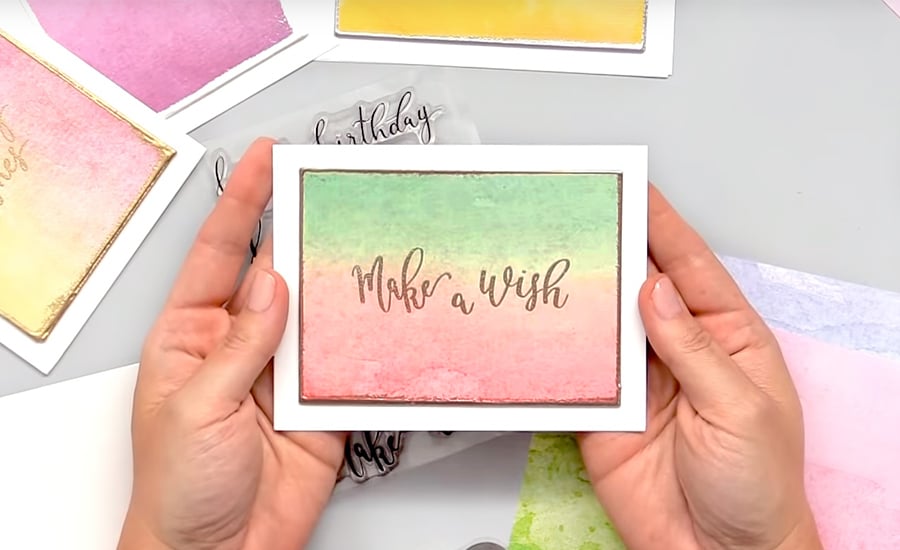
A simple piece of patterned paper, embossing powder, and the Birthday Wishes* stamp set are all you need to create this birthday card that reminds your friend to celebrate their special day and looks high-end! Mix and match colors and sentiments to create cards with subtly exquisite detail for every occasion.
* Please note this item has been discontinued.
How to Create this Quick and Easy Handmade Birthday Card
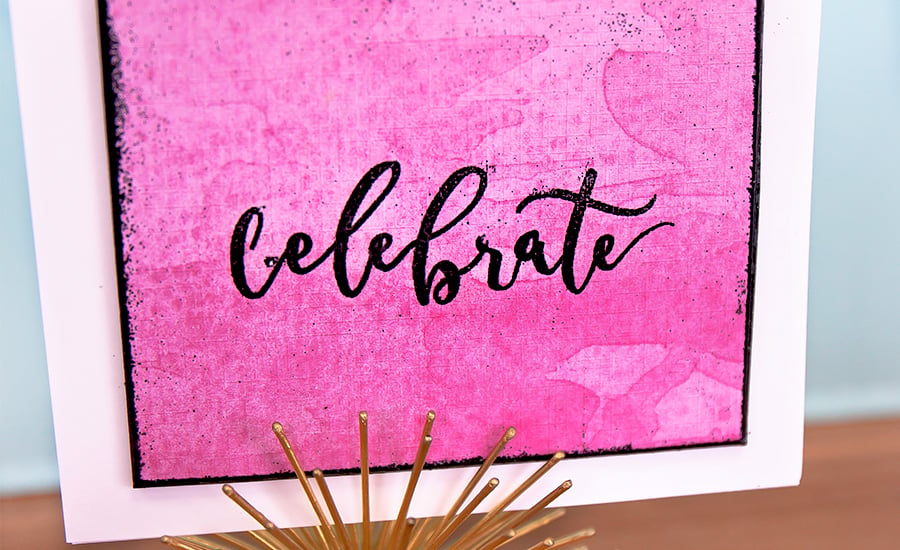
- Choose a sentiment such as "Make a Wish" or "Celebrate"
- Choose your patterned paper of choice and cut to 3.5" x 4.75" with a paper trimmer
- Adhere your patterned paper to chipboard of the same measurements with double sided adhesive
- Place your sentiment on an acrylic block and ink it up with embossing ink
- Cover the impression with embossing powder
- Shake off excess powder and set with heat tool
- Repeat the inking and embossing process with the edges to create a beautiful border
- Adhere to card front
The Birthday Wishes stamp set makes it easy to create unique birthday cards that each relay sincere messages.
3. Funny Homemade Birthday Card

If you and your friends are of the "sassy variety," this card is sure to put a smile (or maybe a smirk!) on your BFF's face! With snarky sentiments like "girl. you old." and "vintage is in" to the perfect stamps to embarrass your children (i.e.: lit.), this set will remind your friends and family of your sense of humor and how much you love them.
How to Create this Funny Homemade Birthday Card
- Grab a card base
- Cut a piece of white Neenah White 80 lb cardstock to 3 and half by 4 and 3 quarters
- Use a stamping press to arrange all of the stamped words for your background and secure your paper with magnets
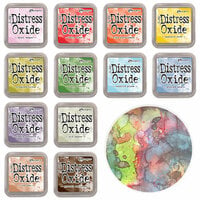
- Use handy daubers and Distress Oxides to create a rainbow gradient (we show you how in the video below).
- Use black cardstock and die cut an oval
- Stamp "Happy Birthday" with Embossing ink and heat emboss.
- Stamp "Girl. You old." with your favorite color of Distress Oxide.
- Put the oval onto your stamped word background with foam tape to add dimension and attach to your card base!

The Fun Birthday Sayings and Phrases stamp set is a must for any card maker who loves to make their friends laugh!
4. Handmade Congratulations Card
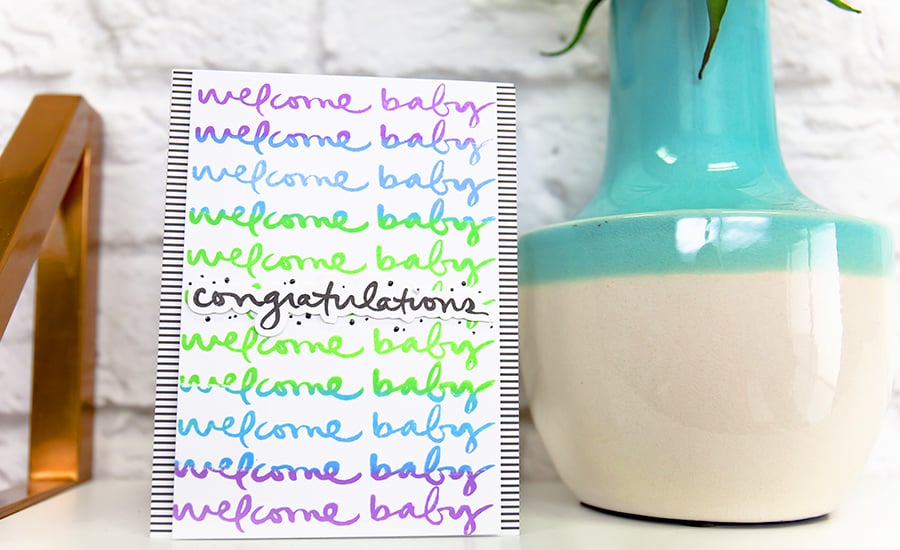
By switching up the background sentiment, you can easily create a "congratulations" card for any occasion with this simple, yet inspiring design. Whether you're welcoming a new baby into the world, giving an apology, or creating a birthday card, the Celebrate Expressions stamp set has all of your bases covered.
How to Make this Handmade Congratulations Card
- Choose which sentiments you'd like to use - one for the background, one for the foreground
- Grab a card base, Neenah white 80lb cardstock, and patterned paper
- Attach your patterned paper to your card front
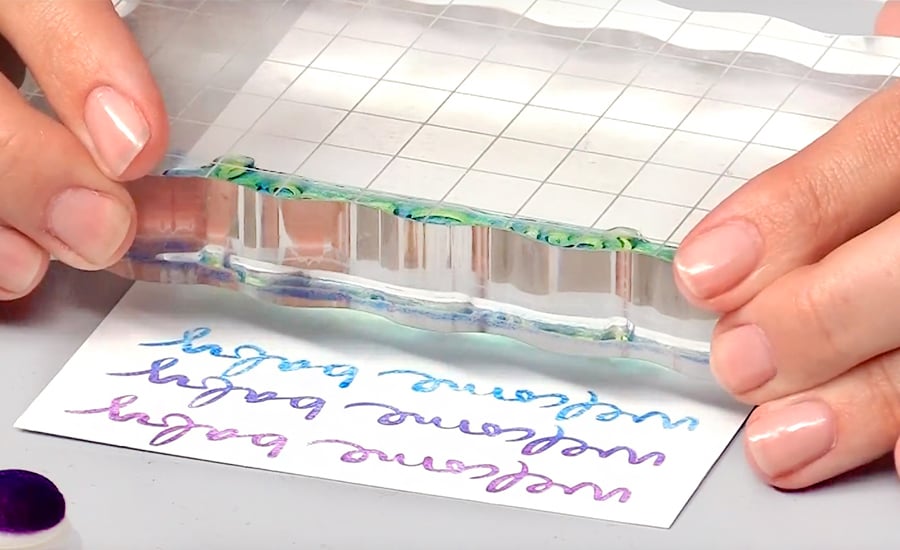
- Place your background sentiment onto your acrylic block and ink with your color of choice (if you'd like to recreate the gradient effect featured in the photo, watch our how-to video below)
- Stamp the background sentiment evenly down your paper
- On a separate piece of paper, use black ink to stamp your main sentiment
- Adhere to your background with foam tape for dimension
- Attach to your card front!
With the Celebrate Expressions stamp set, you'll have the sentiment you need for every occasion, in a beautiful script font.
5. Cutesy Handmade Birthday Card

Nothing says "happy" quite like rainbows! Grab up your sticker stash, your brightly colored papers, and the Sentiments for Every Occasion stamp set to create a colorfully fun card full of treasures! This card is perfect for the child in your life or that one friend who is a child at heart!
How to Make this Cutesy Birthday Card
- Die cut a star with a piece of colorful patterned paper (we recommend rainbows!)
- Use your stamping press and secure star with magnets
- Choose your sentiments and a few squiggly flourishes
- After placing your stamps, ink them with embossing ink
- Coat with embossing powder and shake off excess
- Set with heat tool and set aside
- Grab another piece of paper you love for the background and add texture with an embossing folder
- Adhere your stamped star to your textured paper with foam adhesive
- Attach both to your card base
- Embellish your star with stickers and trim any star "points" that overhang so your new cutesy card will fit in an envelope!
This set will give you every phrase you need in a variety of fonts. Mix and match them for endless uses! From Halloween to Easter and Graduation to Anniversaries and more, you'll have the exact word you want to say when you want to say it!
A big thanks to Koren Wiskman for creating and sharing fun card designs for your every day card making!