


Jill Davis, founder of Scrapbook.com, has expert experience in organizing a highly functional craft space. Read along as she and organizational guru Stacy Boatman give you the organizational tools you require to organize your way to your dream studio. Shop the Scrapbook.com store for all your craft storage, and organization needs and so much more!
Materials Needed for Organizing New Items and Keeping Your Space Maintained
- An In and Out System
- Quick Clean Up Container/Bowl
- Unfinished Layout Storage (optional)
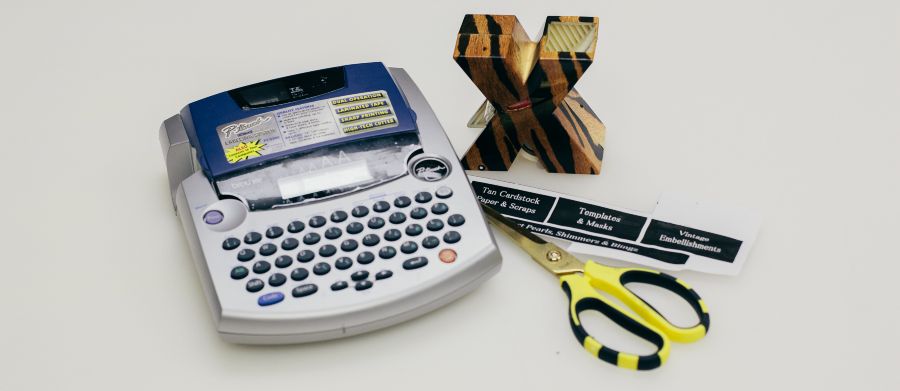
- Label Maker
The Challenge of Organizing New Items and Keeping Your Space Maintained
Space Maintenance
Let's say that your space is lovely, labeled, dusted, and clutter-free. How are you going to keep it that way? If a personal assistant or a maid is out of the question, then my first suggestion is to look around your home and your life one more time.
We are constantly bringing things into our homes from the outside world--mail, groceries, work projects, things from the kid’s school, to name a few. Scrapbook supplies are just another thing on this list. If your home looks like it should be on a hoarding-themed show, then this exercise may not work for you. However, if you DO have some areas of your home under control, stop and think about what the system is that keeps those areas that way and why it works.
If the areas stay clutter-free and maintained, why? Figure it out, and then apply that system, or a modification of it, to your studio!
For Stacy, there are two things that work. First, she has a designated place for any paper item that enters her home, whether it’s a school paper, bill, paper with notes scribbled on it, etc. Each goes into a designated bin to be filed at a later time. The “time” is noted in her day planner like an appointment and scheduled on a bi-monthly basis.
She applies this same system to her scrap supplies - and for her, this is key. New supplies do not enter her workspace, unless her intention is to immediately use them on a project that’s currently on her desk. Instead, they enter a file system that is located right by the door to her studio.
She has a wall organizer that holds her new supplies. You can find one at an office supply store or online.
She has spots for paper, magazines and ideas, stamps and embellishments, and stickers and die cuts. When she orders online and gets a box in the mail, or purchases items from her local scrapbook store, she immediately places the supplies into their assigned files in this wall organizer.
In her day planner, she has “clean scrapbook room” listed every other Friday. It’s no different than doing laundry, or cleaning toilets, or watering the plants. It’s a chore that needs to be done, and by making it part of her usual weekly tasks (or bi-monthly in this case), she knows that her scrapspace will stay clutter-free, organized and maintained. This system has worked for her for years.
In & Out Boxes
Another system I’ve seen scrappers implement is a holding basket or large bin where they put all of their new supplies for a while so they can enjoy looking at them and dreaming about how to use them.
I have an "In" box that holds all work assignments that come in, and a wire bin that holds products I process weekly. Whatever you do, set a time limit for when you will use what is in the bin(s). Move the items into your systems, e.g. paper into paper bins, embellishments into appropriate bins, etc. regularly. You can do this on an appointed day or whenever you get new materials so there will be room for them. Make sure you focus on this area so it doesn’t become a catch-all and a new area of disorganization!
Stacy admits that processing her wall file is the most boring task in the world but it makes all the difference. She also emphasized that once work on a project is finished, the workspace must be cleaned up, completely. File your scraps, clean your stamps, put away your tools, wipe down the surface, and vacuum if necessary.
Have a completely pristine workspace before starting your next task. It will prevent the clutter from snowballing.
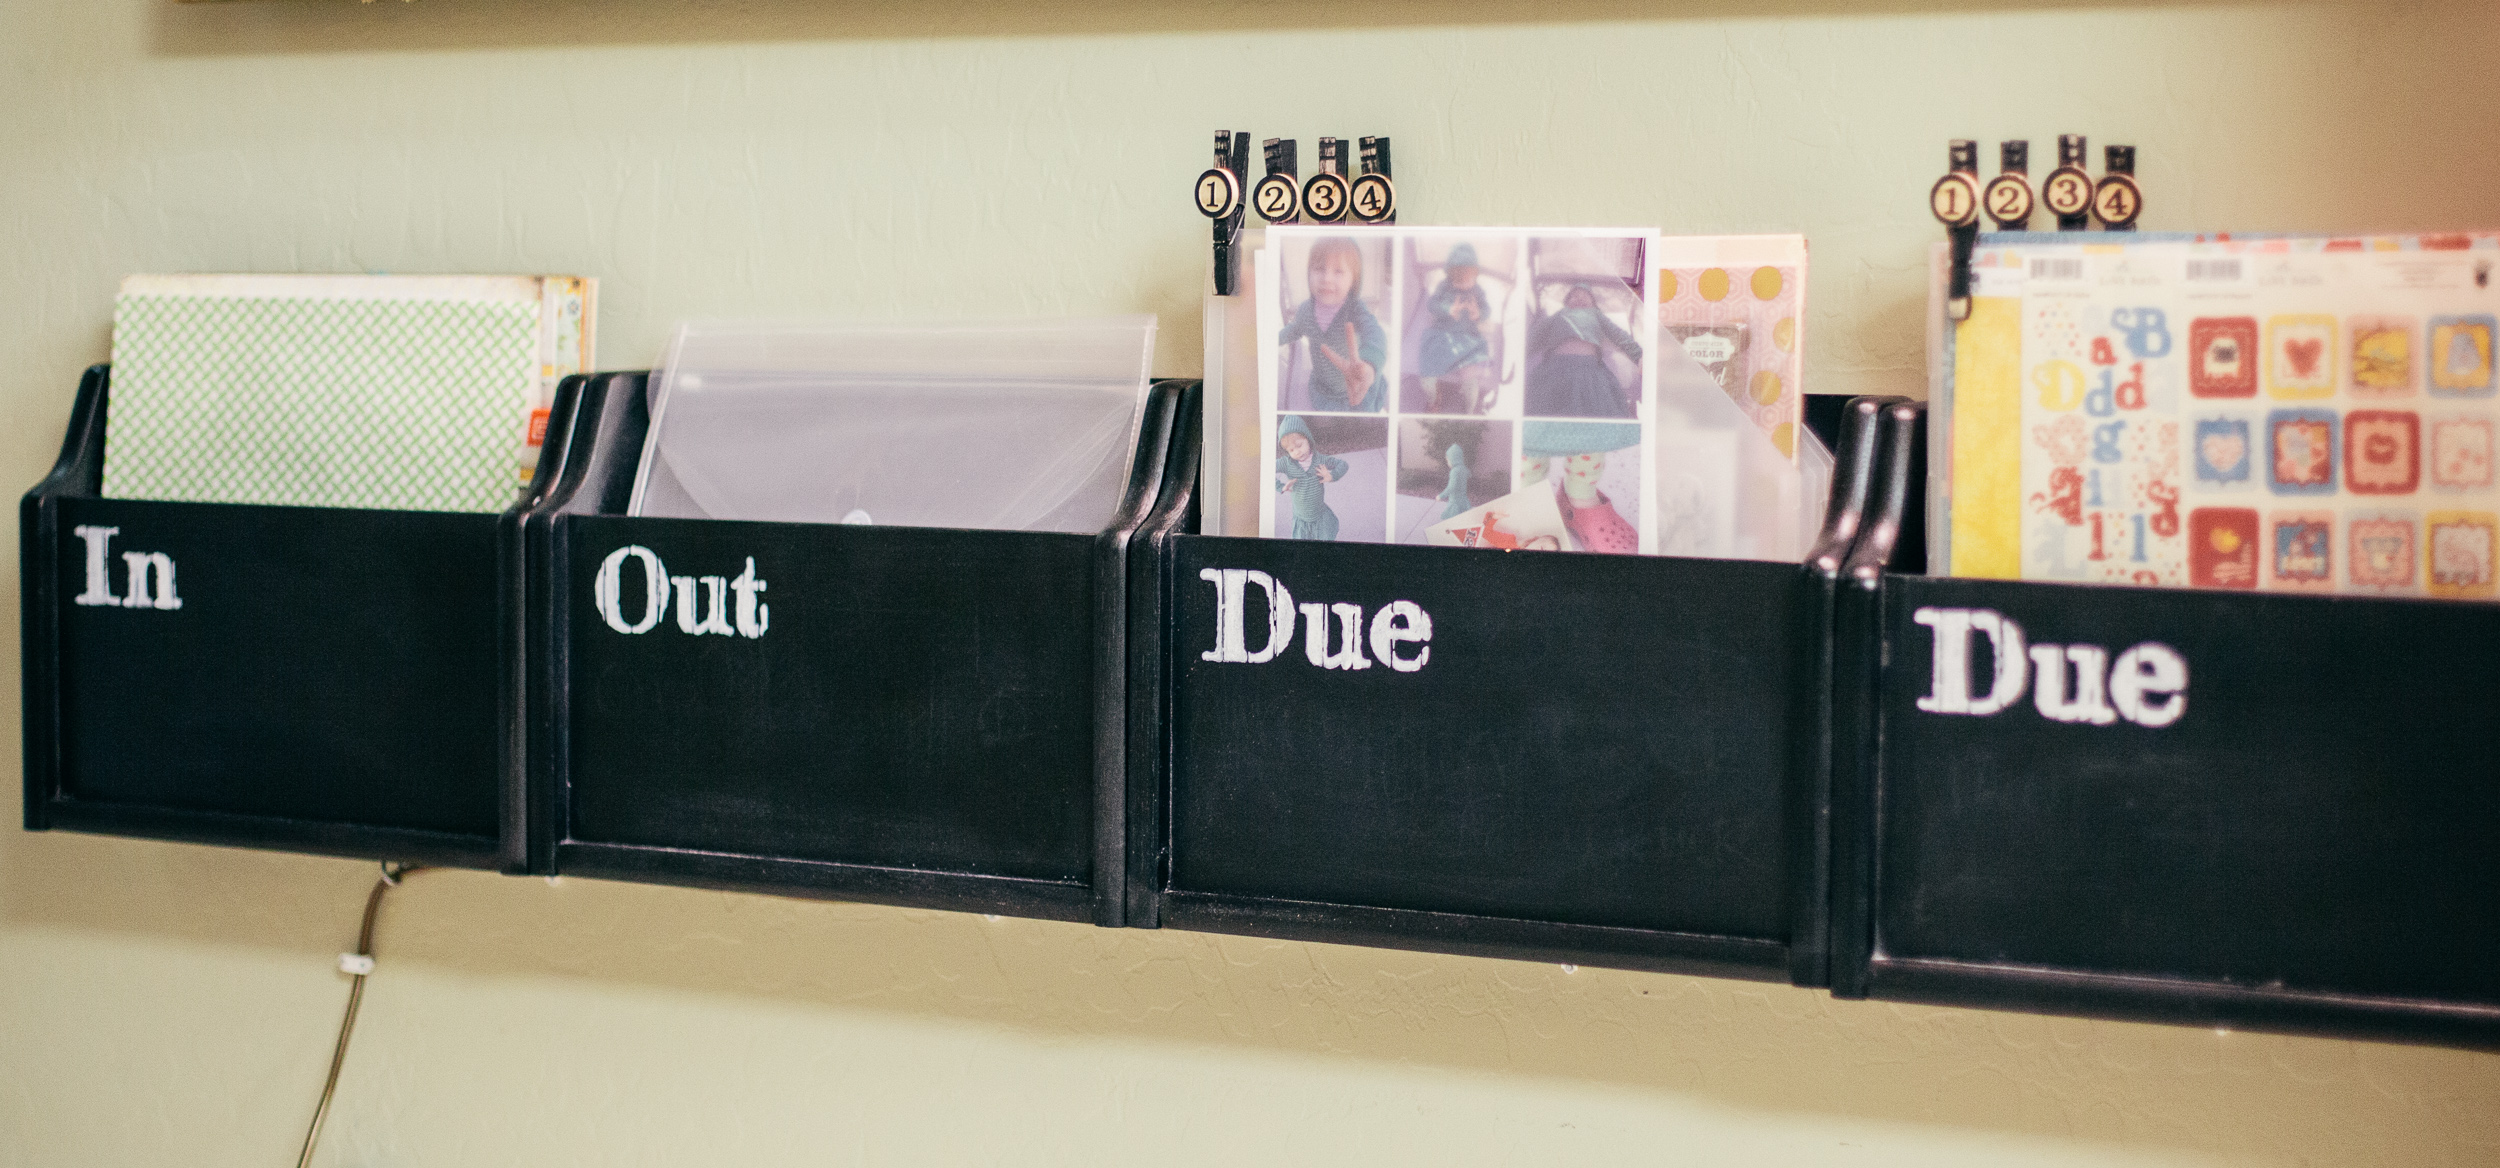
I have so many items going in and out of my studio every week, so I am a prime candidate for the return of clutter. What helps me keep my space maintained are my four wall-mounted bins that are labeled as “In,” “Out,” “Deadline #1,” and “Deadline #2.” I found extra-deep bins that I sanded and painted with black chalkboard paint. While the chalkboard feature is fun, I ended up mounting a nameplate to the front of each bin because my grandkids kept erasing words with their little fingers.
I keep project materials and finished projects that need to be submitted in paper pouches, which are stored inside some of these bins.
Ongoing Maintenance
My “In” box has to be maintained on a daily basis to keep my systems from getting backlogged. Mail, materials for project assignments from work, and more are in this bin. The “Out” box is for outgoing mail and deadline-sensitive projects to take to work.
Both “Deadline” bins have four paper pouches with a numbered clothespin (numbered 1-4) and are embellished with a bingo chip glued to the top.
The materials in each of these pouches are for projects that have priorities.
"Deadline #1" bin is for work-related deadlines. The pouches in the "Deadline #2" bin are personal or family projects that are time-sensitive.
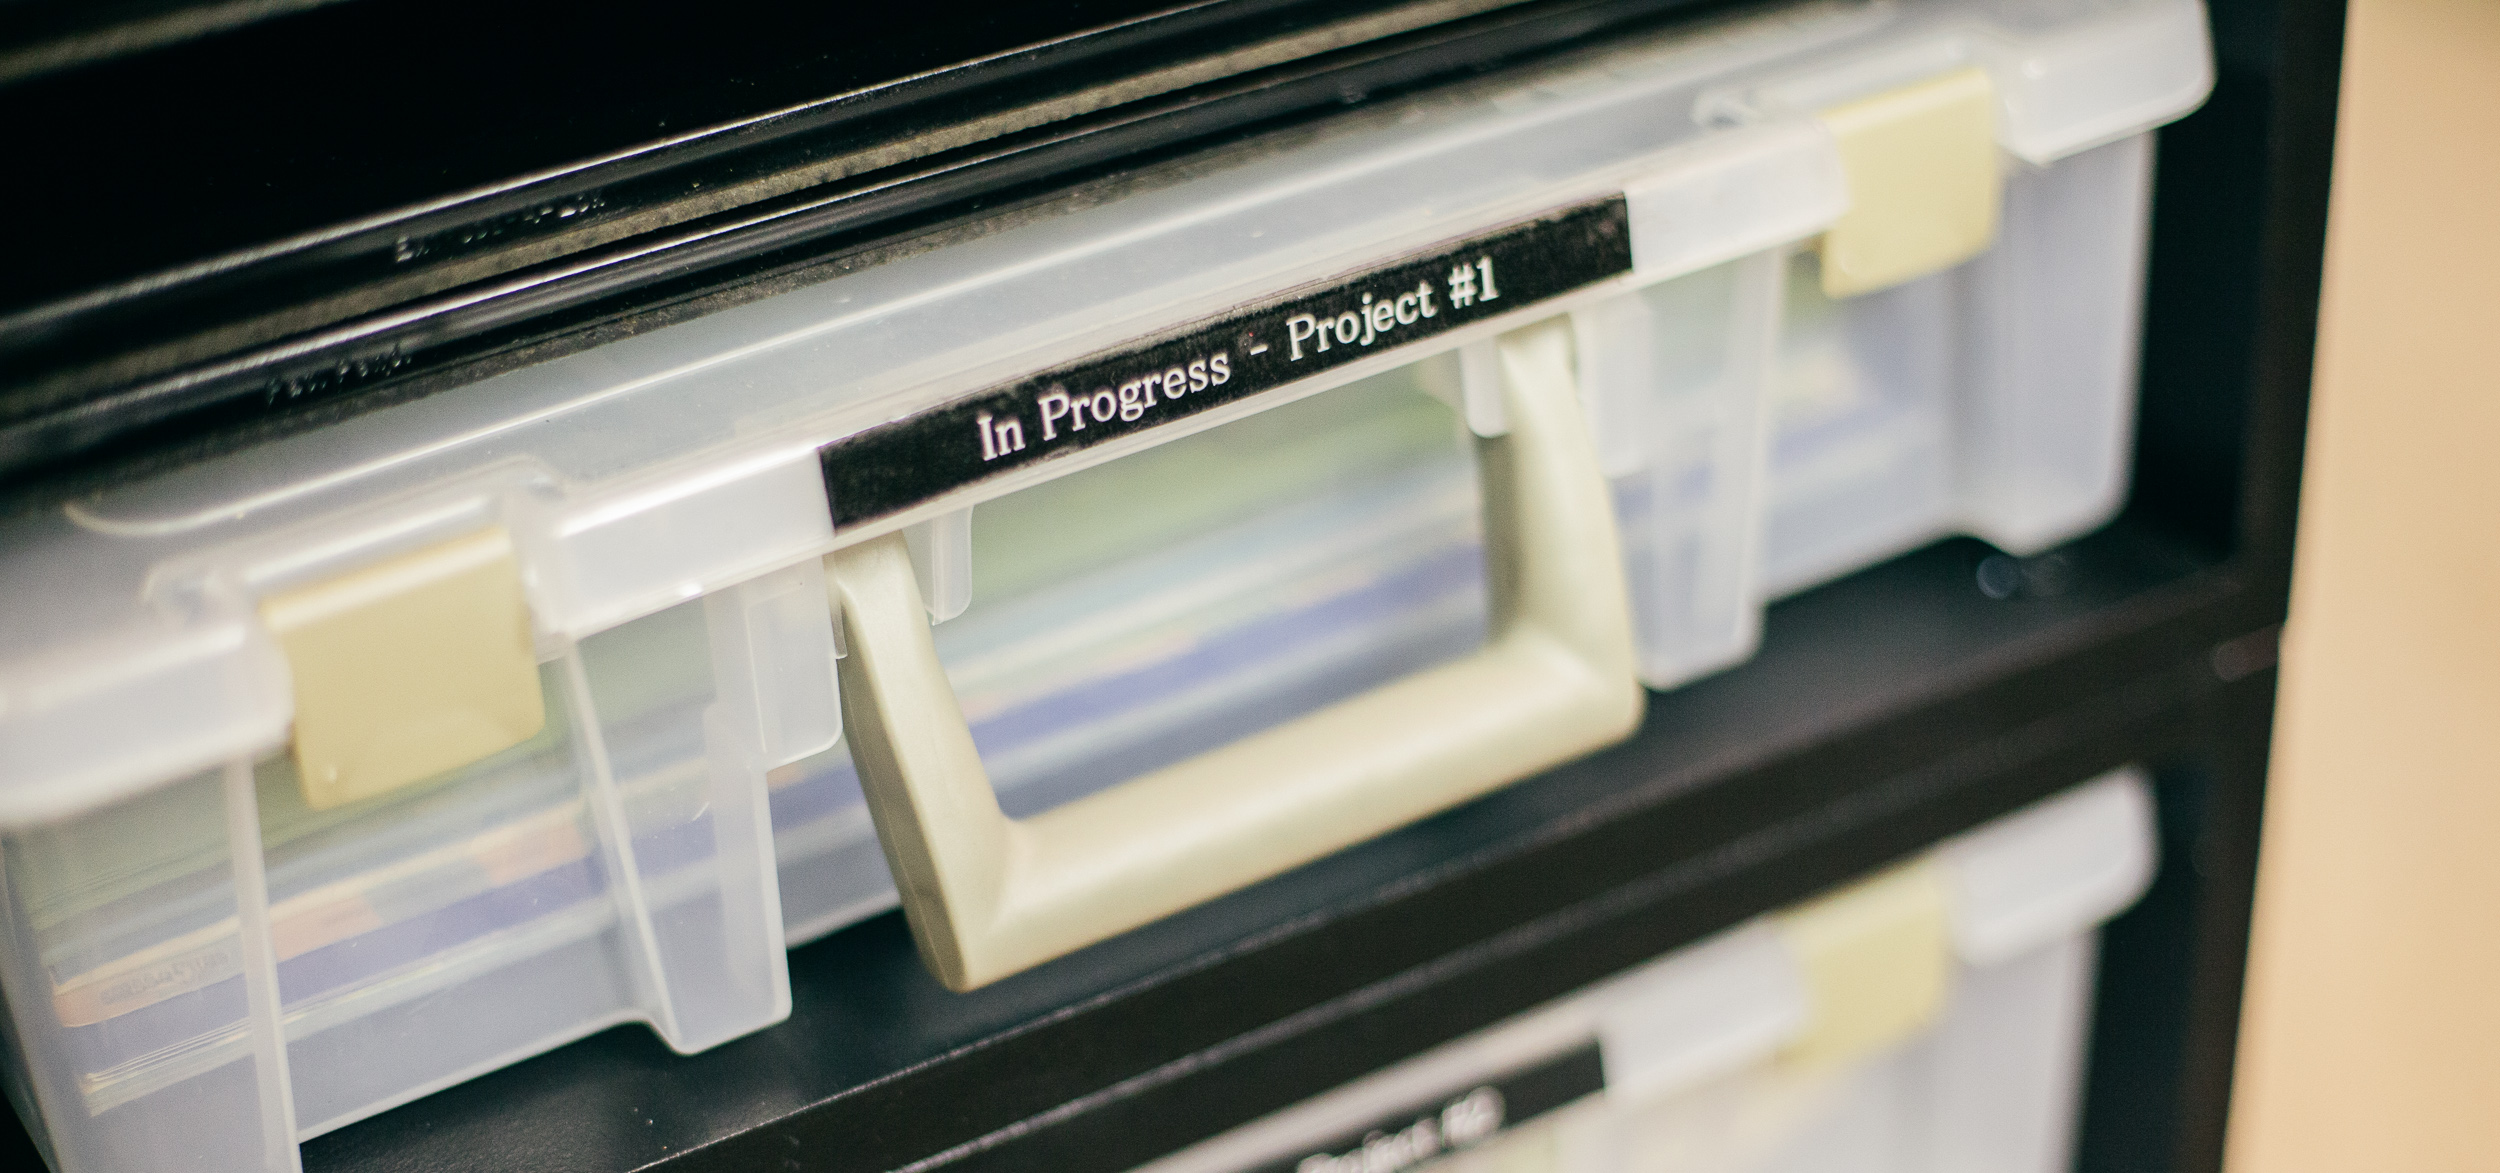
Projects in Progress
There are four trays in a tower to hold current project materials. When I need to clean up, I place the layout I’m working on, and its supplies, onto one or two of these trays and slide it out of sight. The next time I need to work on it, everything is there.
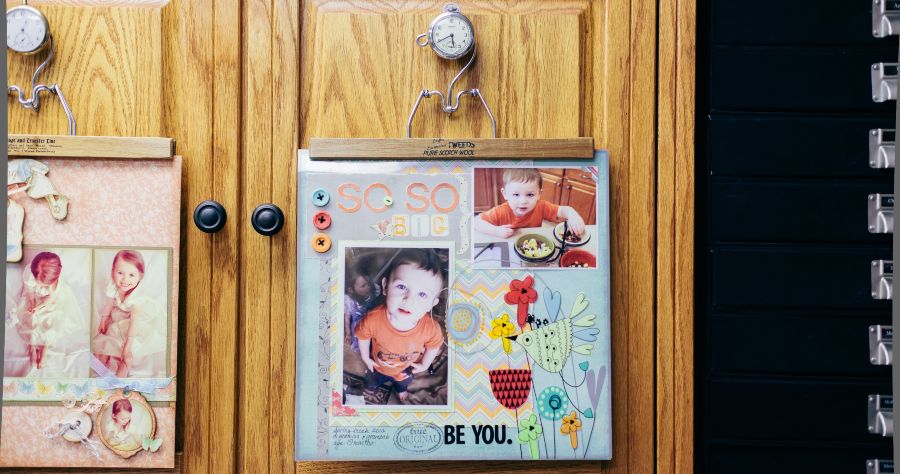
 Layouts That Need “Tweaking”
I often have layouts that need something more, but I’m not sure what that "more" is. I used to lean these layouts up on shelves so I could study them until I figured out the missing elements; or, they’d get stacked on my desk. I now have vintage pants hangers hanging from unique “hooks” on cupboard fronts that hold these layouts. This keeps clutter to a minimum on my shelves and counter tops.
 Clean Up Tools
A few things that help me with clean up are spray bottles of water (for a quick clean up) and alcohol (for alcohol ink and some adhesives), hand cleaners, paper towels, a handheld mini vacuum, and a quick-clean-up bowl. The bowl is my lifesaver for little things that need to be put away quickly at the moment of cleanup (brads I didn’t use, stamps that need to be filed away, chipboard pieces, etc.). They all go in this bowl which is emptied once a week.
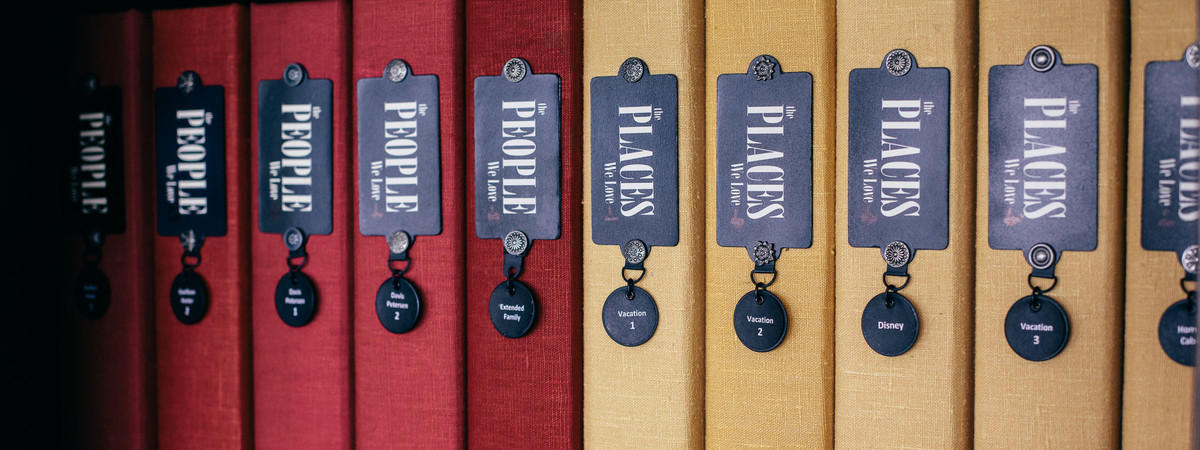
 Album Storage
I’m sure most of us have a hodgepodge of albums going on - mini albums, 12" x 12" albums in different styles, 8.5" x 11" albums from 1991, etc. It can be tough to find a storage solution that accommodates them all. There are two options:
- Display albums in one area of your home.
- Display albums throughout your entire home.
If you choose to have your albums all in one place, it doesn’t need to be in your scrapspace. The living room would work, a bookshelf in the hall, in the family room, or wherever you’d prefer and have room. However, it would be nice to have them in an area where family and friends can access and appreciate them!
Small baskets on tables, on shelves, or by the fireplace are a few suggestions for mini books. I know many scrappers who keep baskets around the house and rotate them when they complete new ones. Kids love looking through mini albums.
If you want to place them all around your home maybe you could have the older or incomplete albums in your studio, some personal albums (like wedding and person specific) in your bedroom, and family albums in the living room. With a hodgepodge of albums, you can choose albums to fit your spaces, and your décor. Anything is possible.
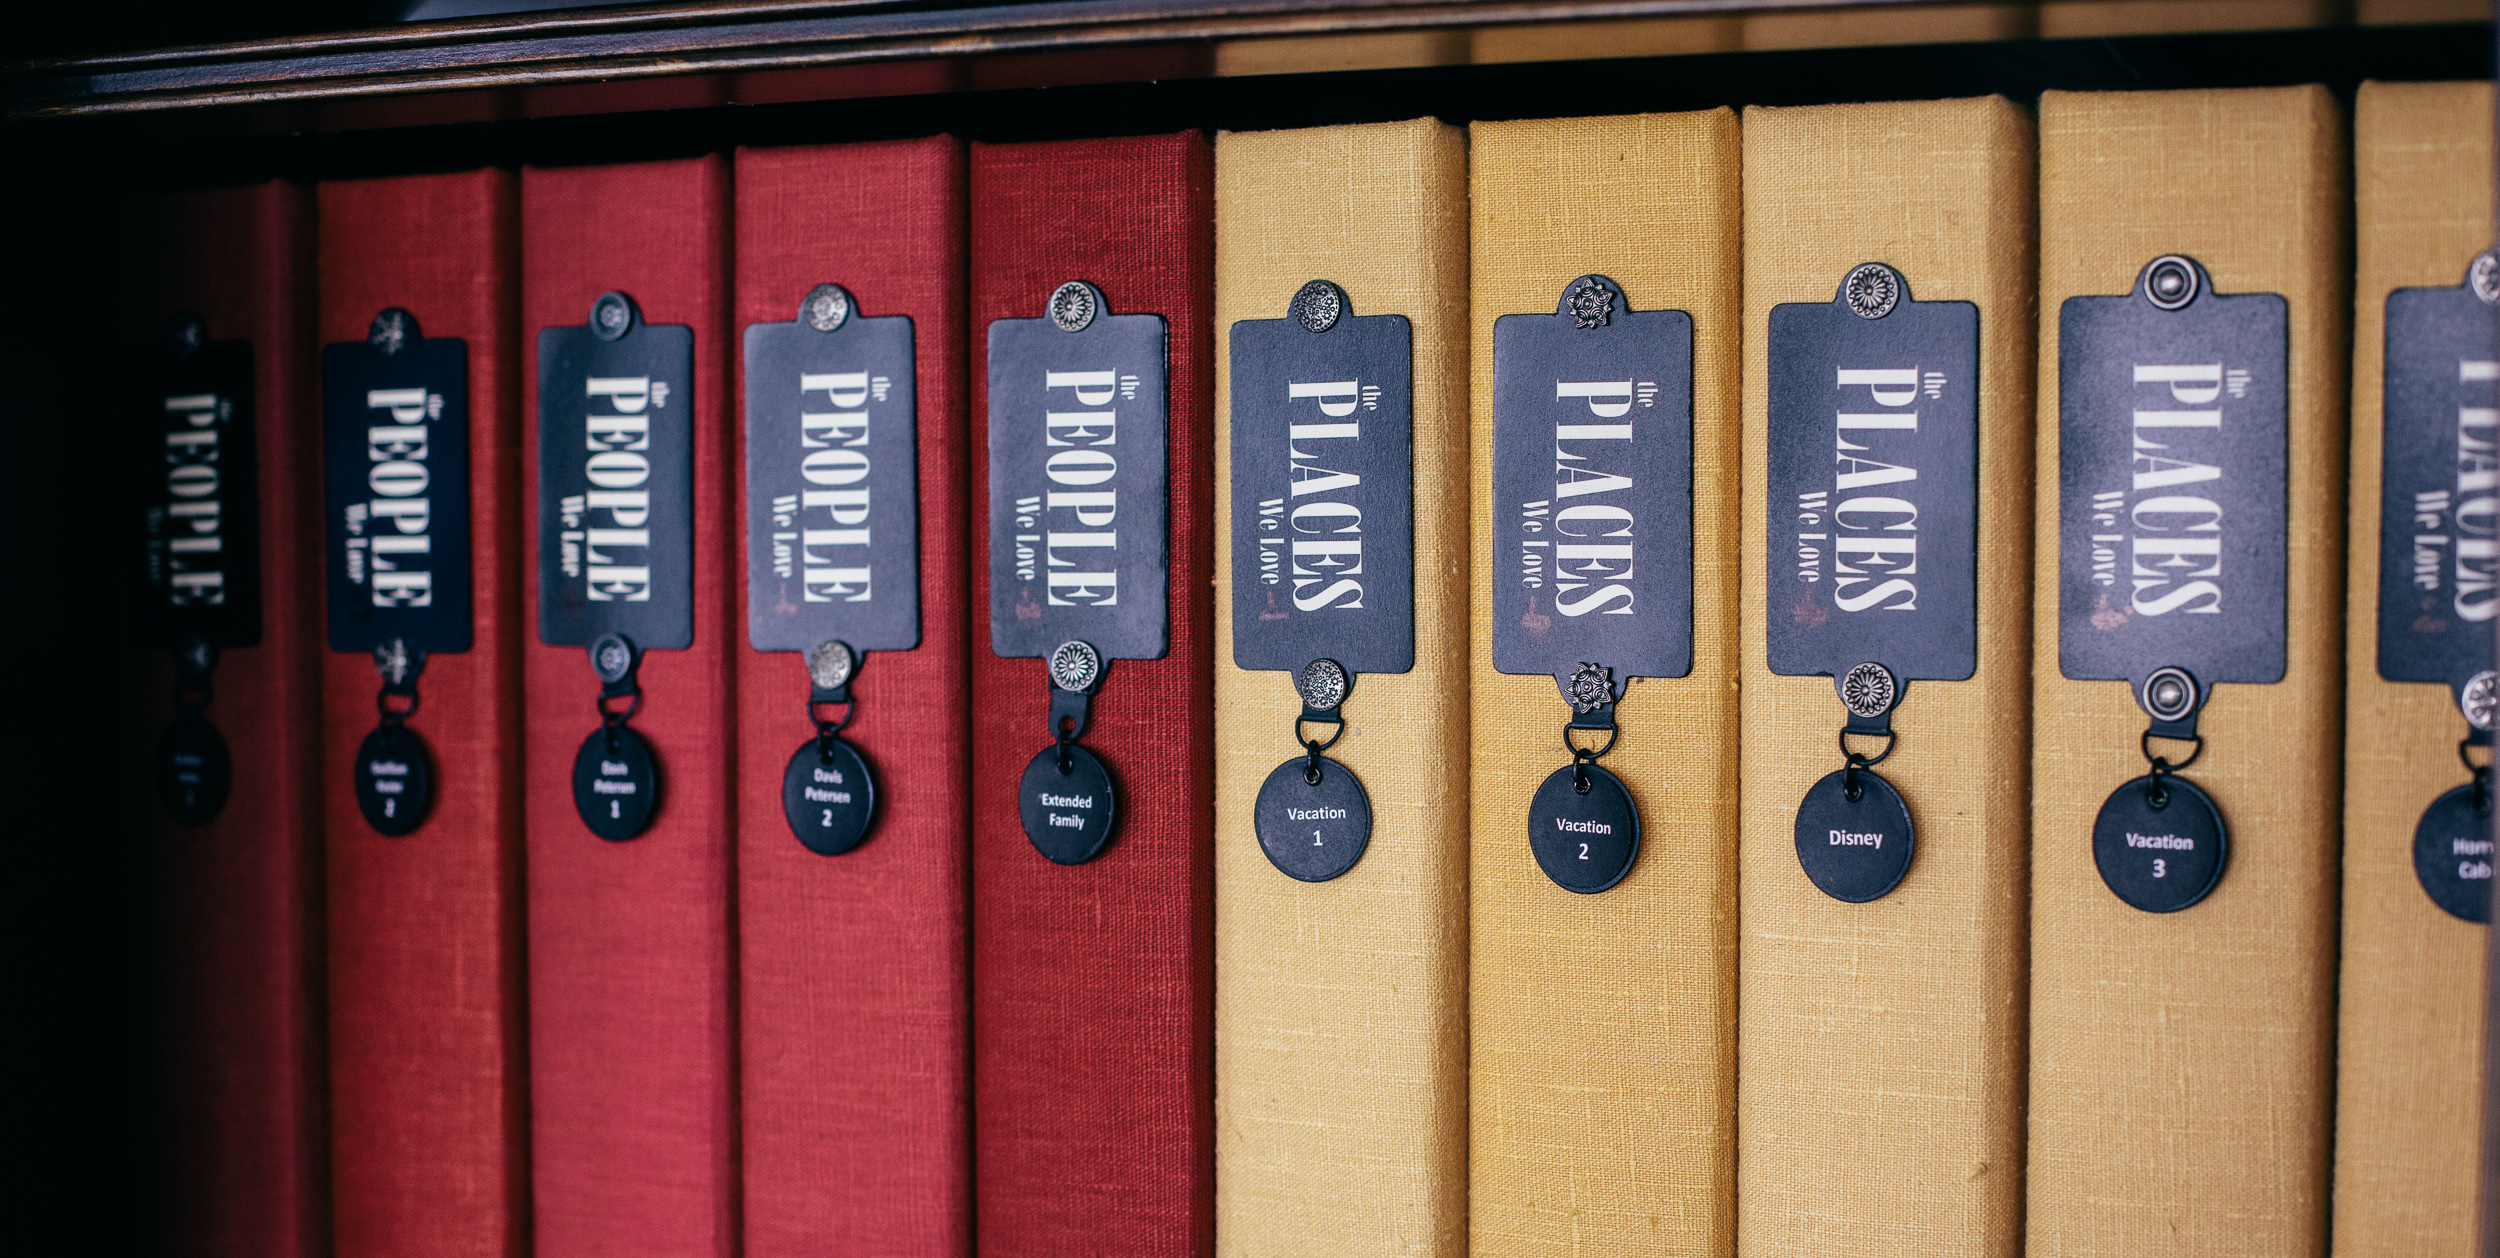
Stacy decided to create a unified look with the albums in her home. She got rid of many of her older (mostly postbound) albums that didn’t serve her well anymore; transferring the contents to new albums. She chose American Crafts albums for her main albums, and any specialty albums (especially trips) are in albums from a different line. They take up the same space on the shelf and look great together!
Now, let’s talk about how to label your albums. There are so many ways to do this, but the easiest is using a computer template so whenever you need a new label, it will be easy to replicate what you already have. No more trying to find matching supplies from a line that’s three years old and maybe discontinued. Keep labeling simple for a maintained and unified look.
Further Maintenance Insight
Most of our family albums are displayed in our family room, but there are mini albums in other rooms, placed in fun containers or on display. If albums are out, family and friends will pick them up and take a look. I’m always amazed that I can take days, weeks, and sometimes months to complete an album that can get looked through in a matter of minutes.
I’ve seen my children enjoy albums alone and with their friends over and over (if only for a few minutes). I get satisfaction seeing our grandchildren enjoy the fruits of my labor. It has been a priceless experience to watch our children introduce future companions to their life and family though scrapbooks.
I give our scrapbooks prime real estate in our home so we can truly enjoy them. I always know where a finished layout will be stored, and where the album is located, and that feels so good!
Labeling
When we label the containers in our studios, we free up space in our brains for other things. Labeling also allows other invited guests to be able to use and put away items we let them use. I have gone through cycles of labeling and not labeling thoughout the years.
I have noticed that my studio stays cleaner and better maintained when labeling is in place. When all bins are labeled, I see them and there is a mental note taken about items inside; even if I’m not looking for or using those items. My brain is “trained” and has order, which it loves. Labeling is communication.
Making labels takes time and sometimes the label we think a container should have ends up needing more specifics or different or less words to be more effective.
I generally use sticky notes for my first labels on a newly organized container. They stay on the container for a few days to see if they help direct me with the flow of my studio. If they do, I make a permanent label, if they don’t I make the necessary change. I try to keep labels minimalistic.
Label makers are time efficient tools. The replacement tape can be pricey, so I use them sparingly. I generally make my labels as text boxes on my computer so I can size them to fit the space they will fill. I also like to use white type on a black background because this procedure helps the message travel to long-term memory.
It’s a concept that goes back to when theatres would quickly flash the word “popcorn” onto a dark screen before a movie began. The subliminal message would go into the brains of movie goers and prompt them to take action at some time during the movie. This practice is outlawed now, but not in my studio. I need all the help I can get to remember where things are located and stored.
Once printed, I cut the labels out, run them through my Xyron sticker maker, and attach them to their respective containers. For durability, I may cover the label with non-glare contact paper (easy on the eyes) or clear postal packing tape. When I use a metal label holder that has a slot for a label, I usually cover the label with a piece of plastic for protection. I get the clear and durable plastic from the packaging my scrapbooking supplies come in. I like the label holders because labels are easy to switch out.
Maintenance Summary
When you know where new purchases will go, you reduce stress. When there is a place to put things, like unused chipboard pieces, brads, fibers, etc. that you don’t have time to put away (yet), scrapping life is simpler. When you have a place to put an unfinished layout that you want to get back to, you don’t have to worry about it getting touched by little hands. When you know where the albums that will hold finished layouts are, you have peace of mind and your scrapbooking art is more accessible to your family. Achieving a maintainable studio is totally possible to achieve!
For further inspiration, Nancy Nally of Scrapbook Update showcases her very well organized craft space in her article called Organization | Tour of My Scrap Room 2014.
Start figuring out a good way to handle the products you purchase and unused items from projects you’ve completed. How will you keep your space clean, dust-free, and vacuumed? How will you maintain order in your space, and what do you want to do with your completed albums?
Find more organizational help here...
How to Organize Memorabilia, Ephemera, and Junque
How to Organize Embellishments
How to Organize Alphas and Numbers
Our free class, Get Organized, is full of expertly useful craft space organizational information. If you're looking to expand on your organizational insight, sign up for Get Organized today and discover your road to an organized and functional craft space!


