As the founder of Scrapbook.com and an expert crafter, Jill Davis has extensive experience with properly organizing her craft space. Join her and organizational master, Stacy Boatman in this article as they share key organizational insights. Explore and shop the entire Scrapbook.com store for all of your tool, adhesive, craft storage, and organization needs!
Materials Needed for Organizing Tools, Adhesives, and Equipment
- Sturdy Containers
- Label Maker
The Challenge of Organizing Tools, Adhesives, and Equipment
Having primary and secondary tools residing in their own containers, accessible at all times may seem to be a bit puzzling at first, but we'll make it happen! You'll also be incorporating an organizational system into your studio for storing adhesives so you’ll know when you need to replenish your supply.
Organizing and storing your tools (both hand-held and larger equipment) and adhesives is a very personalized process since we all have different things we use (trimmers alone must come in many different size choices). Tools can be small, sleek, bulky, heavy, obsolete, etc. I’ll share some suggestions for organizing, and then leave it up to you to figure out the best storage method for YOUR stash.
There are really three basic organization methods for tools and you can use them alone or in combination:
- Frequency of use
- Function
- Size
You'll also need to decide whether or not you'll be keeping your tools together or with the products and supplies you use them with. Ask yourself where you will store your products. Will you keep your heat gun with your tools or your embossing supplies? Think of how you work and what makes sense in your head and stick with it.
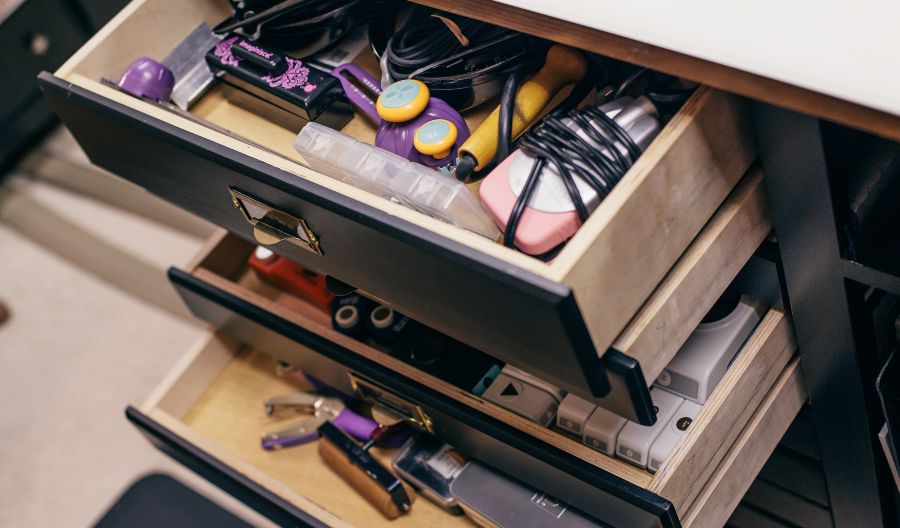
 Also, when grouping tools, decide whether to keep ALL your tools together or put some of your less-often-used tools out of the way. By splitting up tools, you can gain work space; but, you also risk forgetting what you have.
If you often attend crops, now is a good time to make your life easier. Decide to invest in a second set of tools that will be packed and ready to go when you are - or find a tool storage solution that is portable. For crop supply storage and organizational ideas, check out our article called How to Organize Crop Supplies.
Storage Ideas
- Recycled Cans/Canisters (Try decorating and embellishing them.)
- Over-the-Door Shoe Organizers
- Heat Tool Organizer
- Tilt Bins
- Clear Plastic Shoe Containers
- Multi-Drawer Chest
- Photo Storage Boxes
- Tool Caddy
- Tackle Box
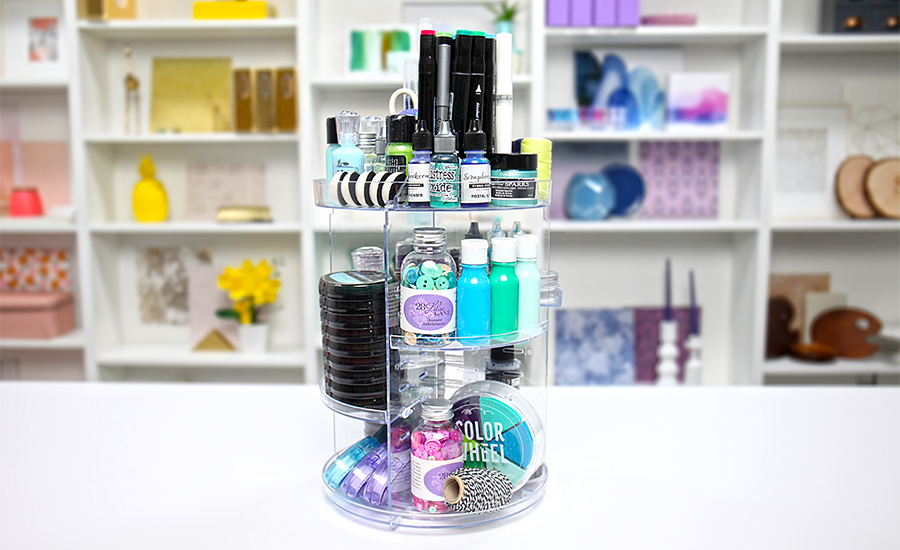
- 360 Craft Tower
- Hanging on a Wall (No pegboard needed.)
- Pegboard with Hooks
Stacy has her tools sorted by frequency of use. Her less-frequently-used tools are in a carousel tucked away in a cabinet. She regularly uses a handheld cutting blade, so she keeps spare blades in a film canister near where she stores the knife. She also has a second film canister with a slit cut in the top that holds used blades. When the canister is full, she places tape over the top and throws it away--no loose blades to cause possible injury!
Erika of Scraps of Mind suggests purging product you feel is outdated or won't be used before purchasing storage containers in her article called 7 Top Scrapbook Organization Tips. That's something to consider too. 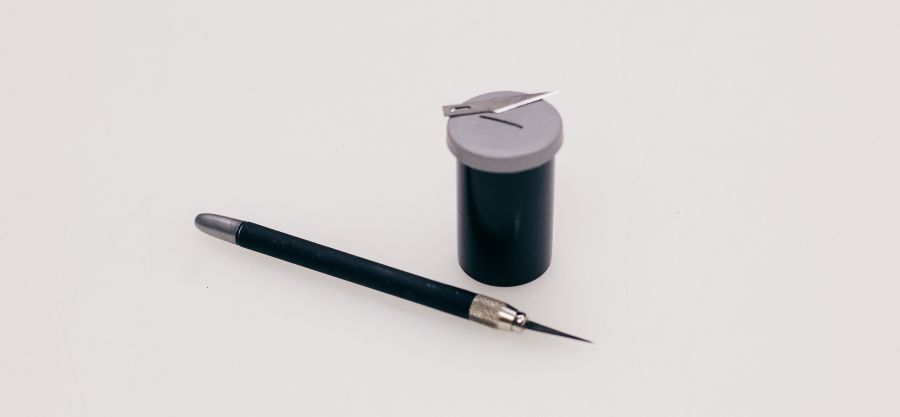
Tip: If you don’t have empty film canisters to hold used blades, consider using this easy tape and chipboard method: Find two small scrap pieces of chipboard that are larger than the blade you want to dispose of. Tape the used blade to one of the pieces of chipboard. Then, place the chipboard pieces together with the blade sandwiched in between. Tape around all edges to seal the blade inside and place in the trash.
Sorting and Organizing
When sorting and organizing tools, I categorize them into two classes:
- Hand-Held Tools
- Larger Tools (Ones that need a home on my workspace or on shelves and in drawers.)
Once I categorize them, I sort them further:
- Primary (Used for most projects.)
- Secondary (Used occasionally, but I still want them close to my workspace.)
- Infrequent (Rarely used, but still valuable to have when needed.)
Primary tools make it into my prime spaces within arms’ reach of my main workspace. My Stamping Center includes two work areas. One is desk high so I can lean into stamps when using them. The second is a tempered, glass-covered end of my island where I can emboss or mist.
Secondary tools are a few steps away in plastic drawers on the built-in shelves in my closet, or nearby in a drawer in my island.

Infrequently used tools are also labeled and in drawers in my closet.
I use carousels for my primary tool storage. My carousels have nameplates with labels identifying the verb associated with the bin contents (see below). There are plenty of compartments, and the units spin. I sanded and painted my carousels black (they were white) for two reasons: First, they work better with the décor of my vintage-inspired space. Second, when the paint chips from daily use, I can easily touch up the dings with a black Copic marker, delaying re-painting. I thought I’d share my nameplate label titles for those who might find the information helpful:
- Distress
- Paint
- Cut
- Write
- Write - Copic
- Mist
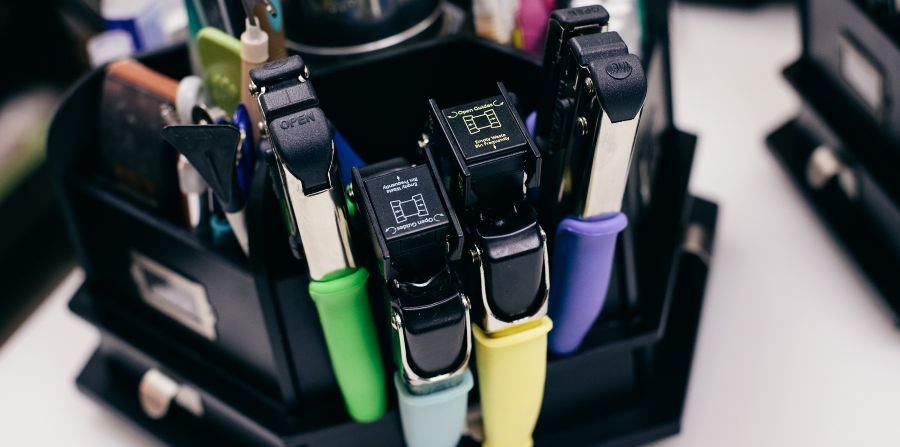
- Staple
- Punch
- Attach
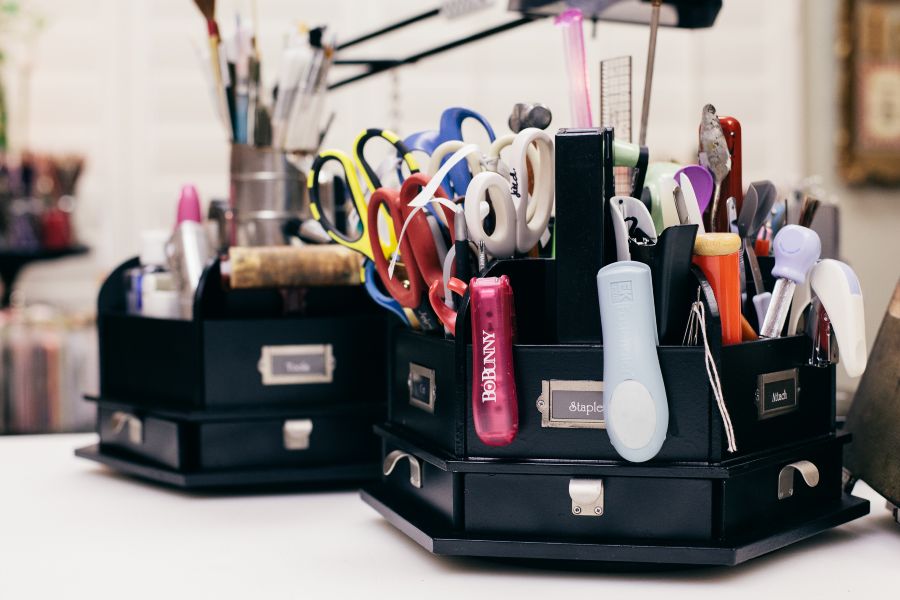
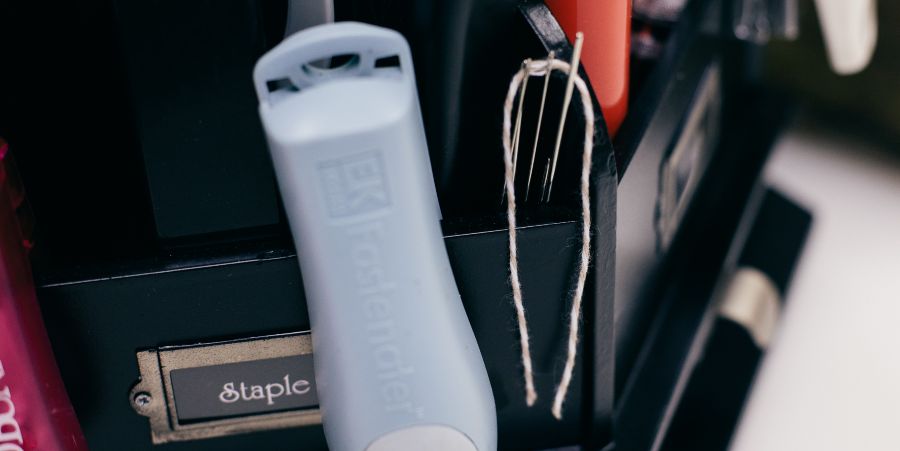 Most of my primary tools fit into one of the above categories. Also, I have one compartment for staplers and one for other attachers (anything I use to attach something to a page, i.e., needles, tweezers, brad setter, etc.). A magnet is glued inside one corner of the “Attach” section for my needles. No more lost or misplaced needles to worry about. I removed the nameplates on the front of a few sections so my hand-held corner rounders and punches can hang over the edges. You can also add magnets to the front of sections for items you want to grab quickly (certain adhesive cartridges or tools have a magnet glued to them).
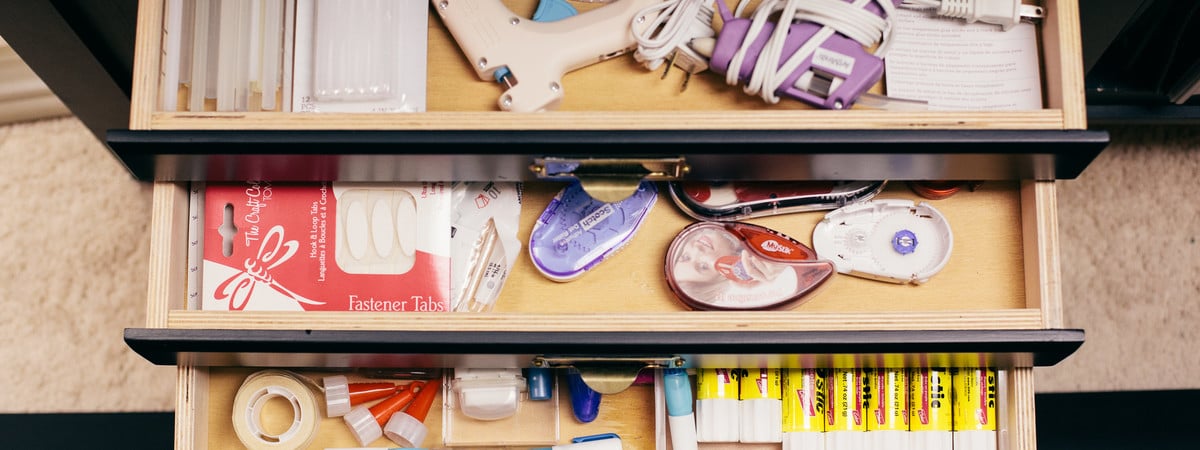
Organizing Adhesives
After years of digging in several places for my adhesives, and feeling frustrated that my favorites would get discontinued or become obsolete, I changed my thinking. Now, I only purchase adhesives that have been on the market for a long time. I then gathered every adhesive I owned into one place and began a sorting and organizing marathon.
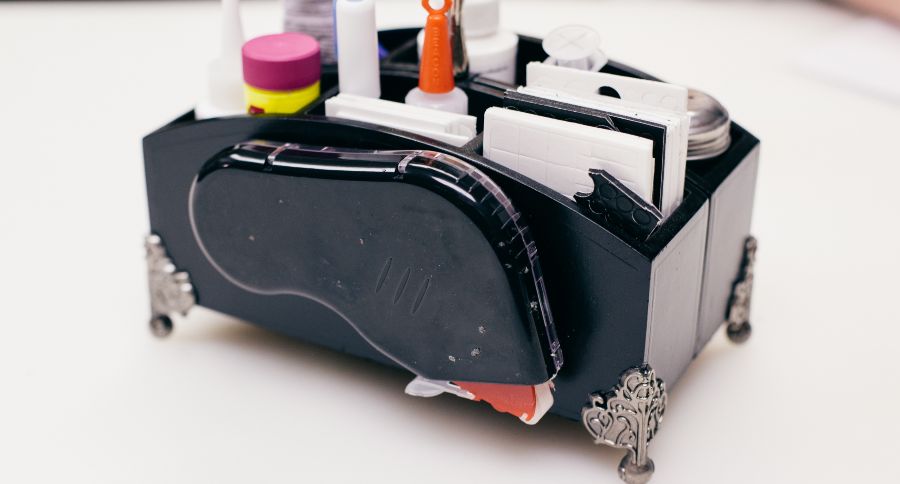
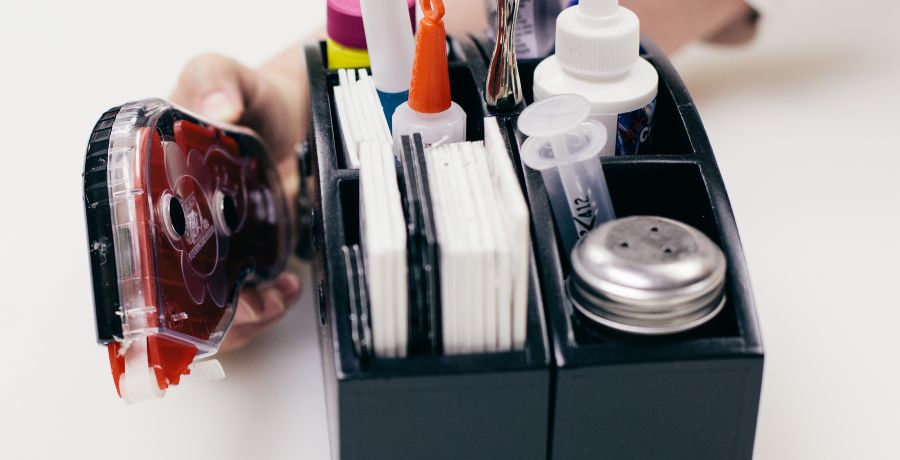
I made a list of adhesives I used most often, gathered them into a pile to see how much each took up, and went shopping for a container to hold them all. I looked for a container that would hold these adhesives on my workspace and coordinate with my carousels. I found two desktop organizers at a discount store that would work if glued together. Once glued, I painted them black and added Tim Holtz embellishments to the corners. Now, I have ONE place to go to for my most-used adhesives. It can be easily carried over to my stamping center or a desk area in one quick motion. The tape gun cartridge I use most often has magnets glued onto it and these magnets also line up with magnets on my tote. I always know where this cartridge can be found and where to return it after use. My bigger tape guns fit into a drawer in my island, where I store secondary tools.
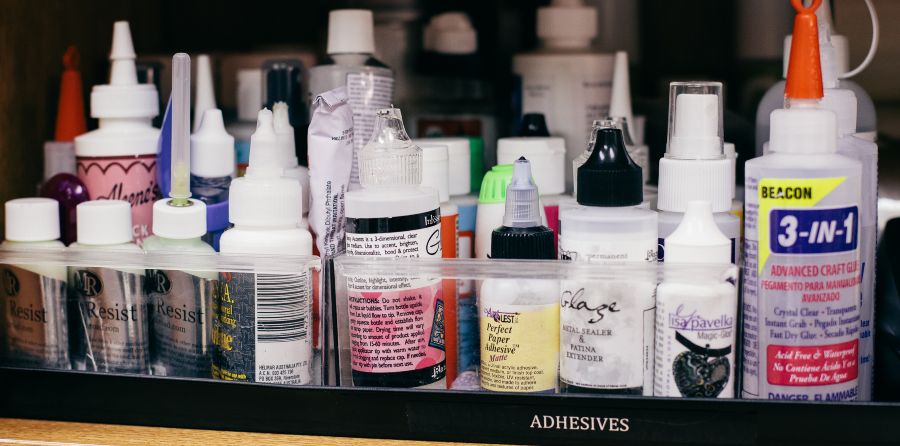
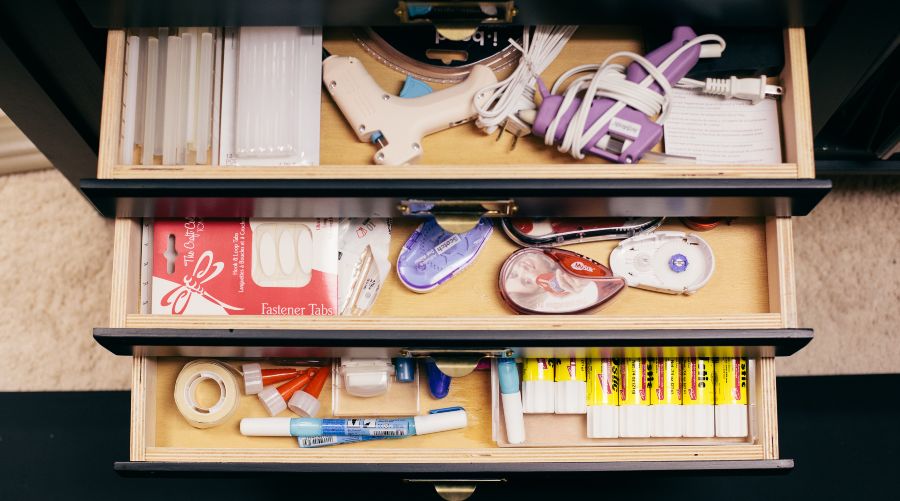
My secondary adhesives (the ones that stand up) are in a tray on a shelf behind where I work. I put them on a tray so I can pull it out and get to the items in the back. The tray also enables me to move the whole thing to a different location or for cleaning purposes. Secondary tape rolls, glue sticks, tape gun refills, hot glue sticks, etc. are in the shallow drawer tower in my island. They are sorted according to type: Dry, Tape, Liquid, Hot Glue, etc. Large cans of spray adhesive, refills, or bottles too large to fit on the adhesive shelf are in bins.
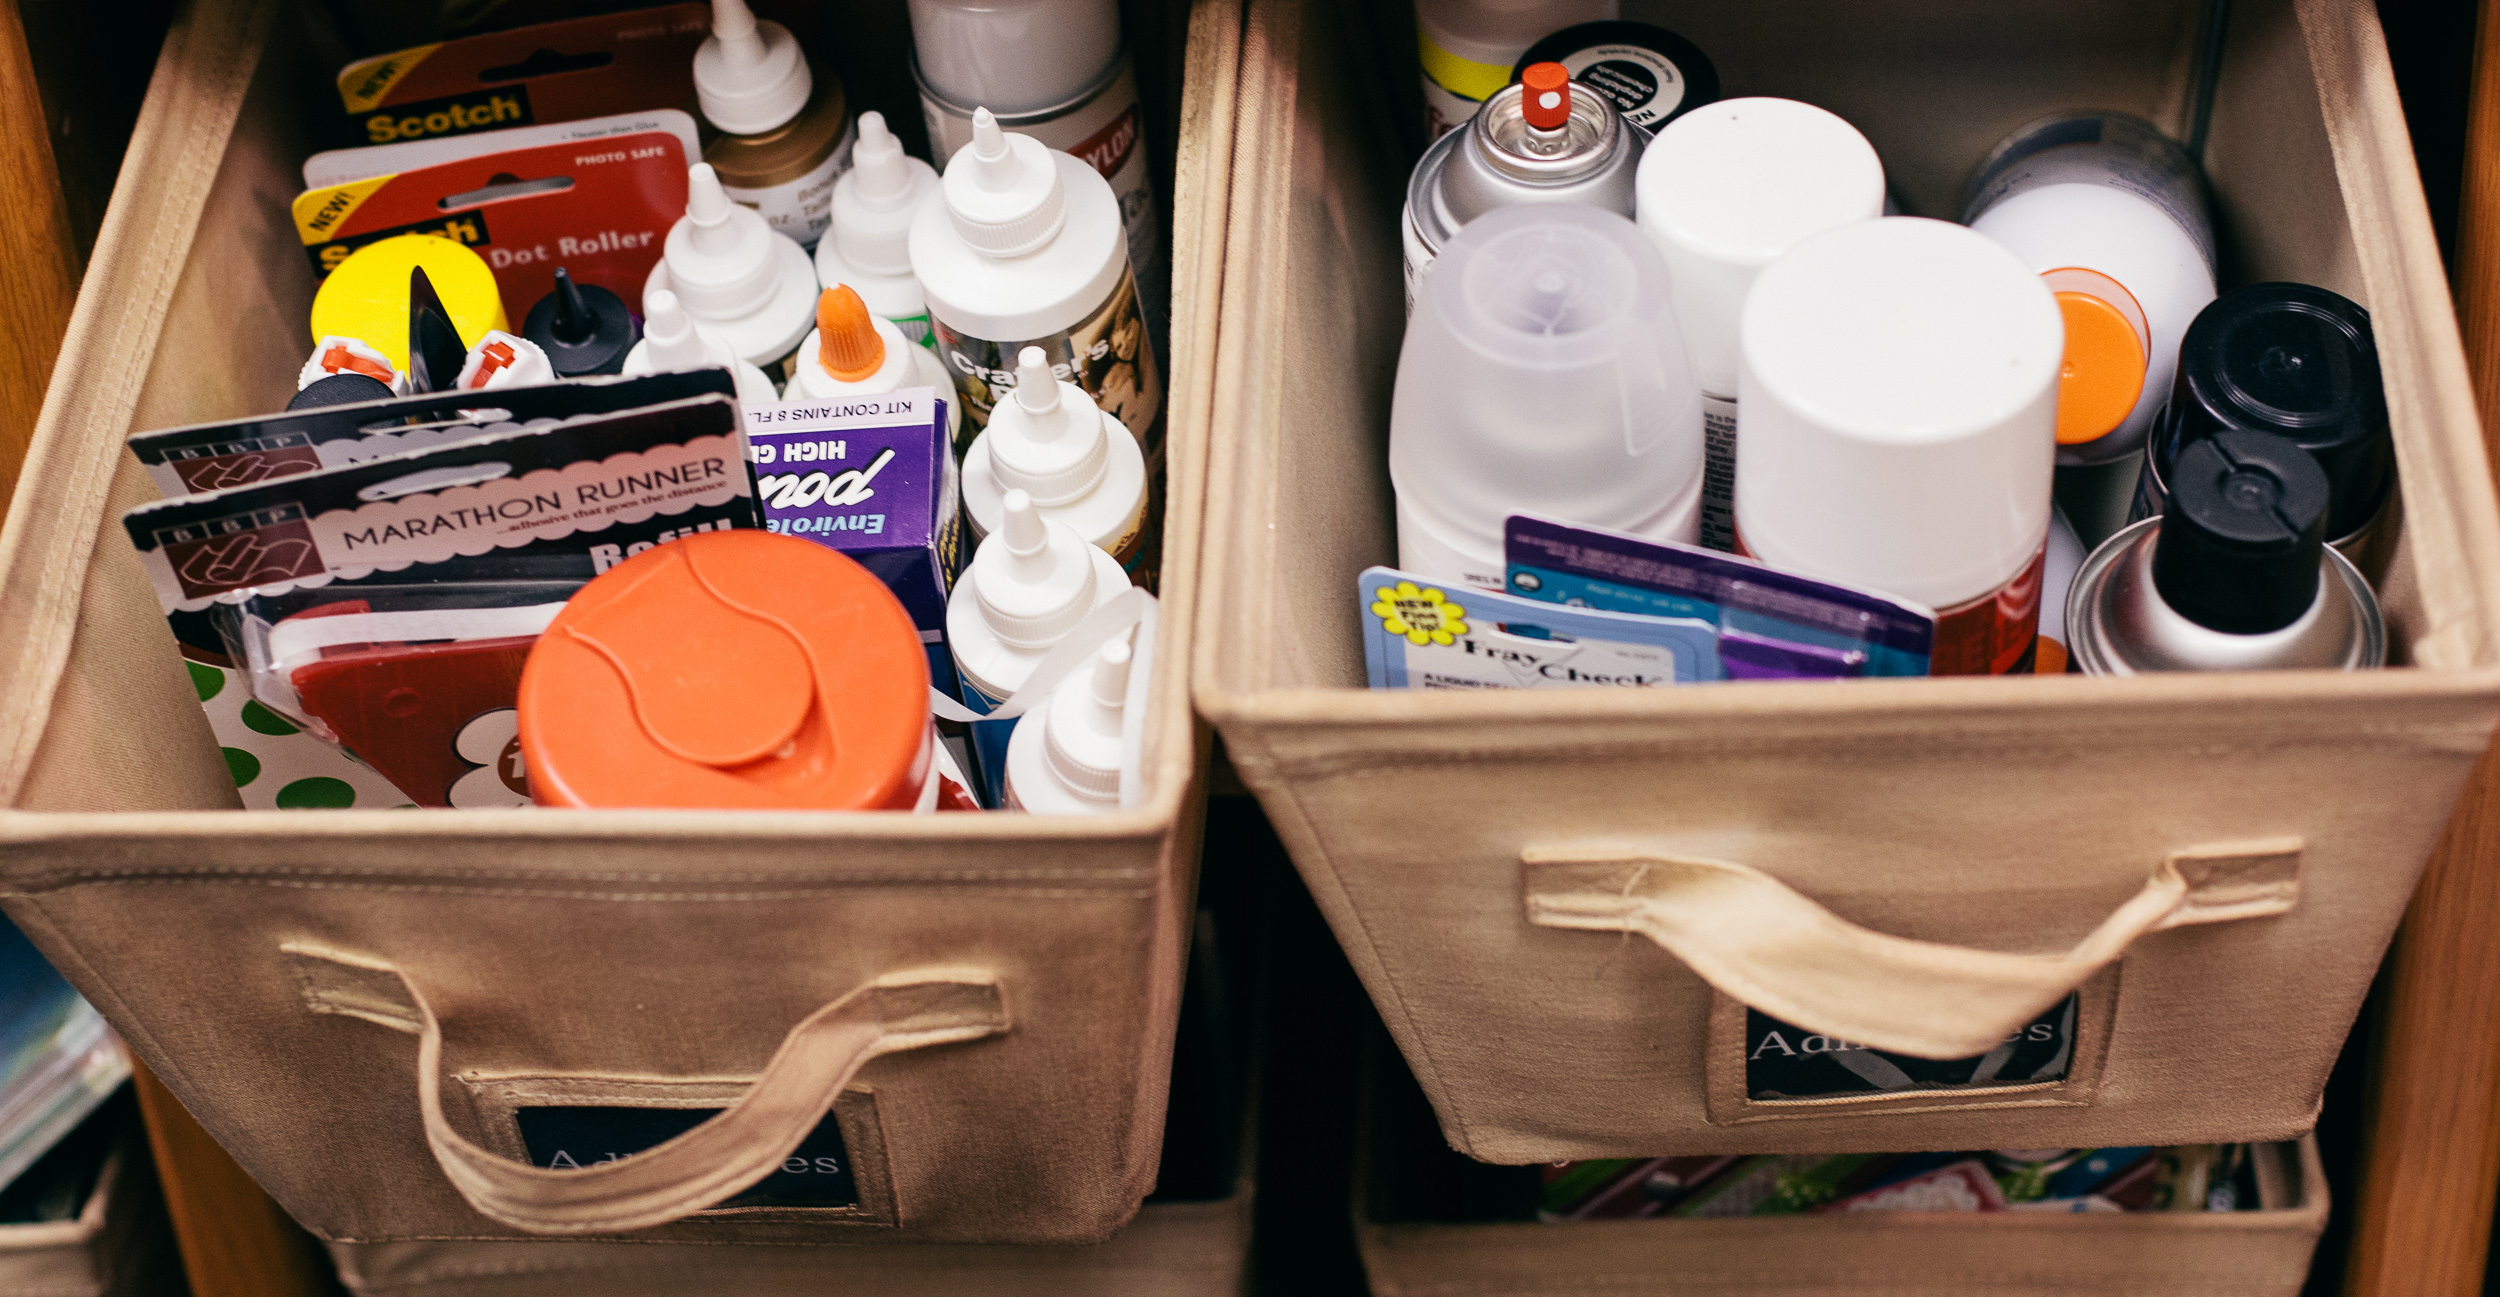
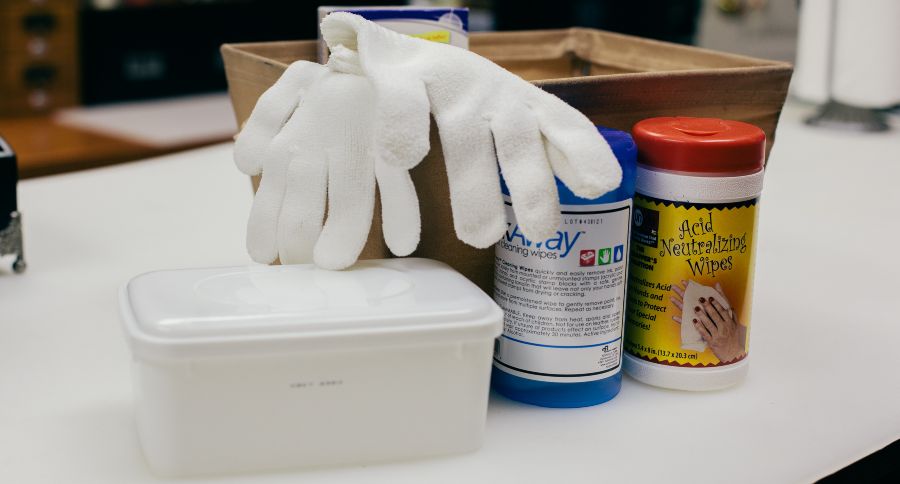
Alcohol (and a little elbow grease) will remove adhesive from scissor blades and my work space top. I keep individually wrapped alcohol wipes in my adhesive bins. If my grandkids get into them, I’m not worried about toxicity. These bins are on a shelf below my adhesive tray, so I have a complete Adhesive Center that looks great and is highly functional. I also keep hand cleaners and gloves in a bin in a cupboard under my island top which completes my adhesive needs.
Organizing Equipment
Electronic die cutting equipment is on a shelf by my scanners, printer, and computer. My secondary die cutting equipment is in my die cutting center, in the closet on the bottom shelf. Binding equipment and supplies are in a bottom drawer in my stamping center where there is more room to access and use them. Think about the larger tools and equipment you have, and decide where they will work best within your systems.
Summary on Organizing Tools, Adhesives, and Equipment
Knowing which tools to keep and which to discard is a necessary skill if you want to avoid clutter. Every now and then, pull out all your tools and adhesives. Evaluate the necessity of each and how often/if you've ever used them. These are great opportunities to purge!
Check out these other great organizational article options...
How to Organize Embellishments
How to Organize Alphas and Numbers
Want to further expand on your craft room organizational knowledge? This article is based on a lesson from our free class called Get Organized. Learn organizing dos and don'ts from organizational experts. Sign up for Get Organized today and get on the road to a better, more organized studio!


