
This article was written by Scrapbook.com founder and organizational expert Jill Davis. It also uses some methods and concepts developed by organizational guru Stacy Boatman. With Stacy's permission and help, we've included her concepts and experiences in this guide as well. You can also take the full, free class with multiple lessons and detailed photos. And, if you need them, you can get craft storage products here at Scrapbook.com to help.
Materials Needed to Organize Paper and Chipboard Die Cuts
- A containment system that will hold various sizes of paper and chipboard die cuts.
- A label maker to label containers.
The Challenge of Organizing Paper and Chipboard Die Cuts
The challenge you will experience when organizing your paper and chipboard die cuts will be getting all of them into a system where you can find them when needed. This storage system might be a single bin if you’re a “digger,” or a filing system if you want more finite organization.
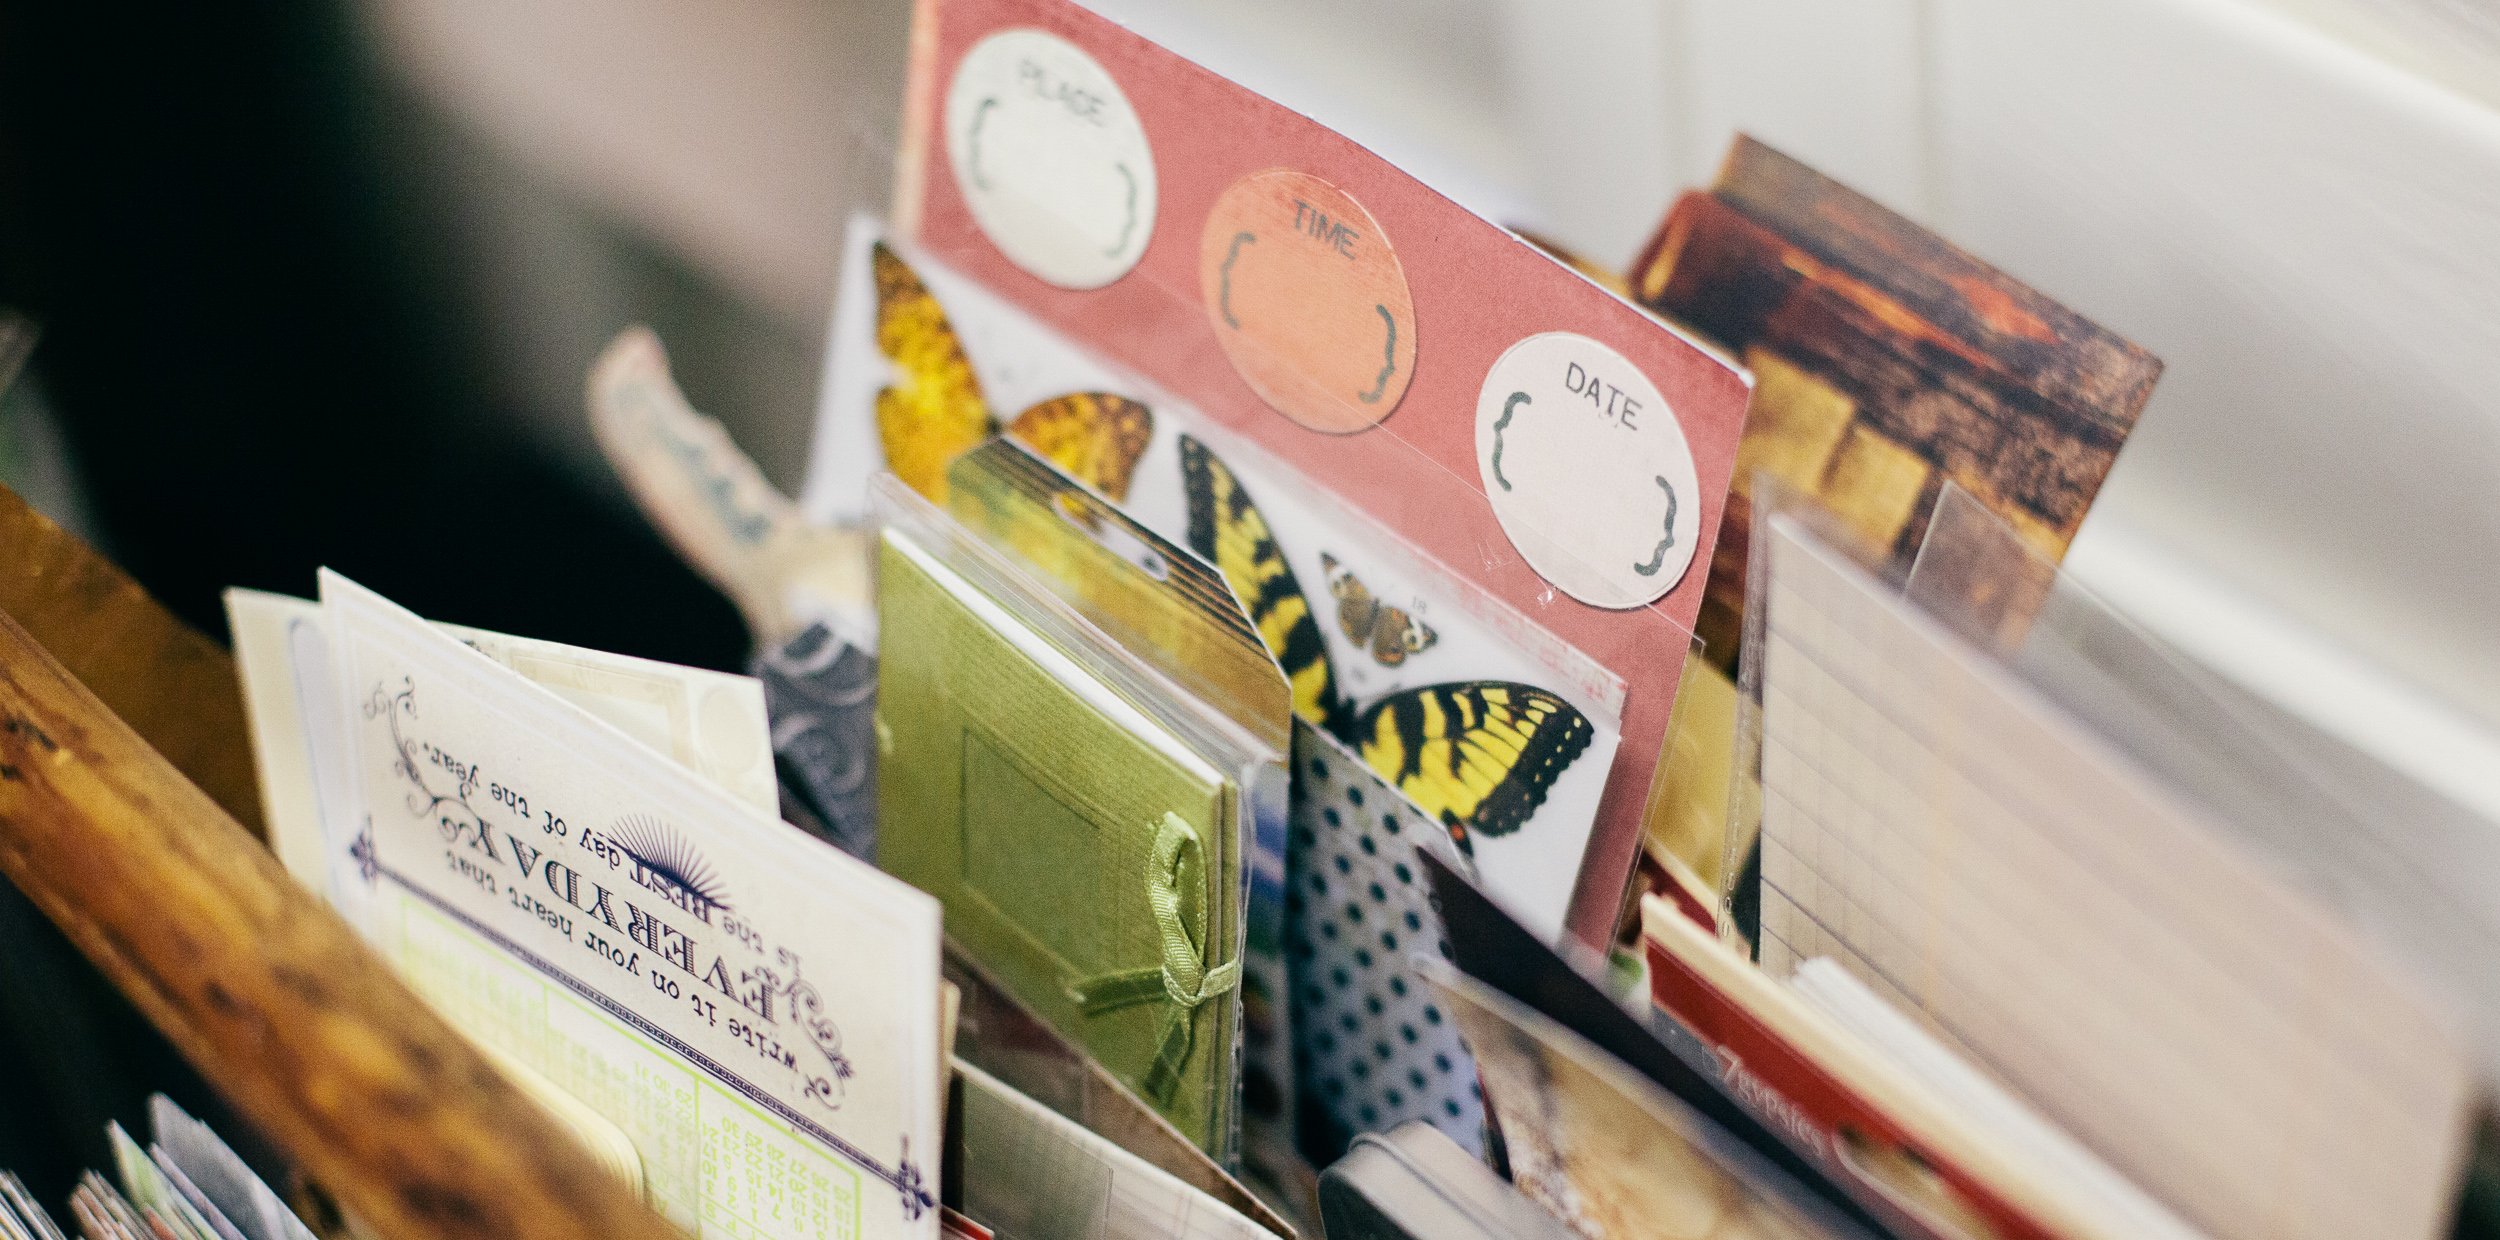
Let's discuss organizing a mess that has been the bane for many scrappers: die cut shapes (the ones that are already cut out). There are many shapes, sizes, materials (printed and raw), colors and themes; it’s difficult to find a system that works. But we WILL conquer these troublemakers!
First, let’s dive into organizing your die cuts. Your considerations depends on how you scrap and how you organize your other embellishments. You can organize by theme (i.e. baby, Christmas, quotations, etc.), by color (which works well for things like blank tags), by type (borders, tags, frames), or by manufacturer (which is a good option if you like to keep sets together). You don’t have to choose one category; you can have a mix if that works better for you, as long as you know where your stuff is! You’ll also need to decide if you want to remove them from their original packaging (whether it be sheets or boxes), or leave them intact. If you choose to separate, it’ll be easier to organize by theme or color. If you leave them attached, it’ll be easier to sort them by manufacturer.
Second, now that we’ve addressed how to divide those piles, let’s look at where to store them. Here are a few options:
- 3-ring binders with divided page protectors
- Zip-style bags, hanging on a clip-it-up-type-unit or pants hanger, or stacked in baskets/bins
- Shallow drawers, or in a multi-drawer chest
- Acid-free envelopes in a photo box (for smaller die cuts)
- Clear plastic shoe boxes or photo boxes
- Tilt bins (for smaller die cuts)
- Hanging file folders
- Accordion files or expandable organizers
- Mini photo albums
- Clear CD/DVD case or tower
Stacy combined two methods of sorting: by theme and by color. The majority of her die cuts are in a storage cart, which fits under her main work table.
Her first method of sorting all her die cuts is by theme. She has boxes labelled "Baby Die Cuts," "Boys," "Stars," "Journaling Blocks," "Floral," "Swirls," "Animals and Nature," etc. If it’s theme-related, it goes into the applicable box.
Her second method of sorting is identical to her box storage for alphabet sets. It’s located on the other side of her work table. She uses photo boxes (one box per color) and a box for her generic die cuts (i.e. not theme oriented). If she’s looking for a purple tag, she goes to her box labelled "Purple" to find it. If she’s looking for a purple tag with a puppy on it, she goes to her box labelled "Animals and Nature."
Further Insight Into Organizing Paper and Chipboard Die Cuts
As I purged my die cuts (even those that were sticker backed), I dealt with paper die cuts, also. I had placed mine in acid-free envelopes, by theme, with my stickers. I have dies and die-cutting equipment, so it didn’t make sense to keep loose, already-cut dies bogging down my systems. I bagged everything and donated them.
The die cuts that come with collections stay with their collection in themed holders until I use the materials on layouts. One of my messes was printed chipboard pieces left over from these projects. You know, those pieces you like and still want to keep, but they are now separated from the collection you just used. I used to cut them apart and store them by my themed paper (and still do from time to time if they’re obviously theme specific), but I noticed while purging that I wasn’t using most of them. I’d think, “Oh, this is really cute and I should use it.” However, that wasn’t realistic for my system. I changed my thinking again, and for now, I continue to donate them.
My paper and chipboard die cut sorting system is three-fold:
- Chipboard shapes with an obvious theme go into embellishment holders by their themed paper containers.
- Vintage-style and journaling pieces go into baskets in my strawberry carrier.
- The remaining shapes go into a “digger-style” bin in the closet next to other chipboard supplies--raw chipboard alphabets, raw shapes, sheets of chipboard, and unused chipboard mini albums. I can sit on the floor in the closet and quickly dig through the bins to find what I need.
The system is simple because I don’t keep lots of dies on hand “just in case”. Since I have equipment, I no longer buy pieces to have on hand, and I’m using what I have instead.
Summary
- Find an organizational system for your paper and chipboard die cuts that works for you.
- Choose the right containers for storing your paper and chipboard dies within your organizational system and in your studio.
- Implement this system with consistency so that you stay organized and can keep track of what paper and chipboard die cuts you have.
If you are looking to improve upon your organizational skills within your craft space, check out these greatly informative articles:
- How to Organize Projects-In-Progress and Kits
- How to Sort and Store Your Scrapbook Paper Paper Scraps
- Crafty Ways to Organize Your Craft Supplies
Are you in search of additional die cutting resources? Explore further die cutting knowledge through Scrapbook.com's article, The Ultimate Guide to Die Cutting!
Do you have a fabulous organizational system that you feel other crafters like yourself would benefit from seeing? Show us by posting your images into the Scrapbook.com Gallery, and don't forget to tag #LifeHandmade and #Scrapbookcom!
This article is part of our free class called Get Organized. To further expand on your craft space organizational skills, sign up and take the class for free here!


