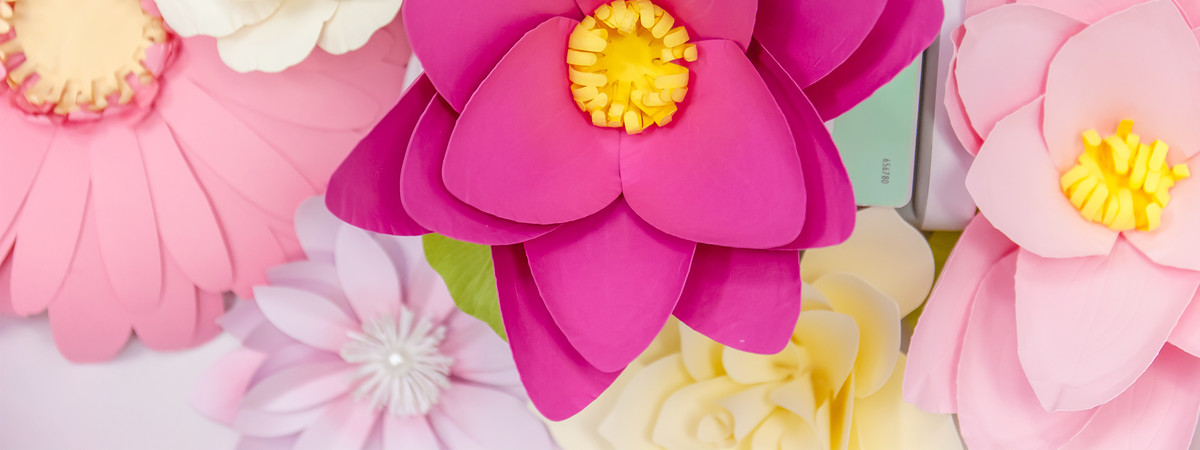
It was Hans Christian Andersen who said "Just living is not enough... one must have sunshine, freedom, and a little flower." We creative-types often change up our decor or create D.I.Y. party decor for the special celebrations and events in our lives. It's safe to say that one go-to icon for such events is flowers!
Flowers are always a success when it comes to bridal parties, weddings, birthday party back drops, baby showers, or everyday home decor.
David Tutera, Wedding Planner and celebrated Party Guru, joined us to share his insider tips, tricks, and secrets to creating paper flowers and implementing them into your events in a sophisticated and timeless way.
Supplies Needed to Make Paper Flowers
- Die Cutting Machine
- Sizzix Celebrations Framelit Dies designed by David Tutera
- 6" x 12" paper (we love this one)
- Glue Gun (this one works great)
- Crease Tool
- Ink and Blending Tool
How to Make Paper Flowers
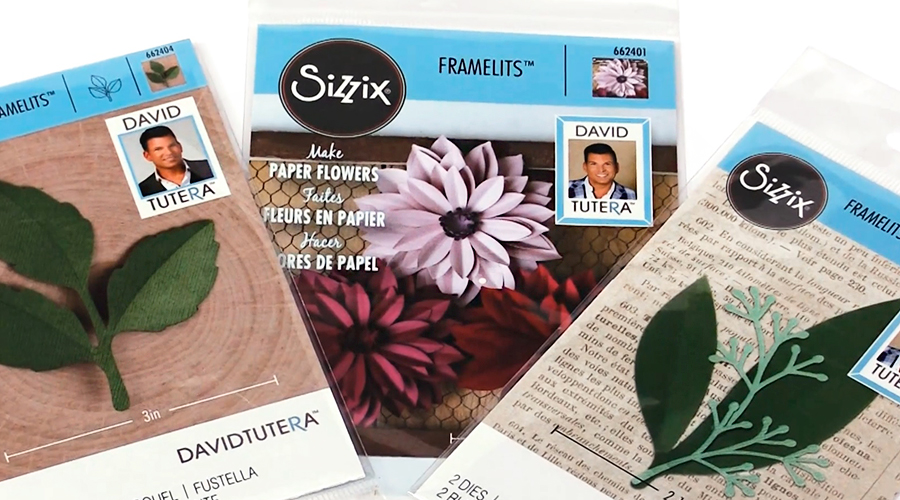
First, You'll need your die cutting machine and at least one of the flower dies from David Tutera's new collection with Sizzix. There are a variety of popular flower options and sizes, from the Dahlia (featured in the photo above) to the Large Lotus, Rose, and more. We recommend also getting one of the leaf dies to accent your evergreen flowers.
Once you have your supplies ready to go, you're ready to get started!
Note: Each die includes instructions on how to use it.
Following the instructions on the die, first, you grab a 6" x 12" piece of paper and fold it in half, "landscape" or "hamburger" style. This paper folding technique is used for all of the flowers in David Tutera's collection.
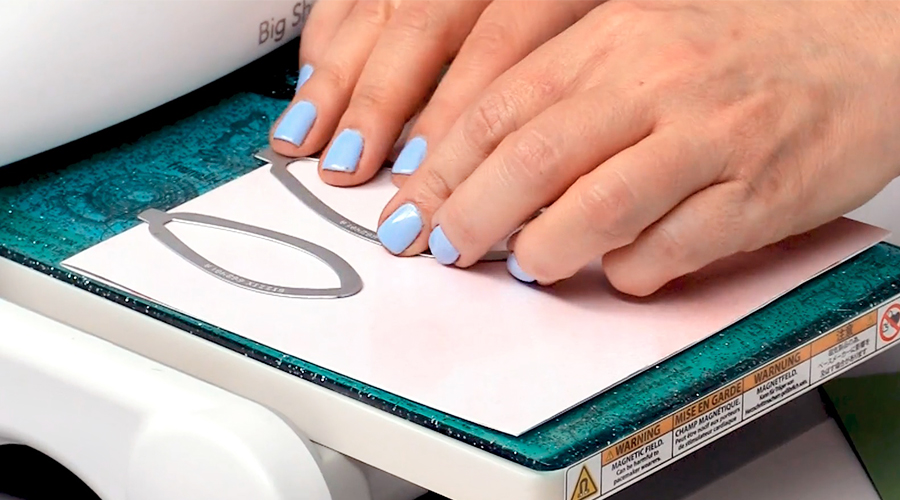
Next, lay your folded paper on your cutting pads and place your petal dies atop, the edge of the die against the fold of the paper.
Place another standard cutting pad on top and roll your paper and dies through. Repeat this process with however many petals you'd like to have on your flower. You can create more simple flowers with fewer petals, or big, bushy, billowing flowers with a potpourri of petals! It's up to you.
Once you have your petals cut out, you'll notice they each have a "fold" in the middle. Unfold them and lay them flat.
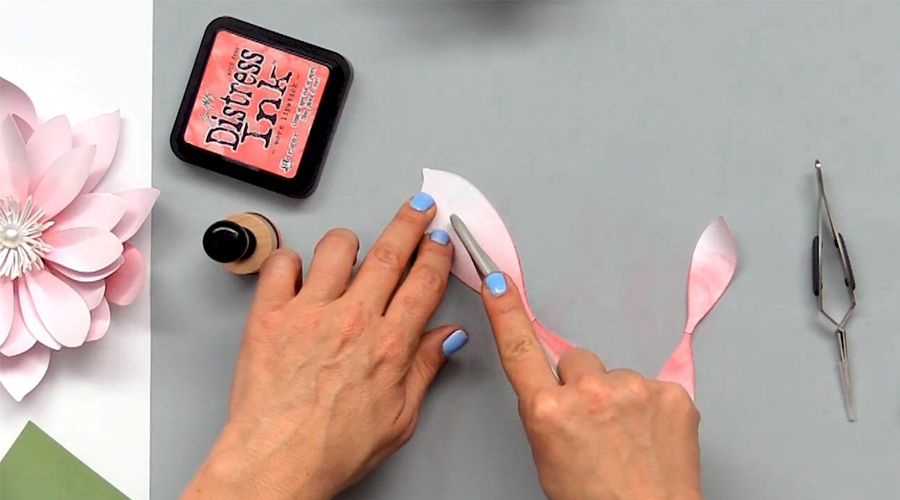
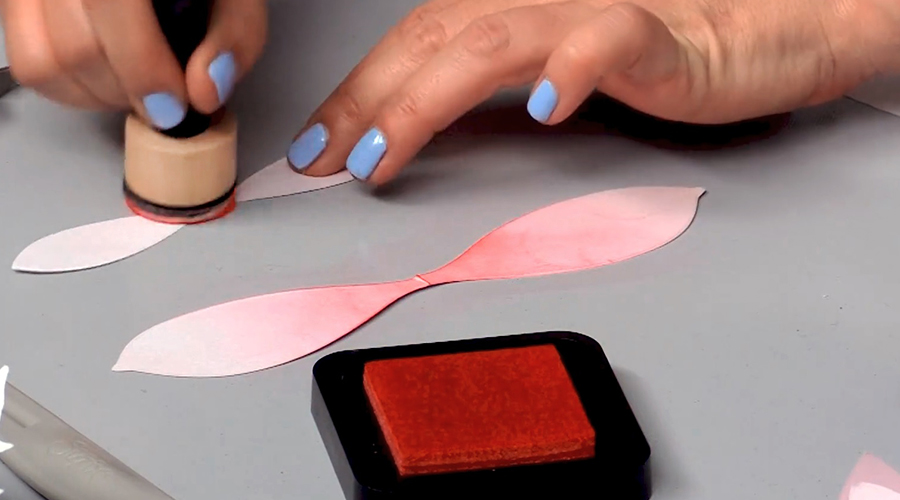 It's important to point out that you can decorate your petals however you want, or even use colored cardstock to avoid inking or coloring. In this example, we are creating a blended ombre effect using Distress Ink.
Using a blending tool, generously saturate the foam or sponge top in your chosen color, then blend in a circular pattern, starting at the fold of the petal and working your way to the tip. If you're unsure how to blend your Distress Inks/Oxides, we have a helpful resource that tells you how to blend Distress Inks here.
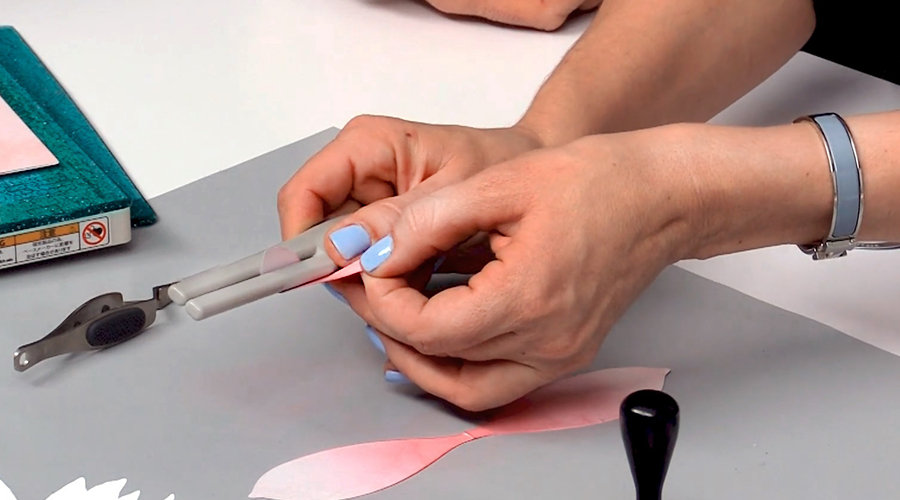
After you've decorated your petals, it's time to give them life! This is where your crease tool comes into play!
When creating paper flowers, you'll want to start with the "Crease" end, which is the "hook" shape you see above.
With your petals still lying flat on your work surface, use the tip of your tool to create a beautiful vein in your flower petals and leaves, from the fold to the end by simply applying light pressure.
 Then, turn your tool around in your hand and pick up your petal. Slide the paper through the crease, then twist and gently pull, similarly to how one would curl Christmas ribbon. We recommend practicing a few times with a piece of scratch paper to ensure that you get the effect you want on your finished product.
 The Crease & Curl Tool gives you the ability to take your paper flowers from "project" to "polished," leaving you a piece of art for your events that not only looks beautiful and lasts forever, but also leaves your guests saying "how the heck did you do that?!"
To put all of the petals together into one lovely flower, use a hot glue gun. Feel free to embellish the center of your flower with beads, glitter, fabric, and more!
Now that you know how to create these memorable keepsakes, learn how and where to display them from David Tutera himself!
DIY Paper Flower Ideas and Inspiration
Unique Cake Decorated with Flowers
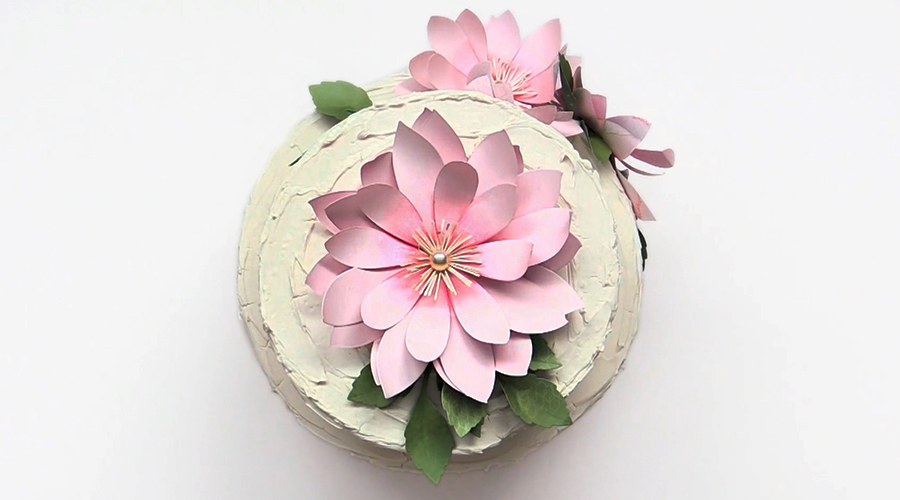 Whether you're decorating for an upcoming wedding, rehearsal dinner, birthday party, or otherwise, chances are... there is going to be cake. This is great for two reasons - one, this means you'll soon be enjoying a delicious slice of cake. Two, this is an opportunity to use your newly found skill - paper flower decor!
David Tutera suggests adding a beautiful paper flower to the top of your cake, or along the sides. If you have small cakes, add multiple smaller flowers or one large one to really give your cake that "wow factor" you're looking for.
Wedding or Event Centerpiece Idea
 Centerpieces help create a personalized and beautiful ambiance at any event you have planned. David shares an affordable and highly-customizable centerpiece idea. With an inexpensive glass vase (the Dollar Store and Target usually have a variety of options that don't break the bank), David Tutera's flower dies, and an electric candle or small string of battery operated twinkle lights, you can easily create centerpieces like the one pictured above - in your favorite flowers and colors!
Place one on every table at your event, on the Sweetheart's Table at a wedding, or all in a row along a buffet table!
Party Favor Idea
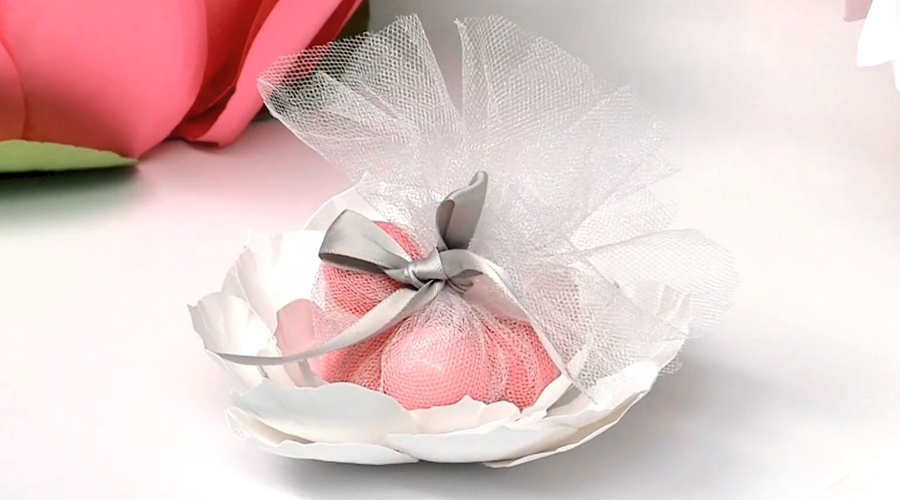 Create beautiful flowers that can sit atop your guests' plate or setting and place a little treat inside. From candied almonds to cupcakes and bubbles, the limit is your imagination! Not only can your guests take home a treat, but also a beautiful flower that will live forever!
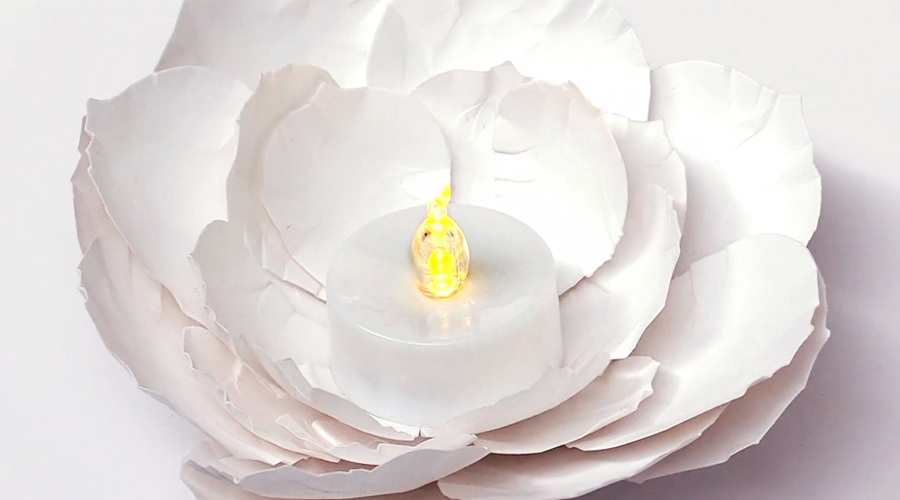
If your event doesn't include party favors, instead, add an electric tealight candle to the center of a lotus or magnolia to add a subtle and sophisticated light to your tables.
Handmade Floral Napkin Decor
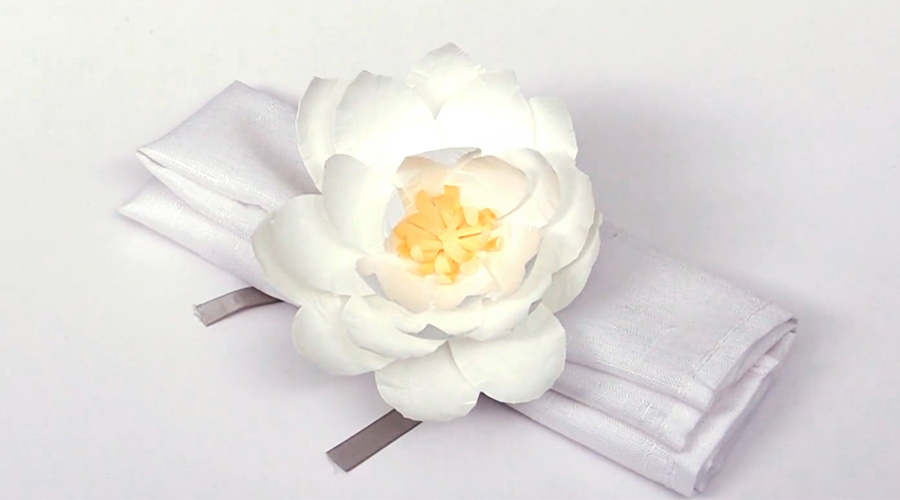 If you have linens at your upcoming event, you can create stunning floral napkin holders with some of the smaller flower dies from David Tutera's line. Just create flowers in your chosen color palette and, voilà, you have created a touching decoration that will not go unnoticed.
A big thanks to David Tutera and Jen Long for sharing their insight! Make sure to check out more tips and ideas from both of them here.
Shop David Tutera's entire line here!


