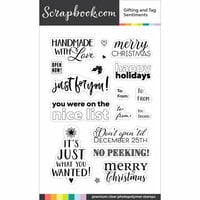
Adding a personalized touch to your gifts this holiday season is simple with the Scrapbook.com Exclusive Gifting and Tag Sentiments stamp set. Add in a few supplies from your stash, and you're ready to go!
For a complete list of supplies used for these tags, please see the list at the bottom of this post.
Here are a few ideas to get you started!
For this initial set of tags, I stamped directly to the tag base. First, I die cut the tags using the Nested Tags Jumbo Decorative Die Set.
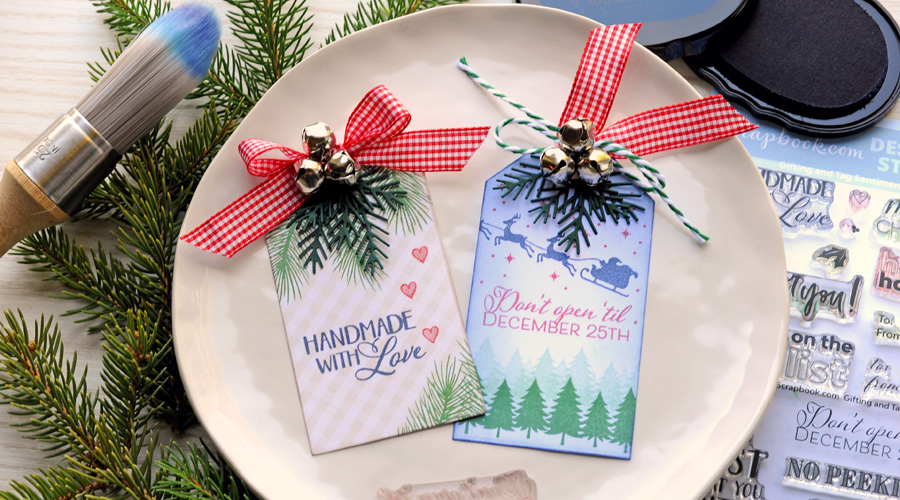
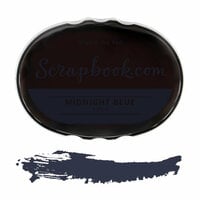
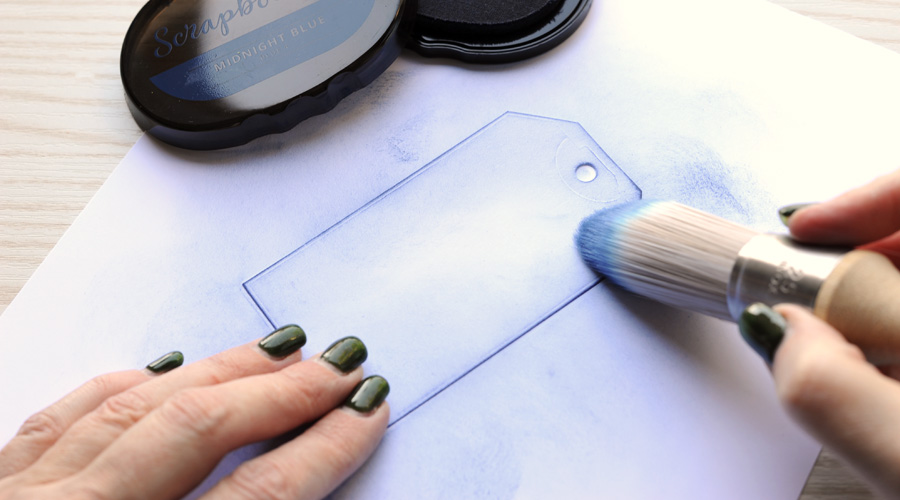
I wanted the "December 25th" tag with Santa and his sleigh to have a dark blue night sky. I die cut the tag using white cardstock, as using dark paper would have resulted in the stamp not being visible. I then used the Stencil Blending Brush to swirl Midnight Blue Hybrid Ink along the edges in a circular motion. This created the perfect night sky for Santa and his sleigh from the Sunny Studio Here Comes Santa stamp set.
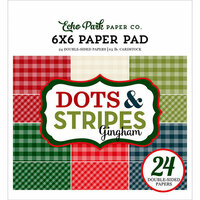
 A fun way to dress up your stamped images is by stamping them onto subtle patterned papers. I used an understated gingham patterned paper in tan for the backdrop of the "Handmade with Love" tag. The patterned paper adds depth to this tag and makes the colors of the stamped images really stand out.
Top both tags off with a beautiful ribbon, jingle bells, and a few pine sprigs die cut from Carta Bella Classic Green Linen cardstock and you have two adorable tags ready to adorn your packages.
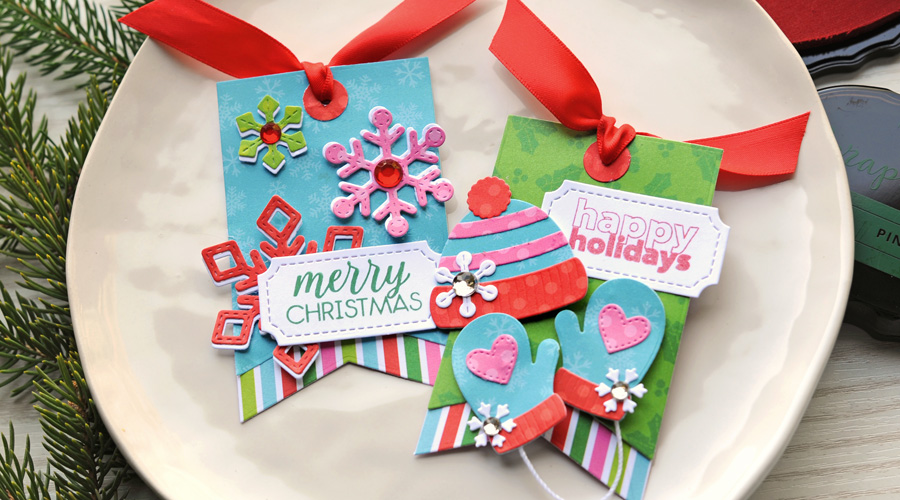
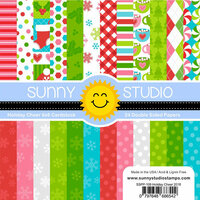
This next pair of tags features die-cut shapes in bright colorful patterned papers from the Holiday Cheer set by Sunny Studio Stamps. I also deviated from the traditional tag shape and used a flag pennant shape instead.
First, I cut two flags out of complementary patterned papers and then layered them on top of one another to make each tag longer. I love the way the striped patterned paper looks peeking out at the bottom of each tag. It adds the perfect pop of color and pattern!
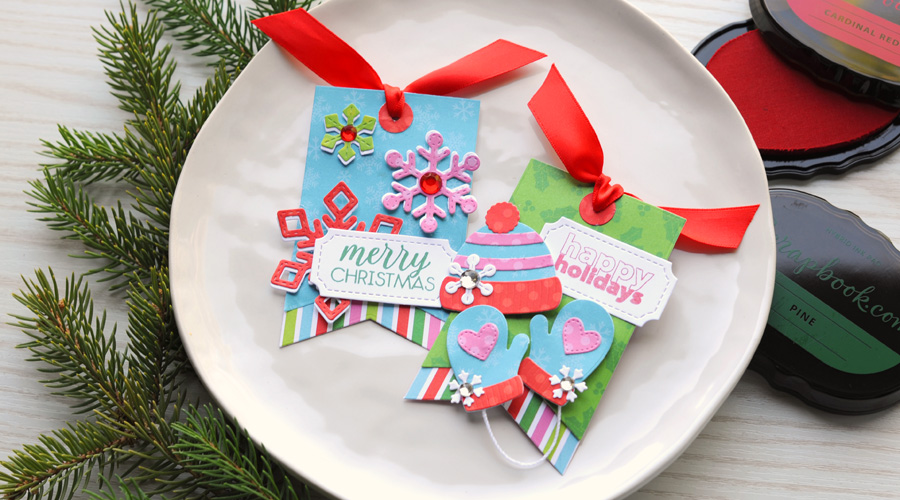
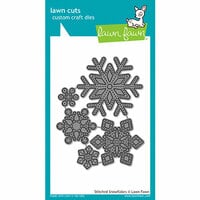
I die cut several shapes to decorate these tags. The colorful snowflakes were created with the Lawn Fawn Stitched Snowflakes Die Set, and the cheery hat and mittens were created using the Sunny Studio Warm & Cozy Die Set.
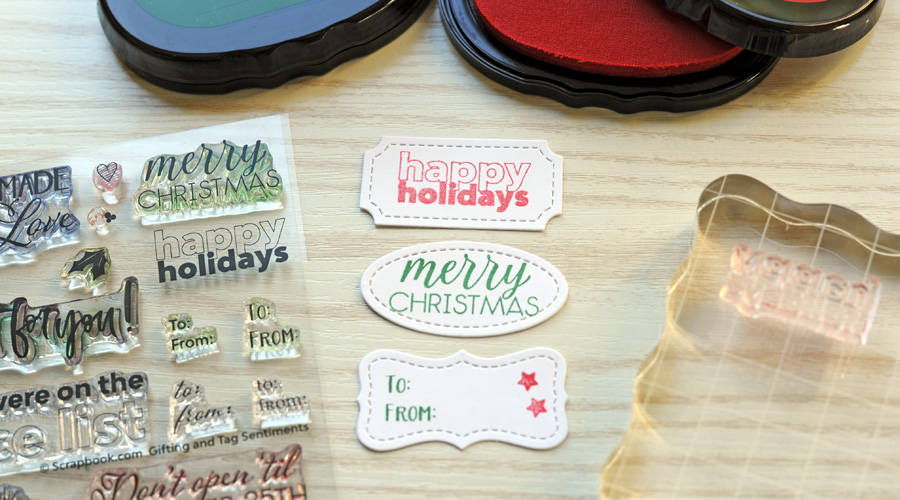
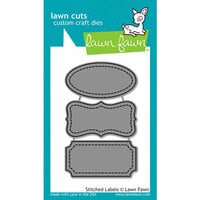
I stamped the sentiments for each tag on white die cut labels, created with the Lawn Fawn Stitched Labels Die Set using an acrylic stamp block.
This last set of tags have a traditional, nostalgic feel about them. I used white die cut tags as the tag base, but this time I used a wintery embossing folder.
I left one of the tags white and then decorated it with layered die cut vellum circles and silver and white snowflakes. I used the die cut label shapes with the stamped sentiments again, just like the colorful tags above. A cheery red button tied with white twine in the center of the snowflake adds a fun layer of dimension.
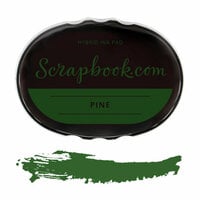
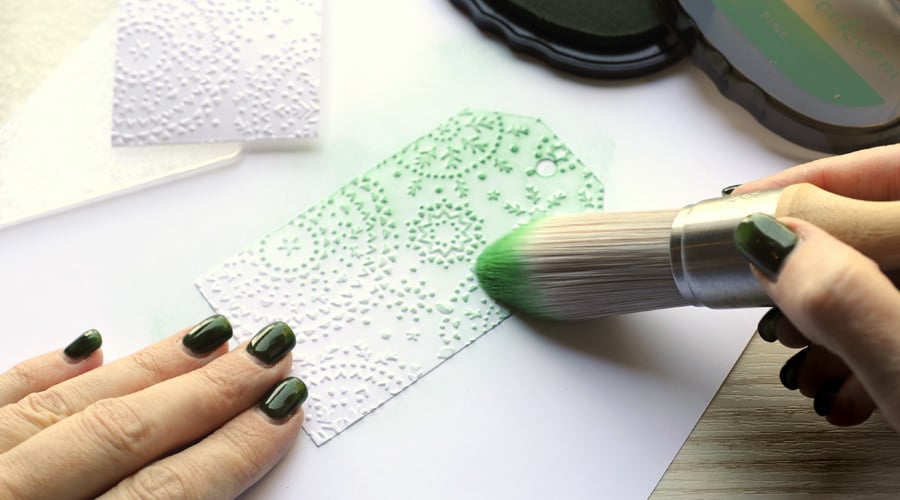 For the second tag, I used the Stencil Blending Brush again, this time swirling Pine Hybrid Ink across the embossed design.
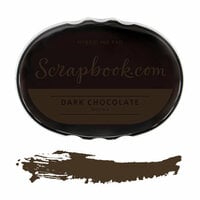
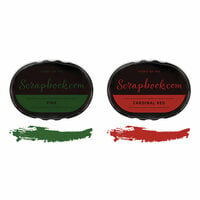
The poinsettia flower for this tag was die cut from an Art Foam Sheet by Kaisercraft. I love the different texture the foam adds. The stamped holly leaves were created using the Pine and Dark Chocolate Hybrid inks. Here's how!
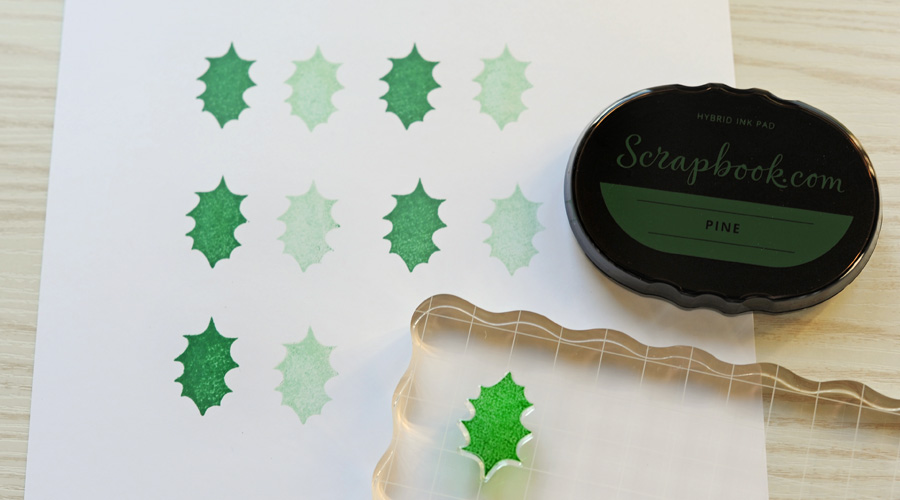
First, use the Pine Hybrid Ink to stamp a light green base layer of the leaf onto white cardstock. To accomplish the lighter green color, first, ink up the leaf image and stamp it onto white cardstock. Then, without reinking the stamp, make a second impression. The second image will be the lighter green that you will want to use as the base of the leaf.
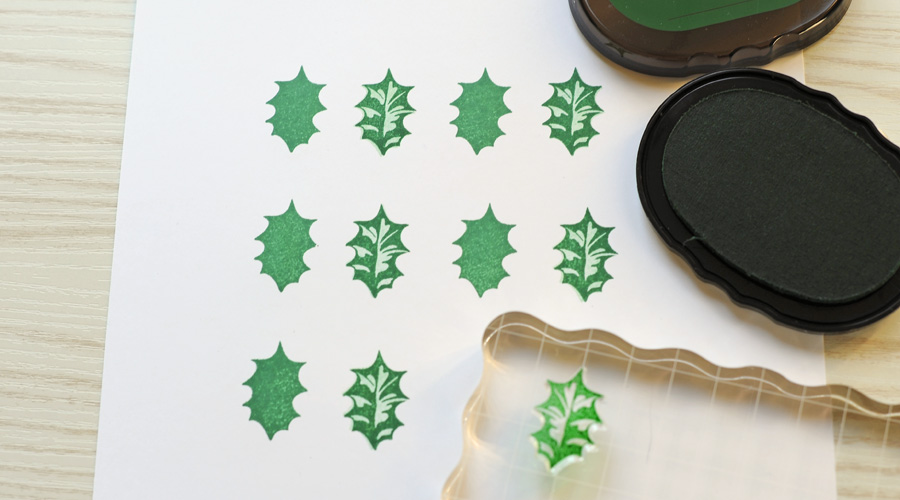
The next layer of the leaf will be stamped again with Pine Hybrid Ink, this time with full strength layered right on top of the light green base leaf image.
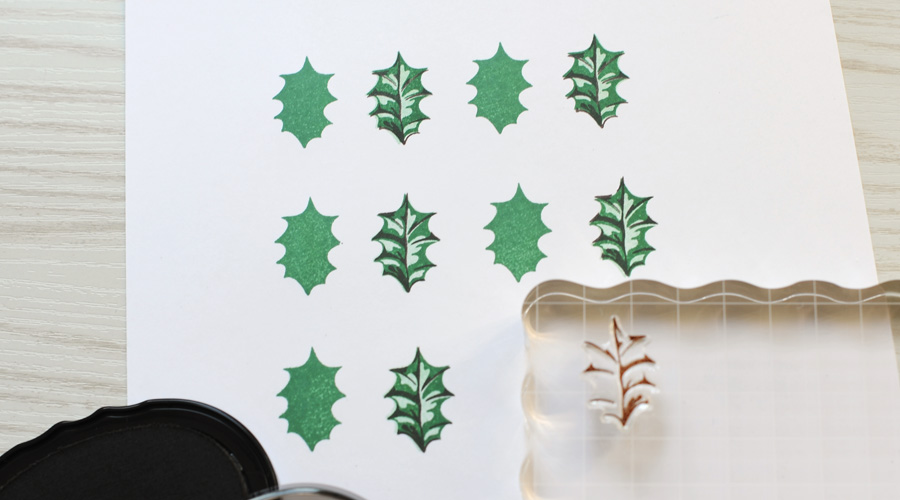 Finally, for the veins of the leaves, use Dark Chocolate Hybrid Ink to stamp the third layer, as shown above. Cut out the holly leaves and add them to the poinsettia along with white die cut branches.
Here's another look at the completed embossed tags!

Thanks so much for joining me today! I hope you feel inspired to pull out your supplies and add a personalized, handcrafted touch to your holiday gifts this year!
 A BIG thanks to Jana Eubank for creating this beautiful how-to. Please check out her website here. Also, check our her content on YouTube, Facebook, and Instagram. You can see a variety of beautiful projects in her Scrapbook.com gallery here!