With the craft world blossoming with paisley patterns, retro color palettes, and tons of products that feature period accurate spin-offs, it's pretty safe to say that vintage is in. Designer Maggie Holmes shares an album idea that allows you to give a vintage feel in your memory keeping, while still parading fresh style. Huge bonus? This vintage album is also sustainable!
This easy method can be repeated as many times as you'd like until your bookshelf is overflowing with mini-albums that will wow your friends and be passed down as treasured keepsakes for generations to come.
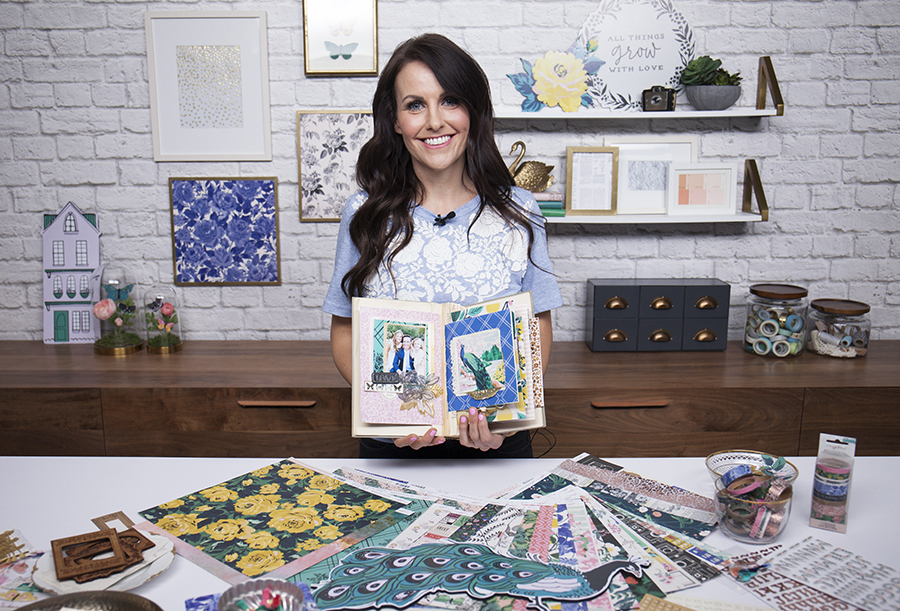
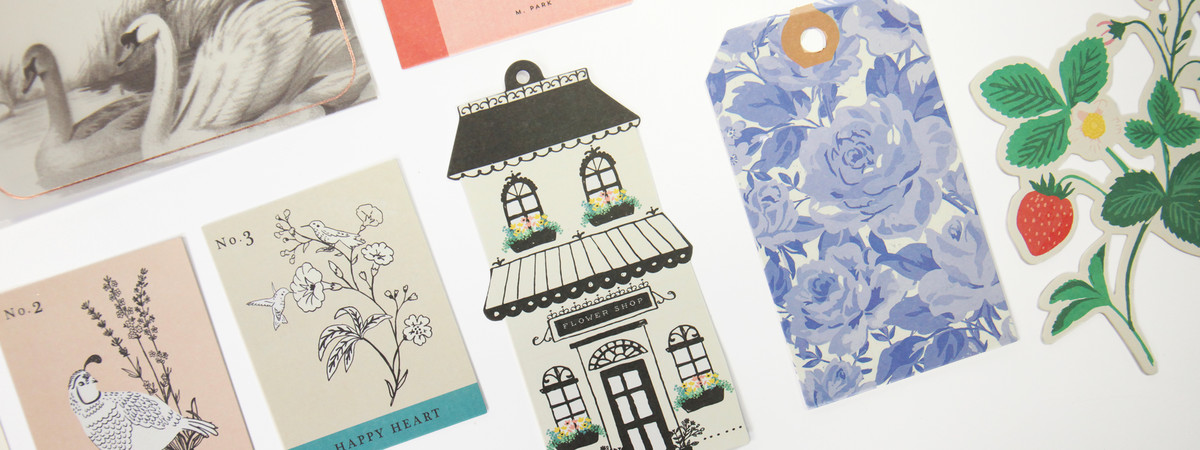
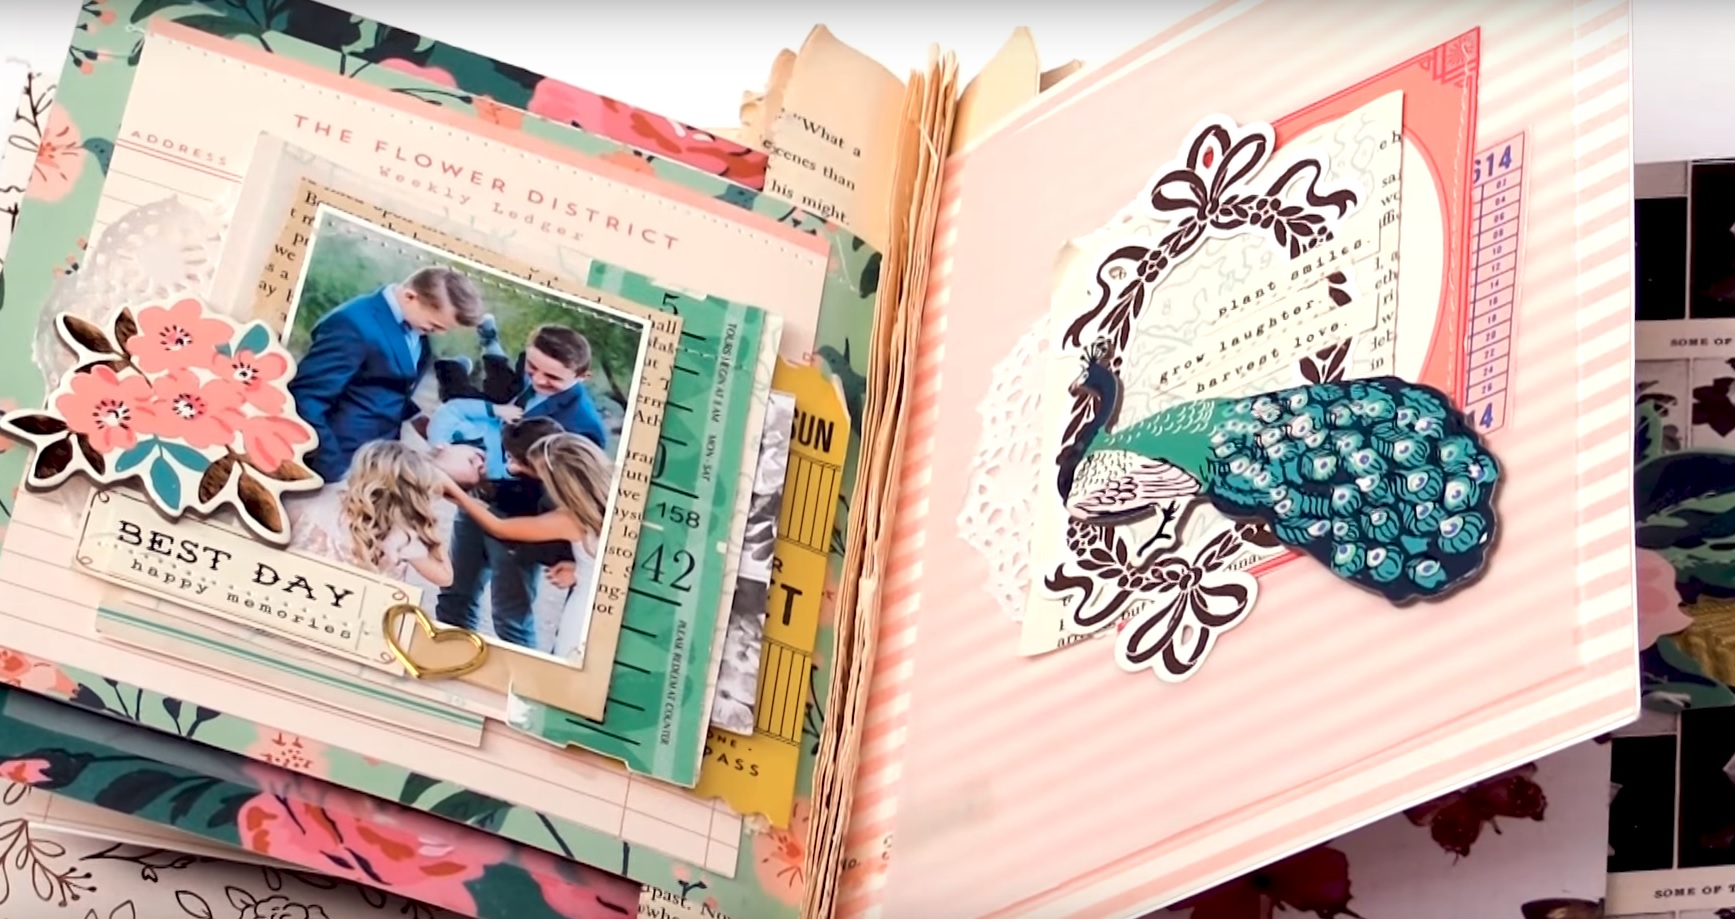
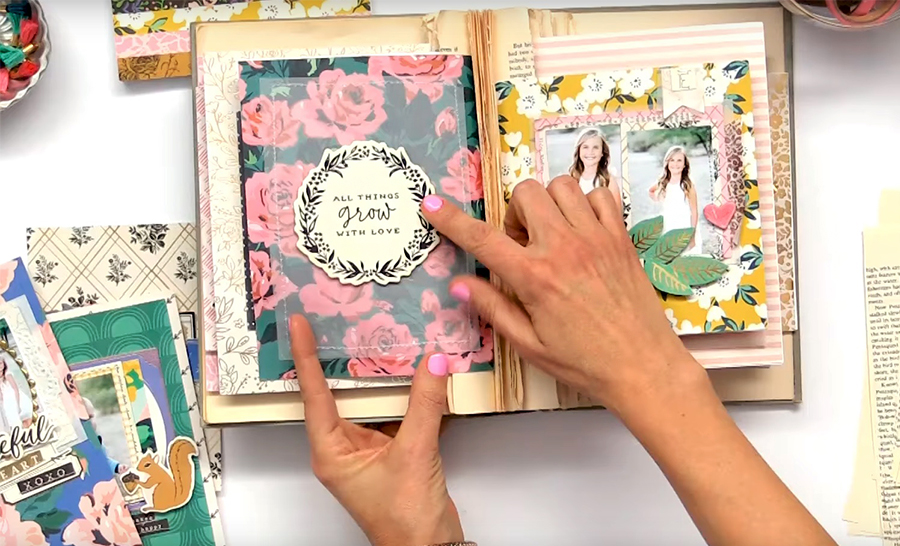
Maggie created this entire gorgeous mini-album with her Flourish collection designed for Crate Paper.
Unique Vintage Mini-Album Supply List
- An old hard cover book that you are willing to take apart and repurpose (you can find these at second hand stores and re-used book stores)
- Scrapbook paper of your choice
- Printed photographs
- Permanent adhesive
- A craft knife
- Embellishments
Create Your Mini-Album Pages
First thing's first - you need to create your layout pages! This is absolutely the most time-consuming part of this enchanting venture, so give yourself plenty of time to create your mini-layouts. You may need to complete your layout pages in multiple sittings, and that's okay!
There are countless ways to create layouts, we can surely all agree. However, when it comes to this specific vintage mini-album, you'll want to follow a handful of specific criteria to ensure you get that retro-vibe you're going for.
Create Small Layout Pages That Will Fit Inside Your Book of Choice
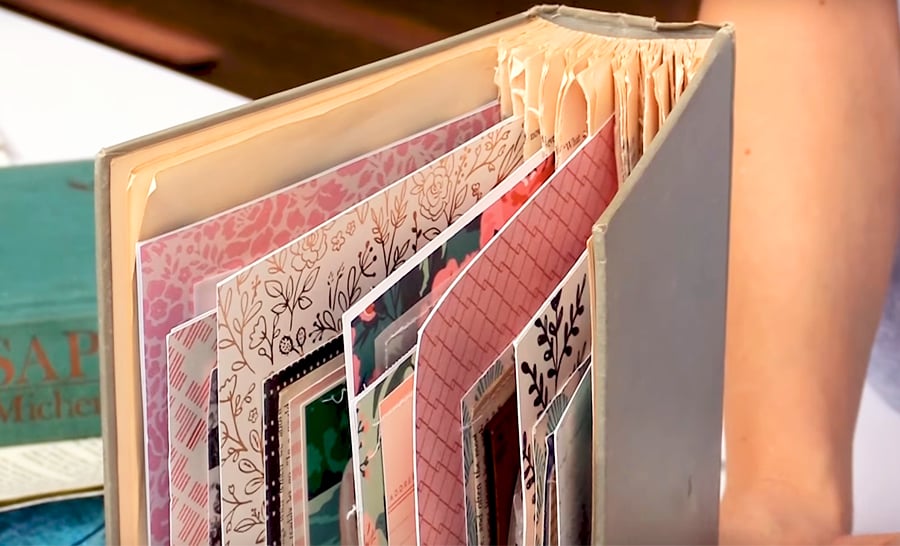
Traditional 12" x 12" layouts won't work for this sweet mini-album. Instead, create smaller layout pages that can fit into the book you will be repurposing, that way they don't stick out in lumpy ways and get their edges and corners bent and worn.
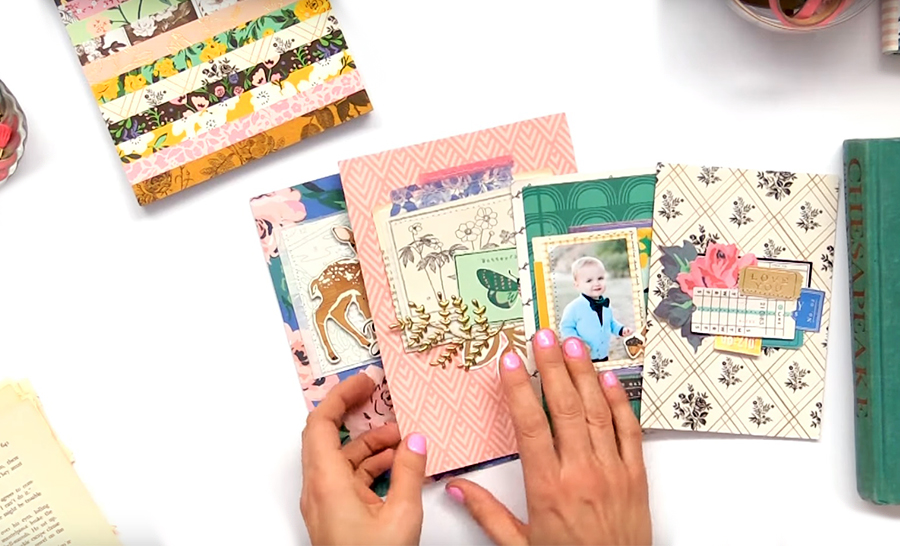
Create Layout Pages in Varying Shapes and Sizes
One of the most important parts of making a vintage-style mini-album is the size of your layout pages. In this project, it will suit you well to create a variety of sizes and shapes (squares, rectangles, etc.) of layout pages to get a "patchwork" feel.
Create Layout Pages That Are Single Sided
Make sure you create layout pages that are single sided. This will help your layout pages stand sturdy on their own, so they don't flop over themselves if you love to add chunky embellishments and chipboard. This also helps if you like to add sewing elements, like Maggie does. Your single sided layout pages will be glued back to back.
Make Sure There Are Two
Lastly, make sure for every shape/size of page you create that you have two (or an even number) that are the exact same shape and size. That way you can easily glue them back to back - since they are single sided and the same size. If you have every single page a different size, their backs won't match up when you're gluing.
Make as many or few layout pages as you'd like for your book! If you love to create lusciously-layered layout pages, create less to ensure that they all fit in your book without getting smushed!
Design Tips from Maggie Holmes to Create Vintage-Inspired Layout Pages
- Go where your creative flow takes you
- Layer, layer, layer (pssst... great way to use up your paper scraps stash!)
- Add a variety of textures (doilies, vellum, fabric, sewn elements, foils, etc.)
- Not every page has to have photos and journaling. Some can just have elements you love to look at or are meaningful to you in some way!
How to Re-purpose Your Old Book
You will be taking apart the old book and adding your layout pages in at the same time, so make sure your layout pages are handy when you're ready to begin repurposing!
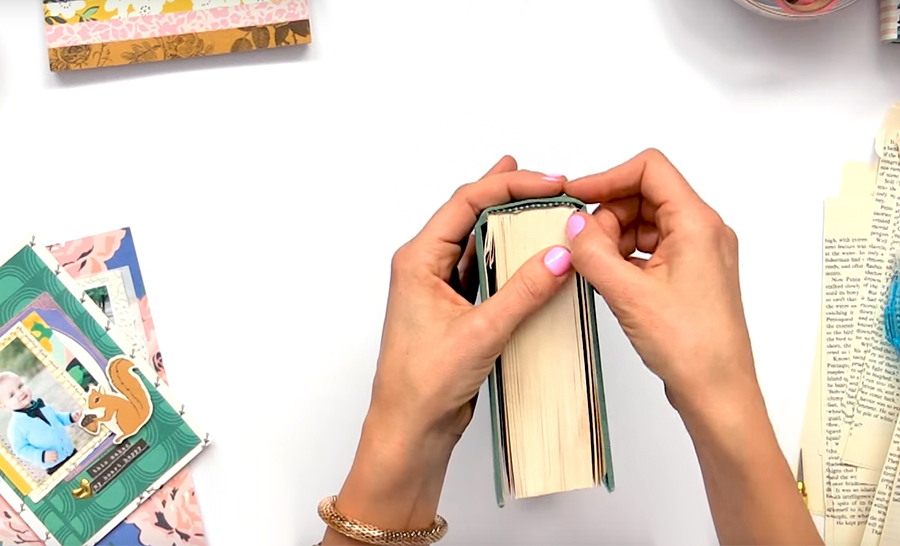
Stand your book up on your desk or counter top to look down at the top of its pages. You need to loosely measure where your new pages are going to go within your book. This is not an exact science, but instead an "eyeballing." If you have a total of 10 back-to-back adhered pages, you'll want to measure your book's pages out into tenths. You can make pencil marks to help you remember where you're at.
This is important because you will want your pages to be fairly evenly spaced. If you take out all of the beginning pages of your old hard cover and start adding in your pages without forethought, all of your pages will be in the front and the rest of the book will have big, empty gaps.
 Lay your book down and open the front cover. Leave a few of the beginning pages of your book intact, that way you can journal in them, decorate them, etc.
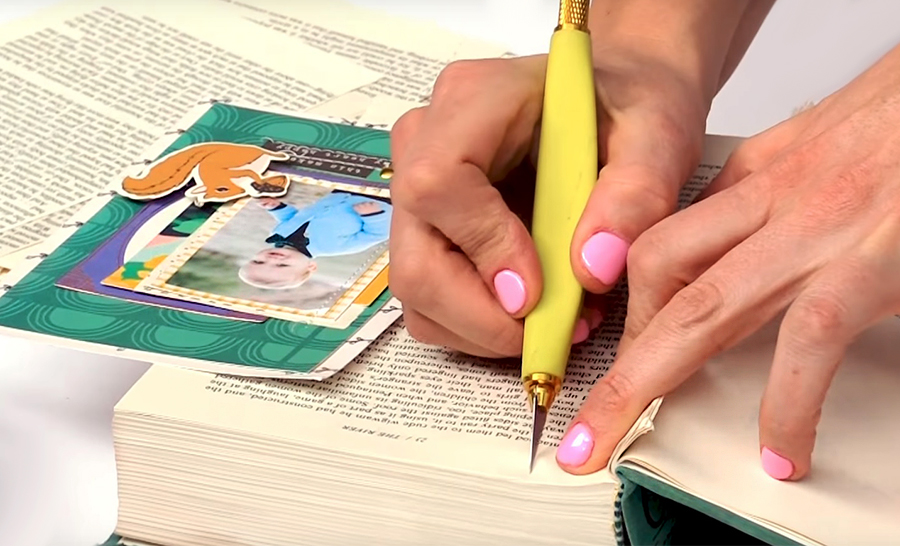
Take a sharp craft knife and begin to cut out your pages. Maggie warns against tearing the pages out of your book by hand, as doing so can destroy the binding of your book, thus it will fall apart entirely.
Caution: Though it takes more time, only cut out a couple of pages at a time. If you press hard and try to cut many pages at once, your craft knife may dull quickly or even break. Watch your fingers and always cut carefully.
To cut out the sheets you are going to dispose of, leave 3/4 of an inch near the binding of the book as to not destroy the binding and to maintain its sturdiness (see photo above for where Maggie is cutting). Repeat this until you get to the place you'd like your first layout page to be.
Once you get to the place in your old book you'd like your first layout page to be, instead of cutting the book pages out as you did previously (leaving 3/4 of an inch), cut about four pages and leave 2 inches of each of the book pages intact (this will become clearer in the photos below). This will give you extra space to glue your layout page into your book!
How to Put Your Vintage Mini-Album Together
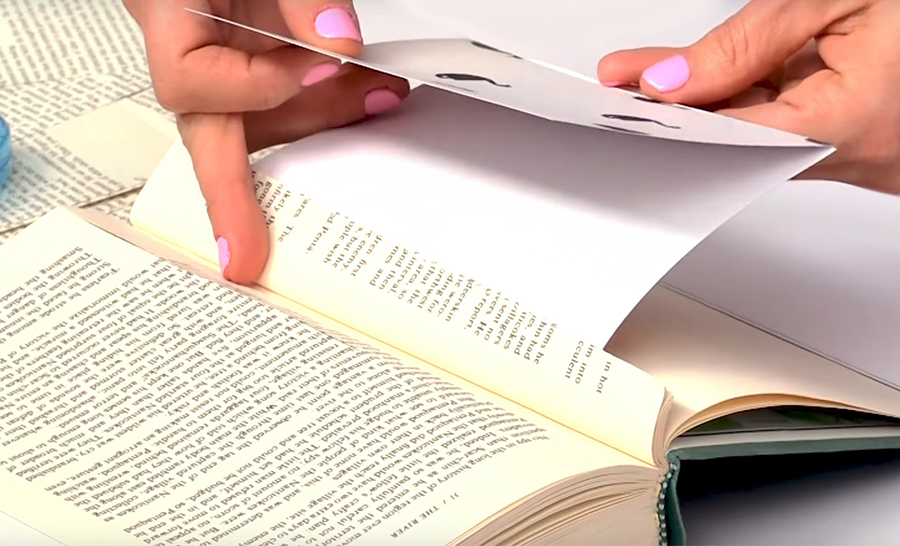
Choose which page you'd like to go first in your vintage mini-album. Hold your book open. You should see all of your short, cut page remains. Take the four pages you left longer than the others (the ones that are about 2 inches left intact). Your layout page will be adhered on the front of one of these longer sheets.
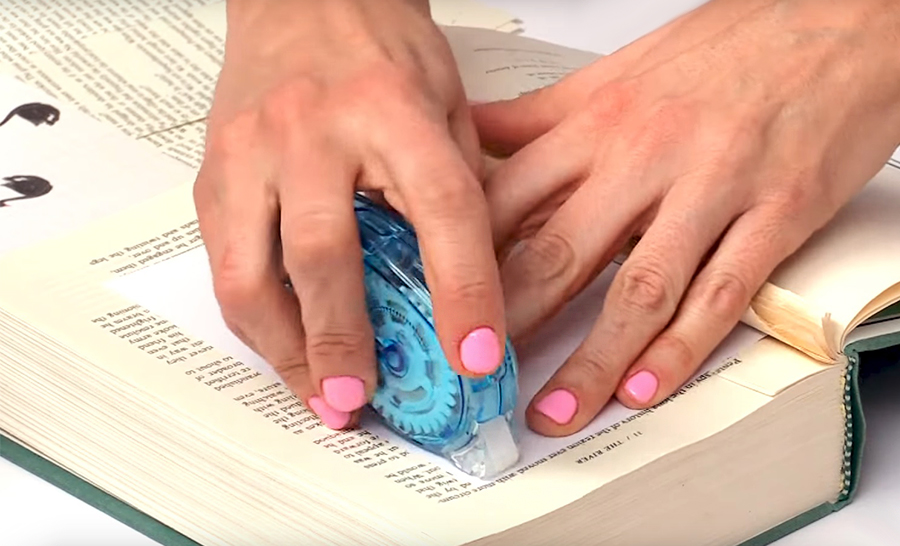
Make sure you have your layout page where you'd like it to be (right side up, etc.), then turn it over and add a generous amount of permanent adhesive to the side that will be going onto the top of your longer book pages.
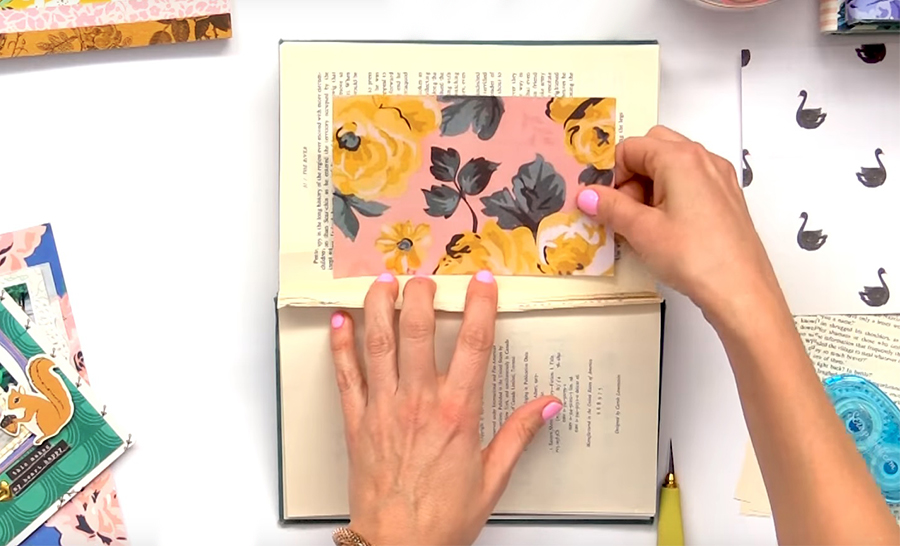
 Turn your page back around, so it's right-side-up, and place it atop the first of the longer book pages, like pictured above. Press down to make sure your layout page is adhered to the book pages. You should have three longer book pages left. Adhere all of them together by spreading each one apart, adding a strip of permanent adhesive between each, then pressing them all together to secure them.
You may notice at this point that your layout page isn't standing up well. That is because it is heavier than the original book pages, so it needs a little extra support. This is where your second single sided layout of the same size comes in handy!
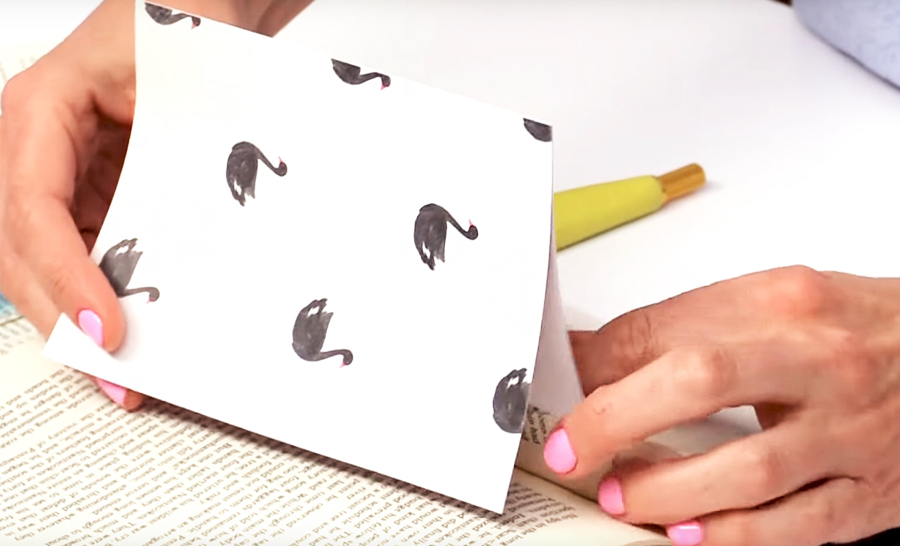
Grab the layout page you created that is the same size as this one and coat the entire back of it with permanent adhesive. To adhere it to the back of your first layout page, Maggie recommends positioning as follows:
 With the entire backside covered with adhesive, start with your book slightly open and with the outer edge of your layout page. Then, with only the outer edge adhered, stand your first page and partially adhered page upright (as demonstrated in the photo below).
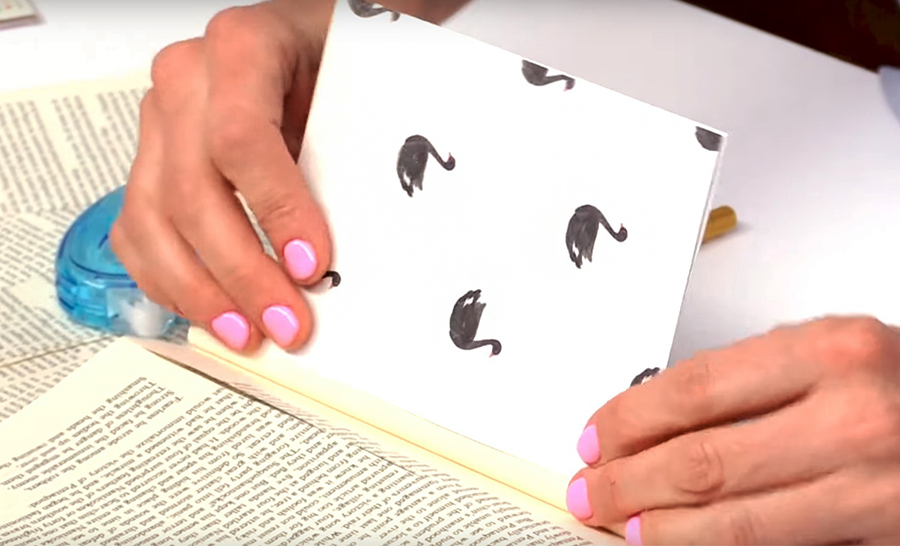
 While you keep the page upright, smooth down and enable them to adhere together from the top (outer edge) down. This will allow them to position themselves naturally. If you just adhere them while they are lying down flat, they may buckle or warp slightly when your book is open - which doesn't make a pleasant experience for the book reader!
Once they're pressed together completely, give them a few squeezes and - voila! - your first completed page is IN!
How to Finish Your Vintage Mini-Album
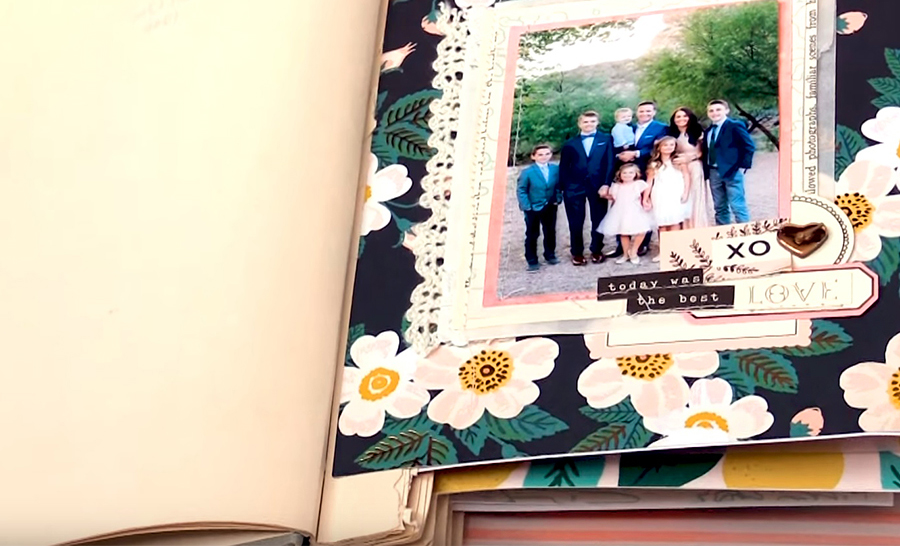 Repeat the process of cutting out pages and adhering them until your repurposed book is complete! Once your book is finished, you may decide that you want to go in and add more embellishments, photographs, hand journaling, etc. That's totally up to you!
 Place your finished book on your book shelf, coffee table, or bring it to work or Church to share with your friends and family! These also make great gifts that are durable, easy to store, and will ensure that your memories last lifetimes.
Summary: How to Create a Vintage Mini-Album Step-by-Step
- Get everything on your supply list (supply list is above)
- Create your single-sided layout pages in varying sizes (but with 2 of each size)
- Measure where your pages will go in your old book and take note
- Use a craft knife to cut the pages out of your book leaving 3/4" at the binding. Don't forget to recycle your cut out pages or save them for future art projects
- When you get to first pencil mark of where your first layout page will go, cut out four pages, but leave 2" at the binding instead of 3/4" as previously noted
- Adhere your first page in by adding permanent adhesive to the edge of its back side and pressing in between your 2" book page remnants
- Add your "second" page that is the same size as the first to the back of it by adding adhesive to its entire backside and then adhering from the outer part to the inner part, lifting the page upright as you press them together
- Continue to cut out pages, leaving 3/4" at the binding until you get to the next place you'd like your page to be and repeat steps 5 - 8 until your vintage mini-album is completed!
Watch the entire video tutorial here!
Note: Take care in which book you choose to repurpose, as once your book has been cut apart, you will not be able to put it back together. Take extreme care when choosing. If you cannot bear to cut a book apart, choose a damaged or already broken book to breathe new life back into it.


