If your album cover could talk, would it say "pick me up!"?
Scrapbookers are a creative group, so it's no surprise that they can see possibilities when it comes to decorating or altering an album cover. It's simply a continuum of their artistic expression.
The term "altered," when used in crafting, means that an object (a box, notebook, card front, frame, etc.) is given a new look or style. This is done through the use of paper, fabric, and embellishments on the outside (and in some cases, the inside) surfaces. The original is "altered" to become something new or improved.
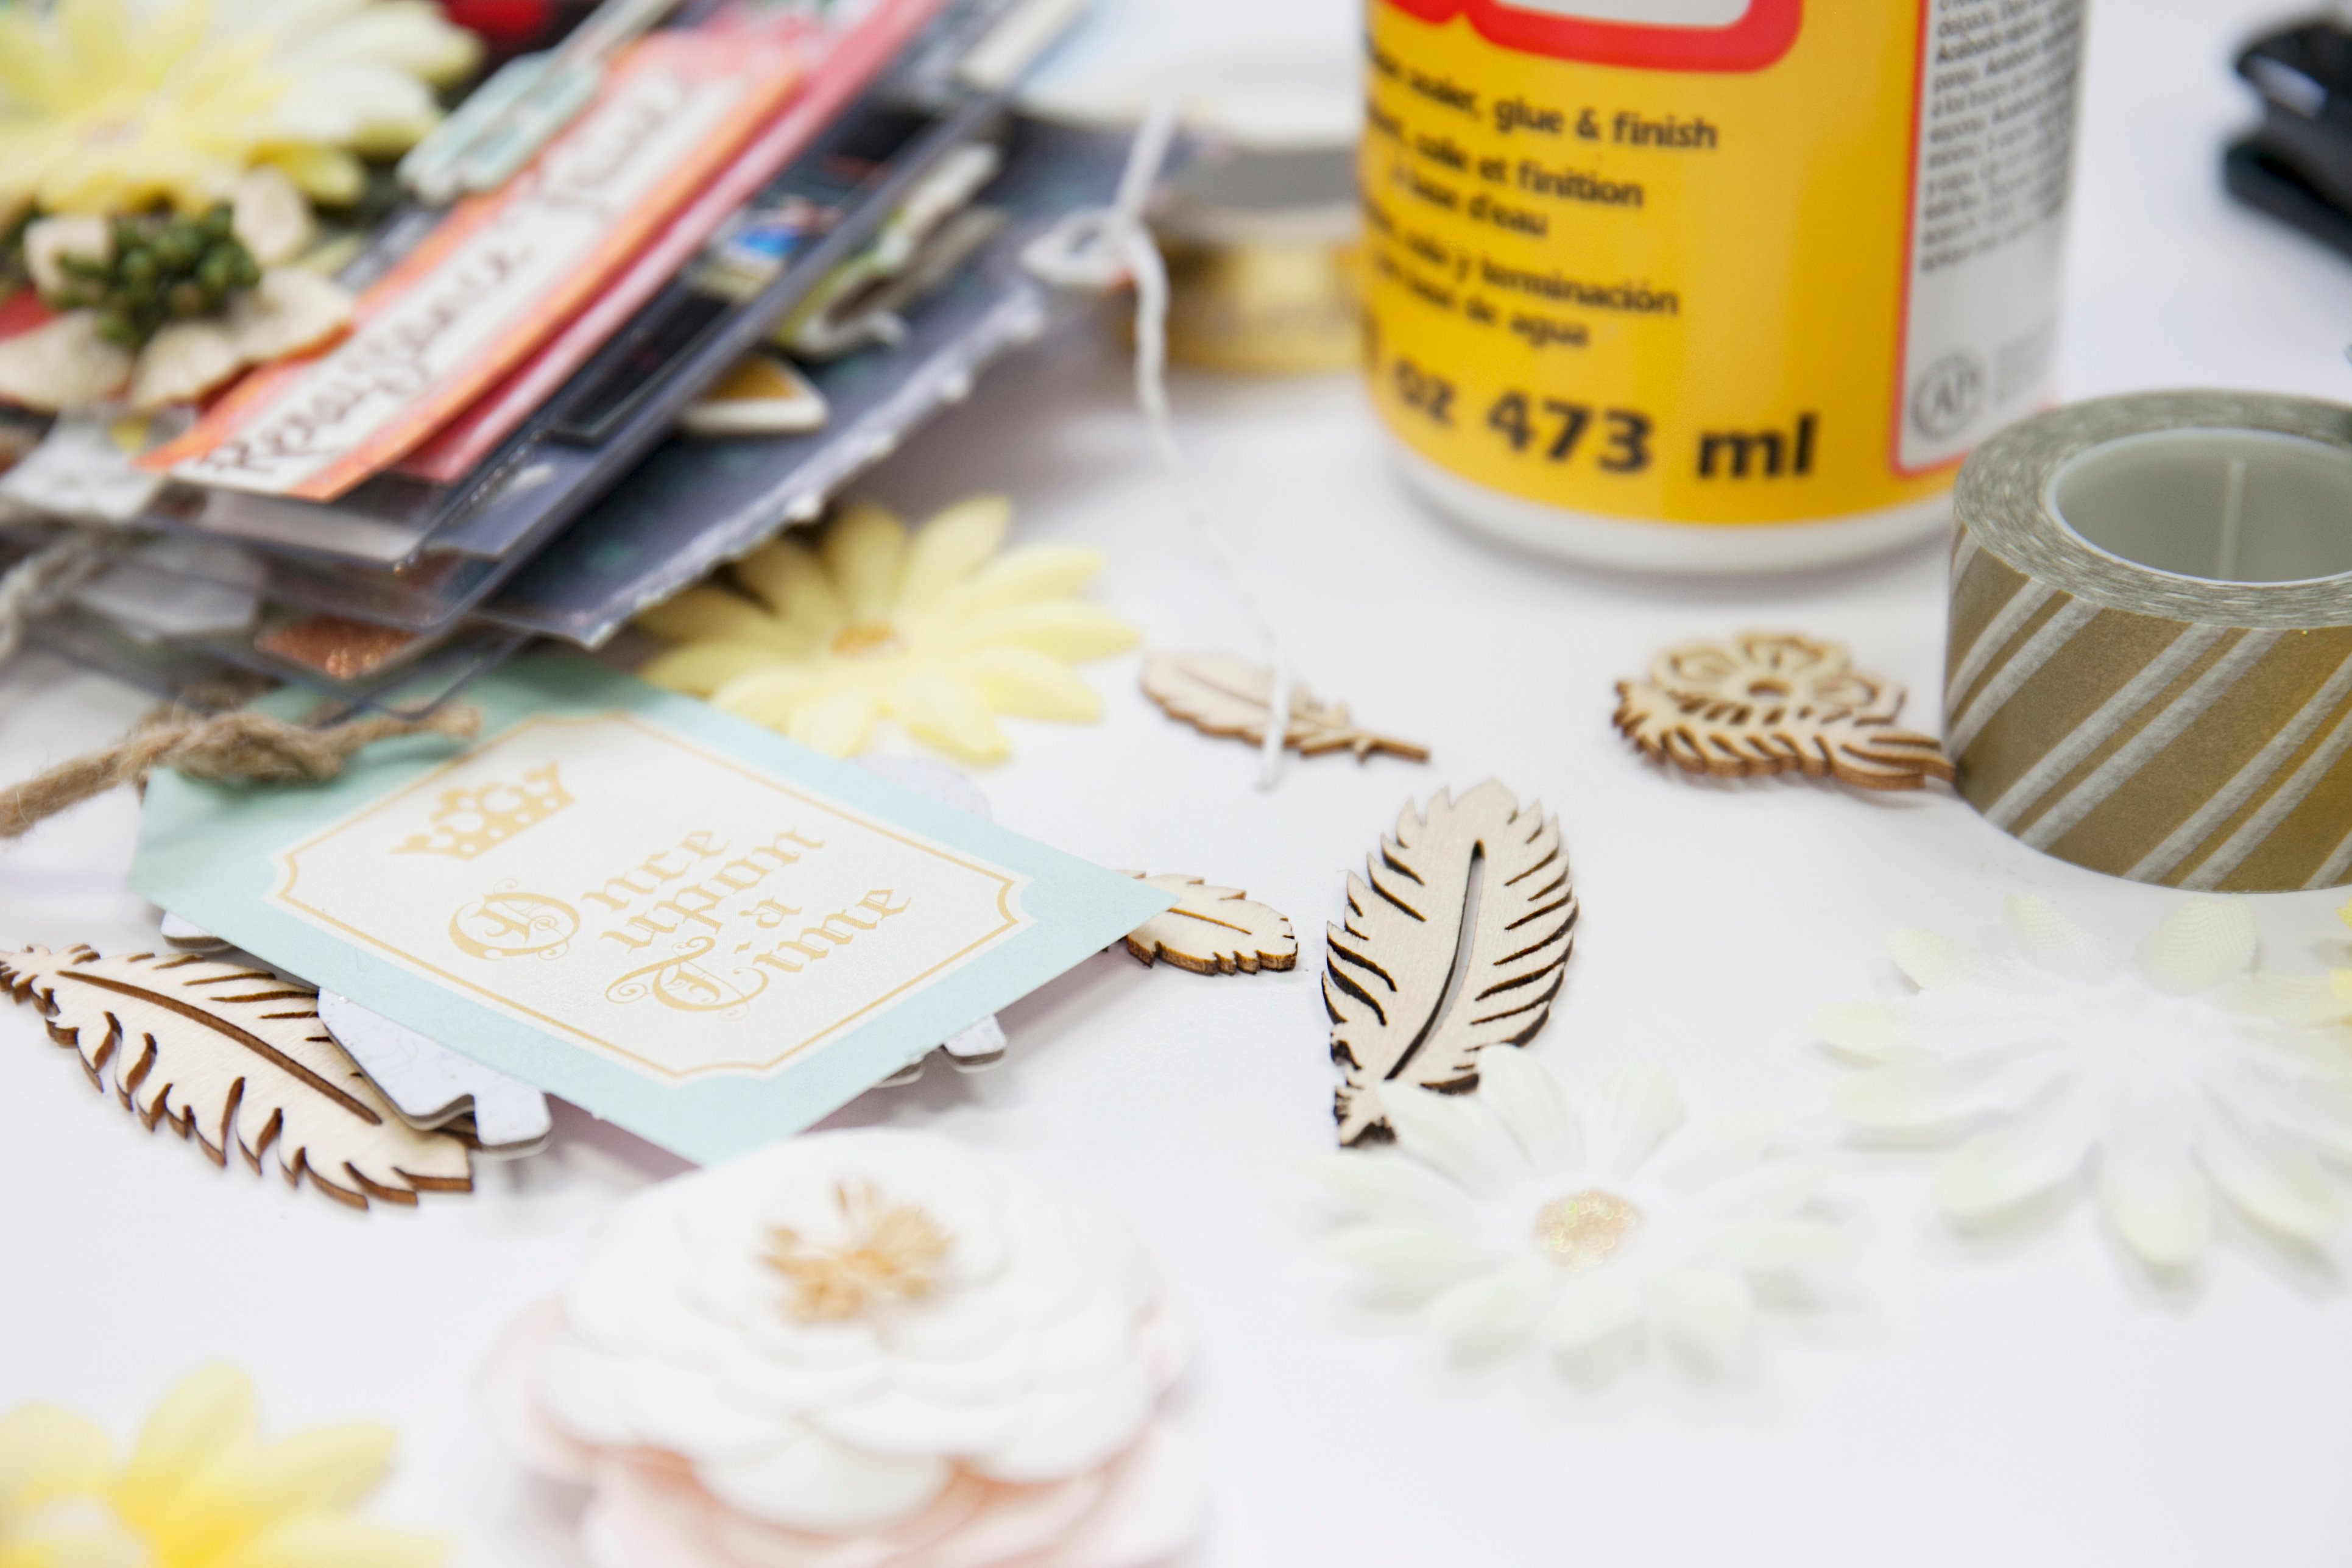
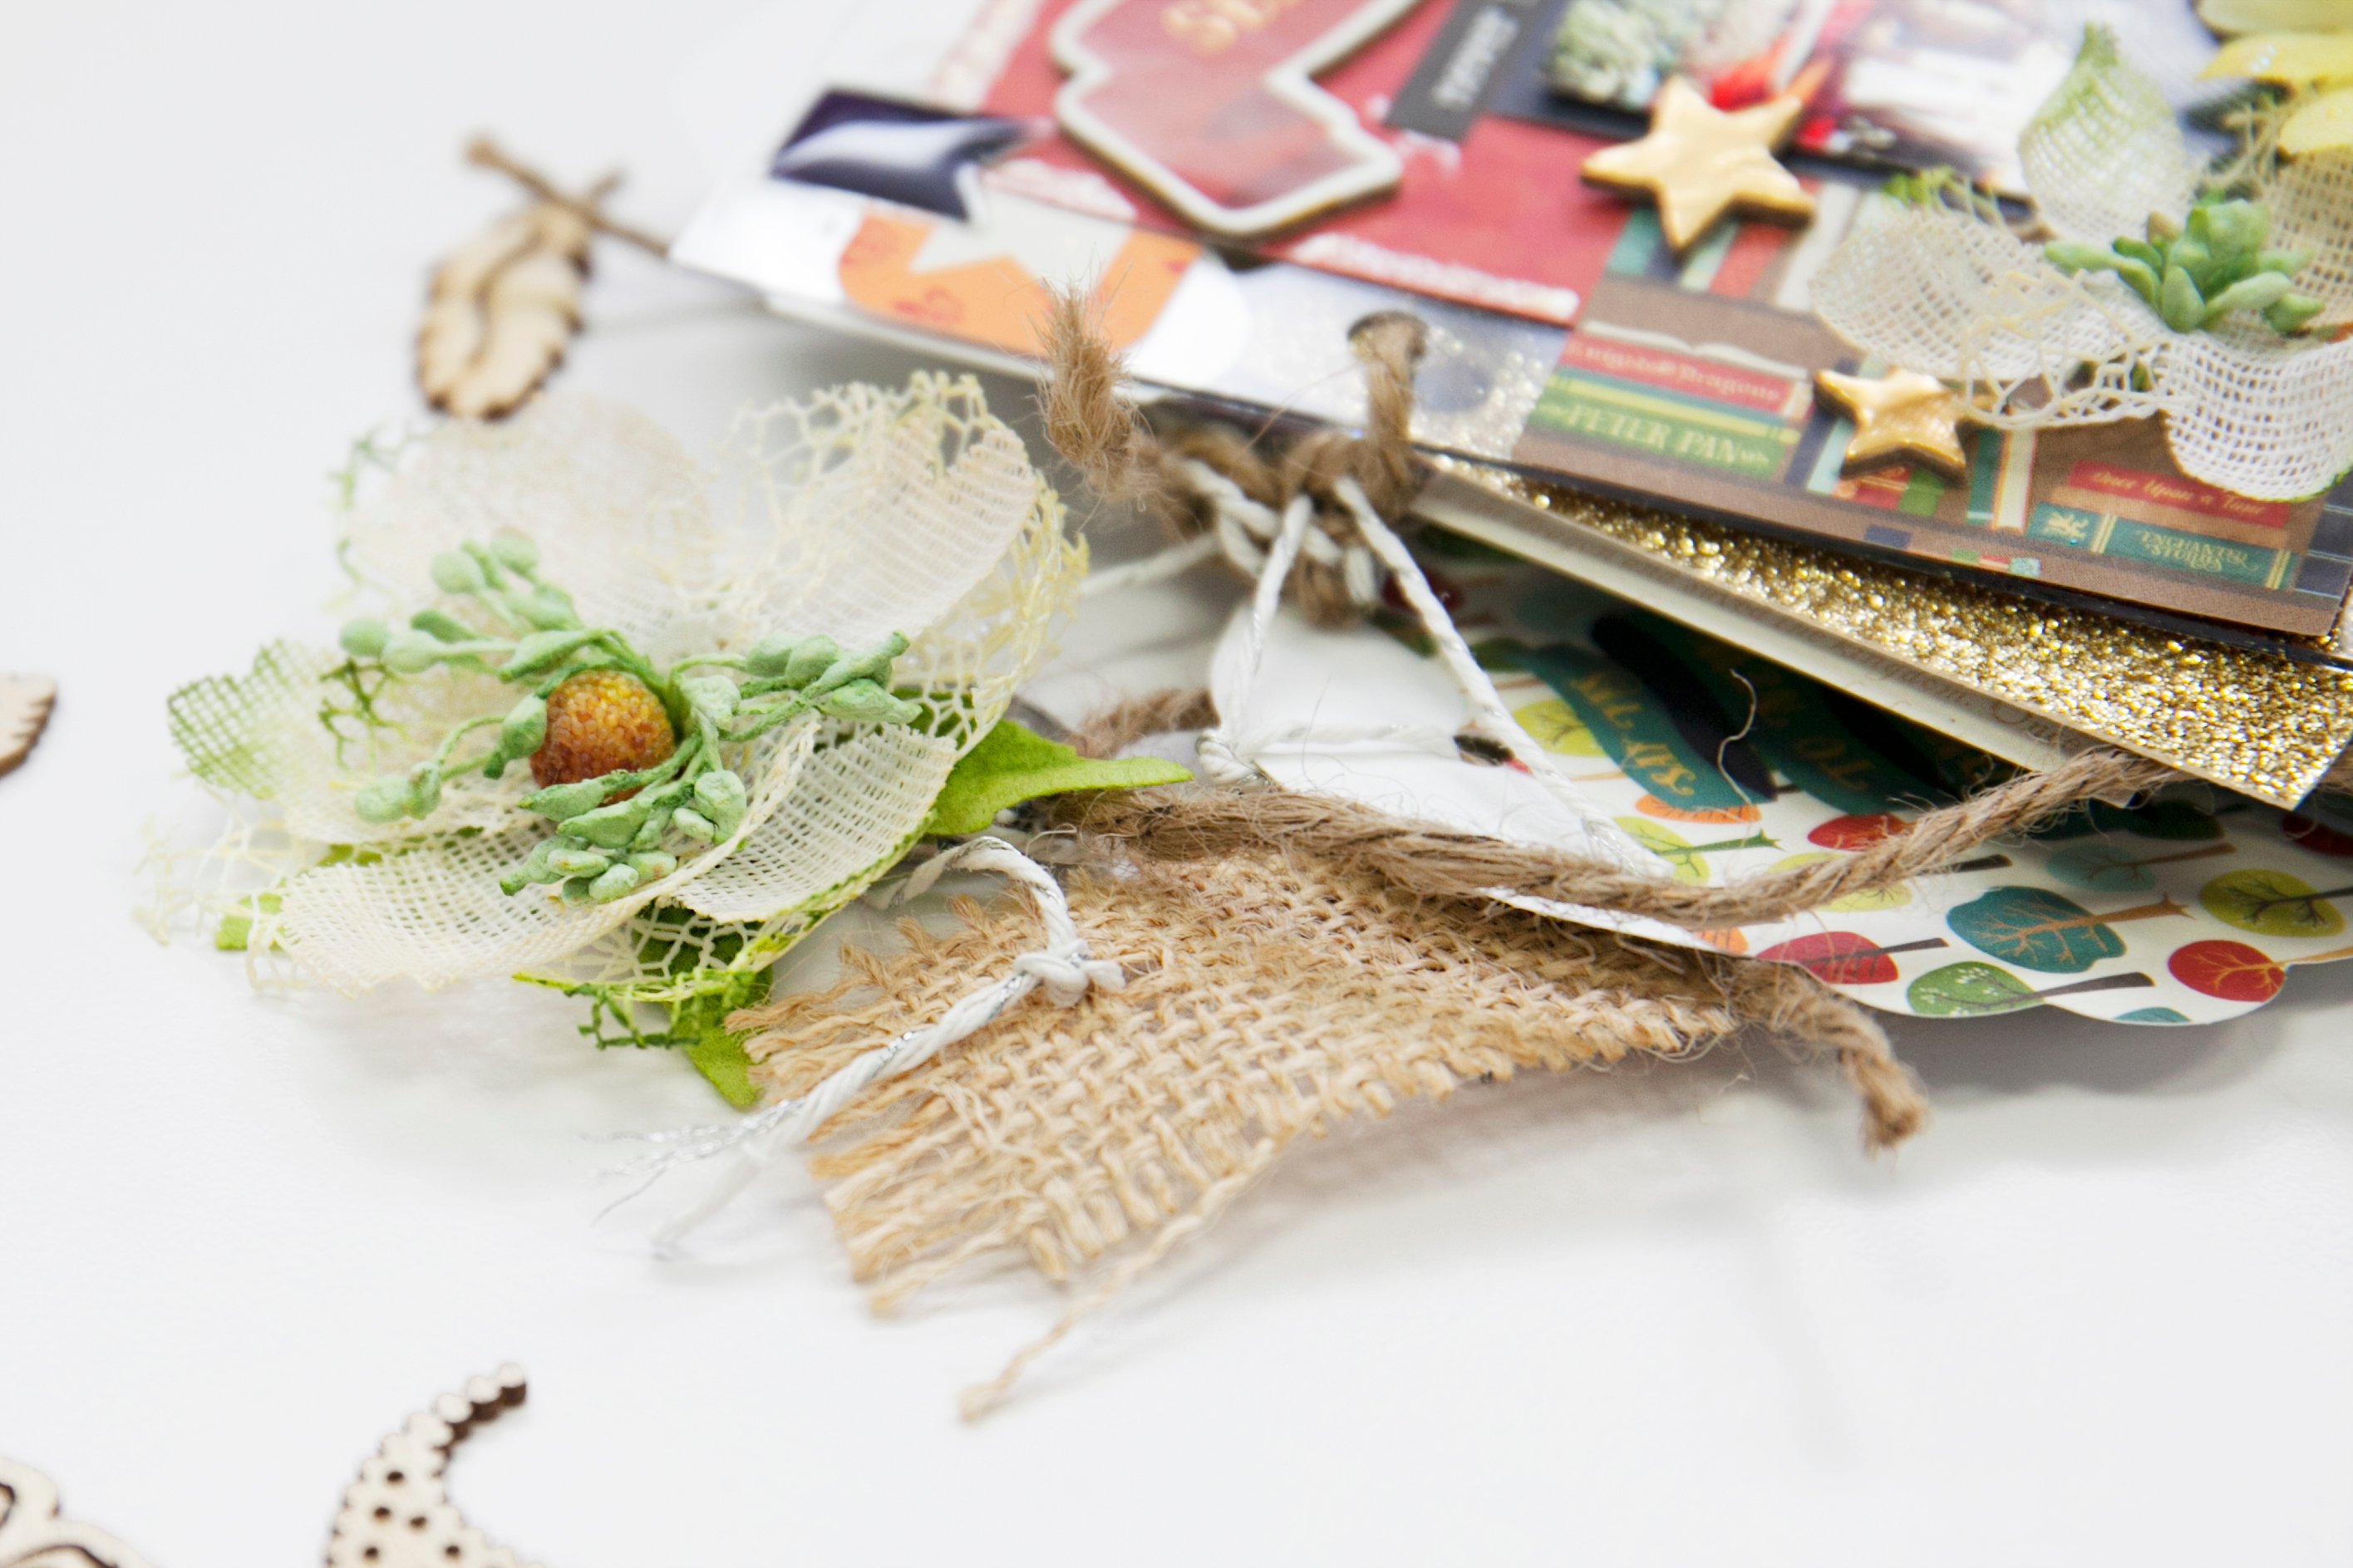
Ephemera is something that might be used in conjunction with "altered." Ephemera are the little pieces of "stuff" (consumable paper and trinkets) used in everyday life. Antique ephemera might include old ticket stubs, labels, game cards, canceled stamps, receipts, etc. Modern ephemera would be similar, but updated (keyless entry cards, email text, ticket stubs, ATM receipts, take-out menus, etc.). Also included with the antique ephemera old keys, ribbons, lace, buttons, and fabric. It's easy to see that these items, and many others, can be used when creating a decorated altered album cover.
There are times when an altered album cover adds impact to the message of scrapbooked layouts. The artist might use two license plates for a front and back cover, for example. Or, they might give an old album a face lift by decorating or adorning it with new products. There are times when decorating with a simple design, or leaving it "as is" are best.
So. Should you alter your album cover?
Things to consider when altering a cover:
- Completed albums sit on shelves. Albums on shelves get dusty. Dusty embellishments are difficult to clean.
- Altered album covers can be thicker and take up more space on a shelf than those that are not.
- Albums are handled. Handling the cover compromises the integrity of each added embellishment.
- Human skin contains oil and sometimes dirt. When albums are handled, the oil and dirt are transferred from the hands, while soiled areas may not be noticeable at first, they will be later. Dirty embellishments may be difficult or even impossible to clean.
Now, with understanding potential problems, a decorated album cover can accentuate a theme, add personalization, and draw attention to an album. The decoration announces the contents within. The possibilities for a unique album cover are exciting when you consider all of the products available to scrapbookers, card makers, and crafters of all kinds. Just be sure to think through potential problems and/or benefits before altering and decorating your covers.
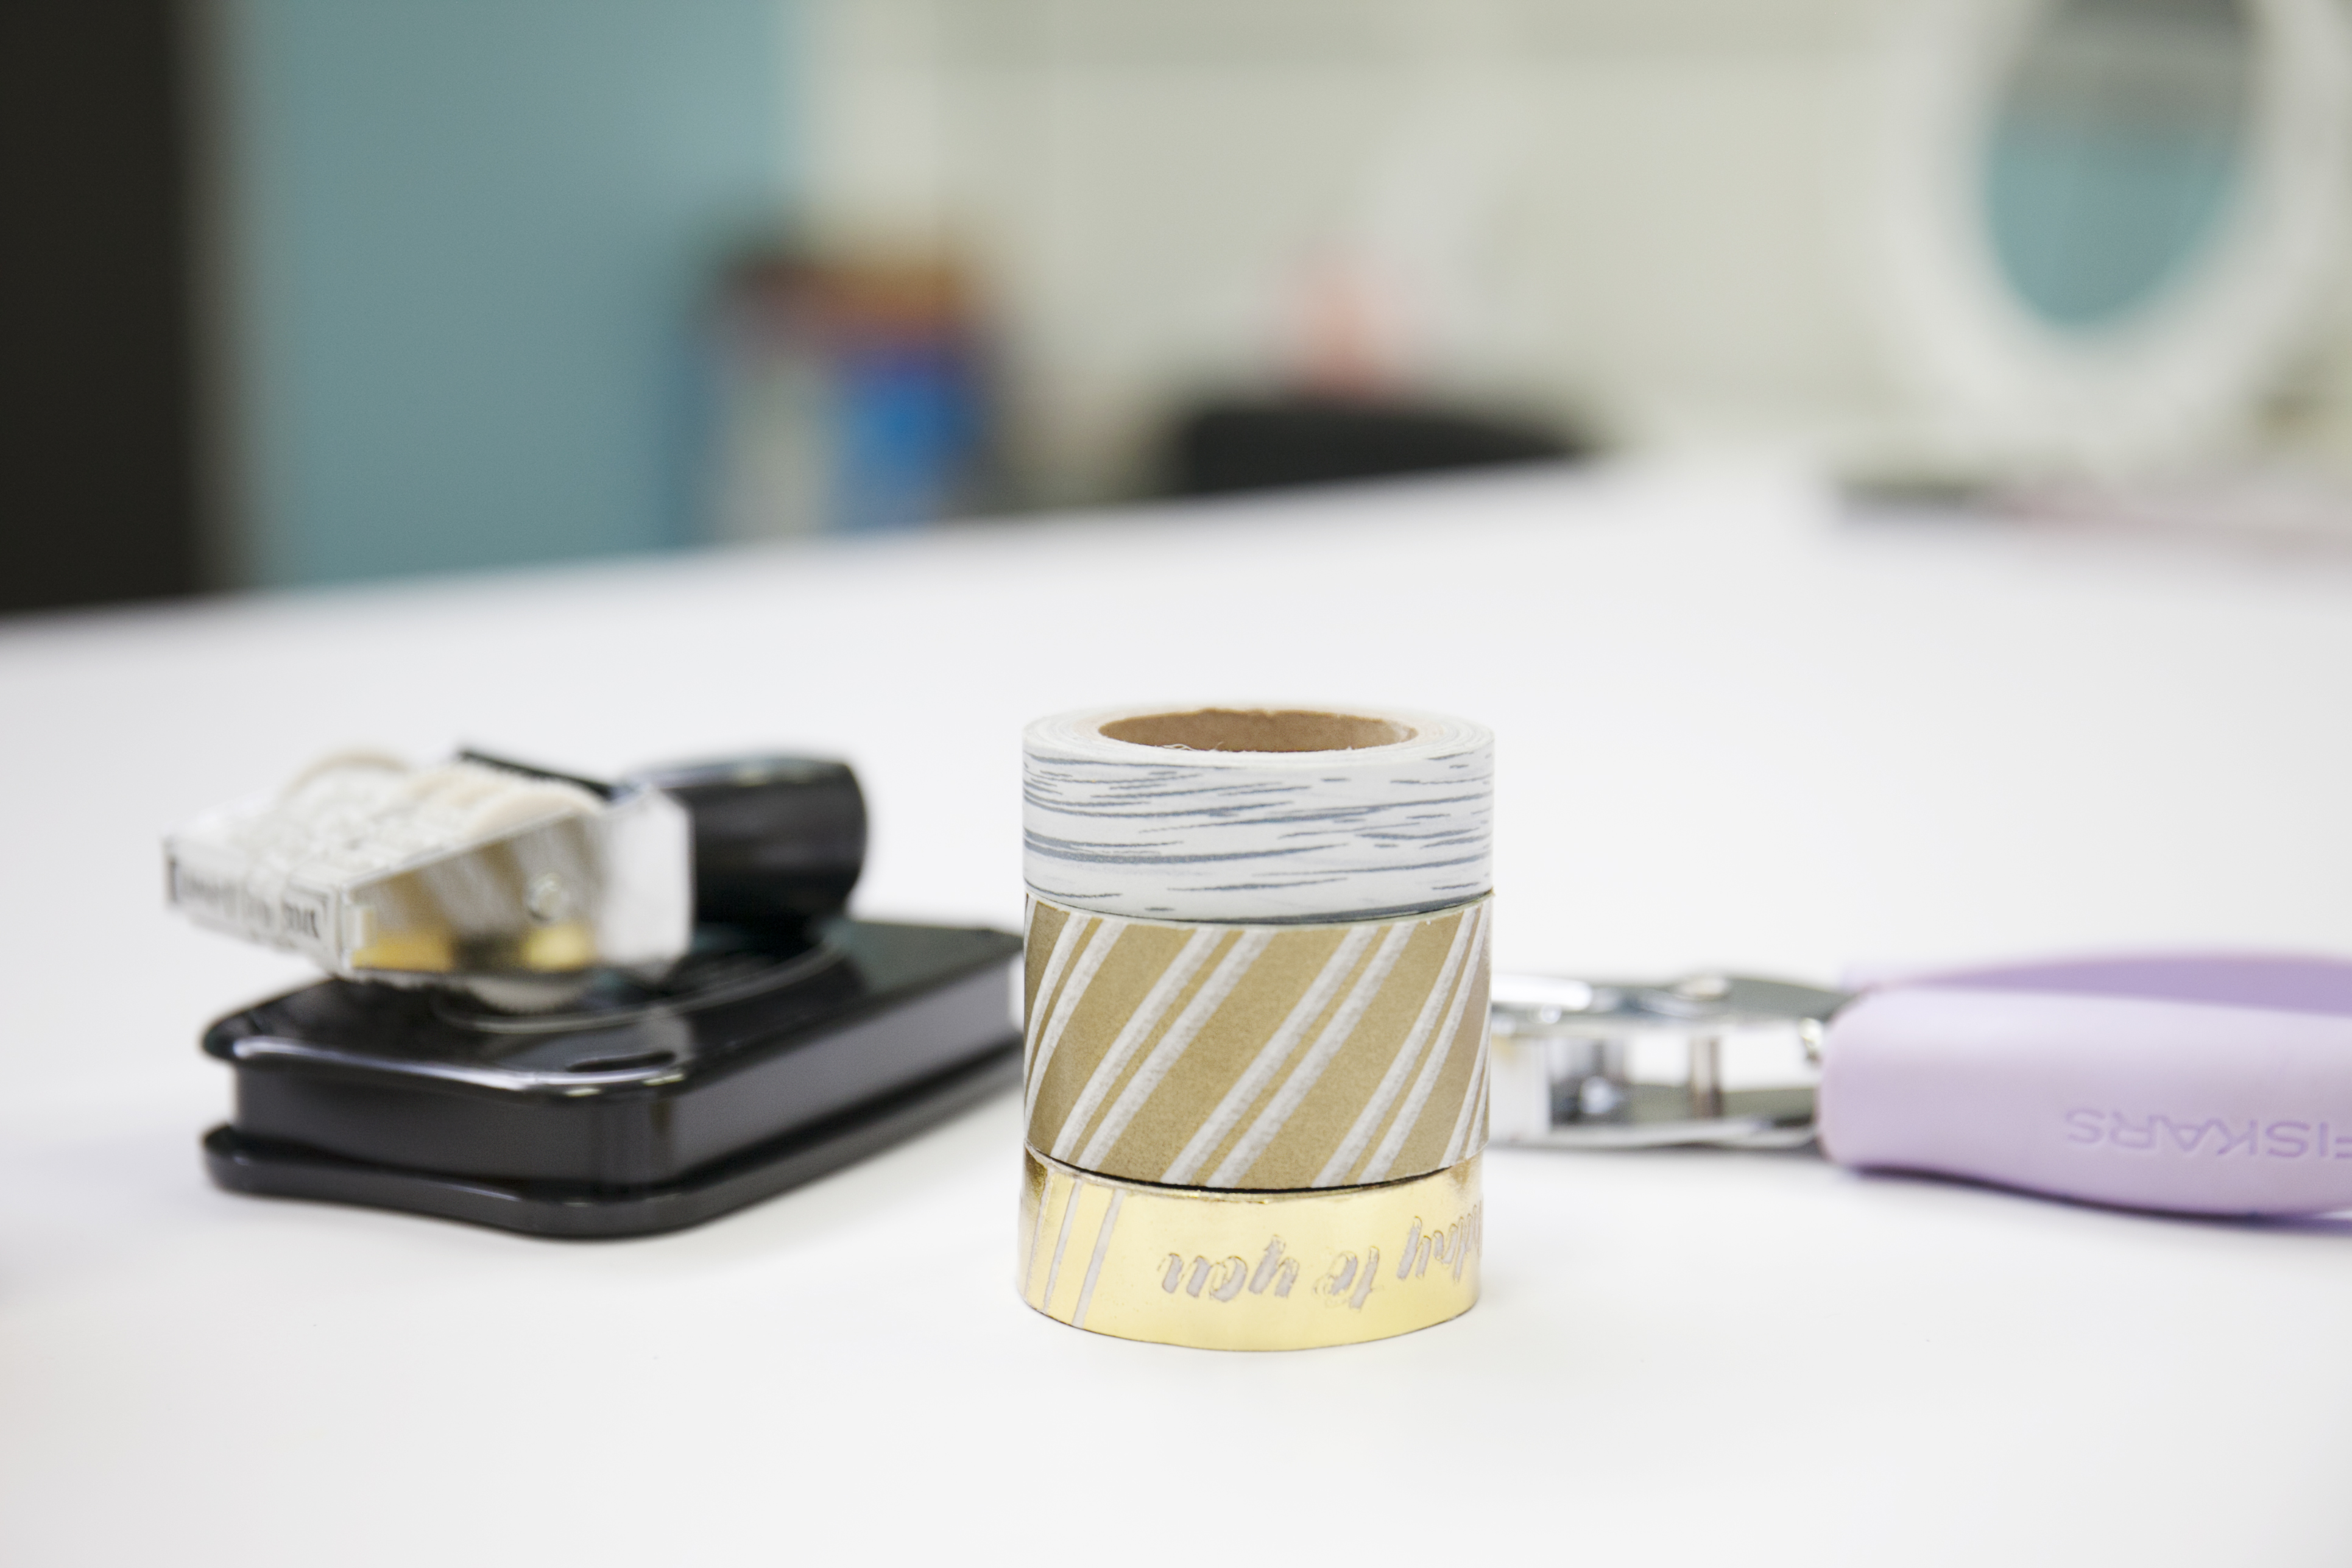
Basic Supplies Needed for Decorating/Altering Your Album
- Pencil with a white eraser (it won't smudge the paper like pink erasers will)
- Pencil sharpener
- Black journaling pen
- Metal ruler (one with a centering feature is ideal)
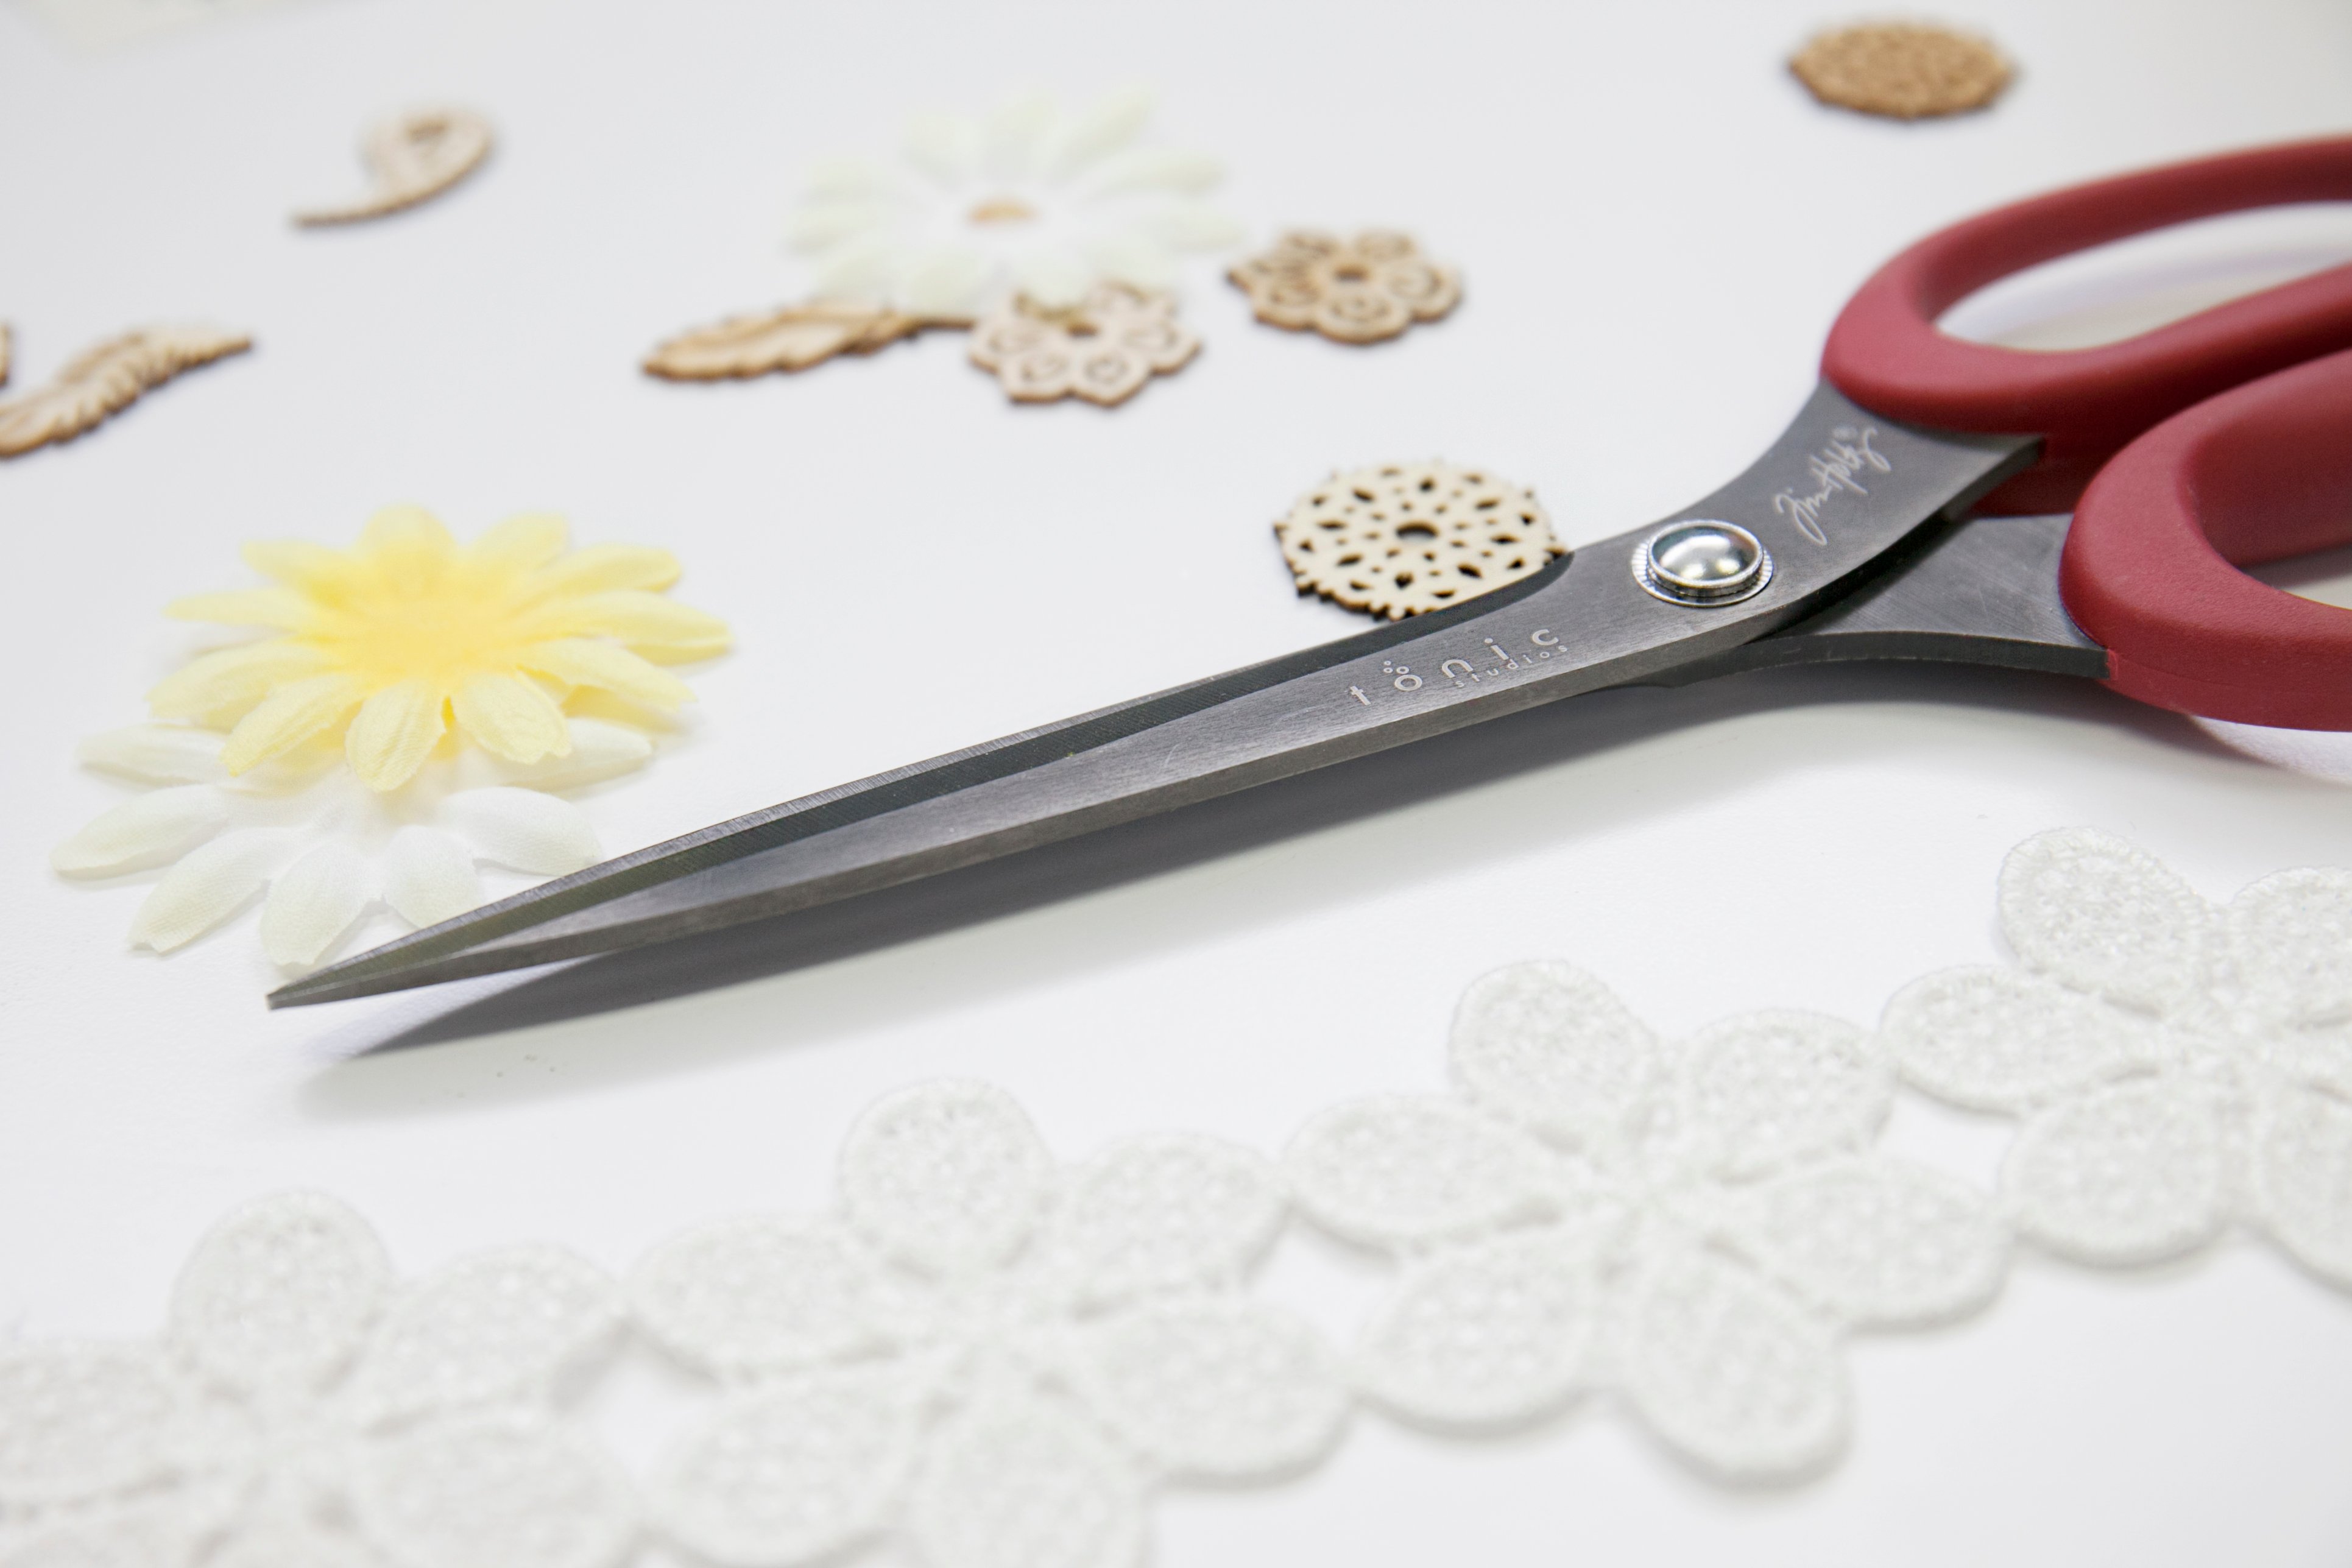
- Scissors (large)
- Paper trimmer (in a style and size you prefer)
- Guillotine style trimmers (choose one that can cut chipboard, cardstock, and paper)
- Adhesives (choose tape, gluedots, and liquid varieties so you'll have what you need for all types of projects!)
- Binder clips (in assorted sizes. These are to secure paper edges to album covers while the glue dries)
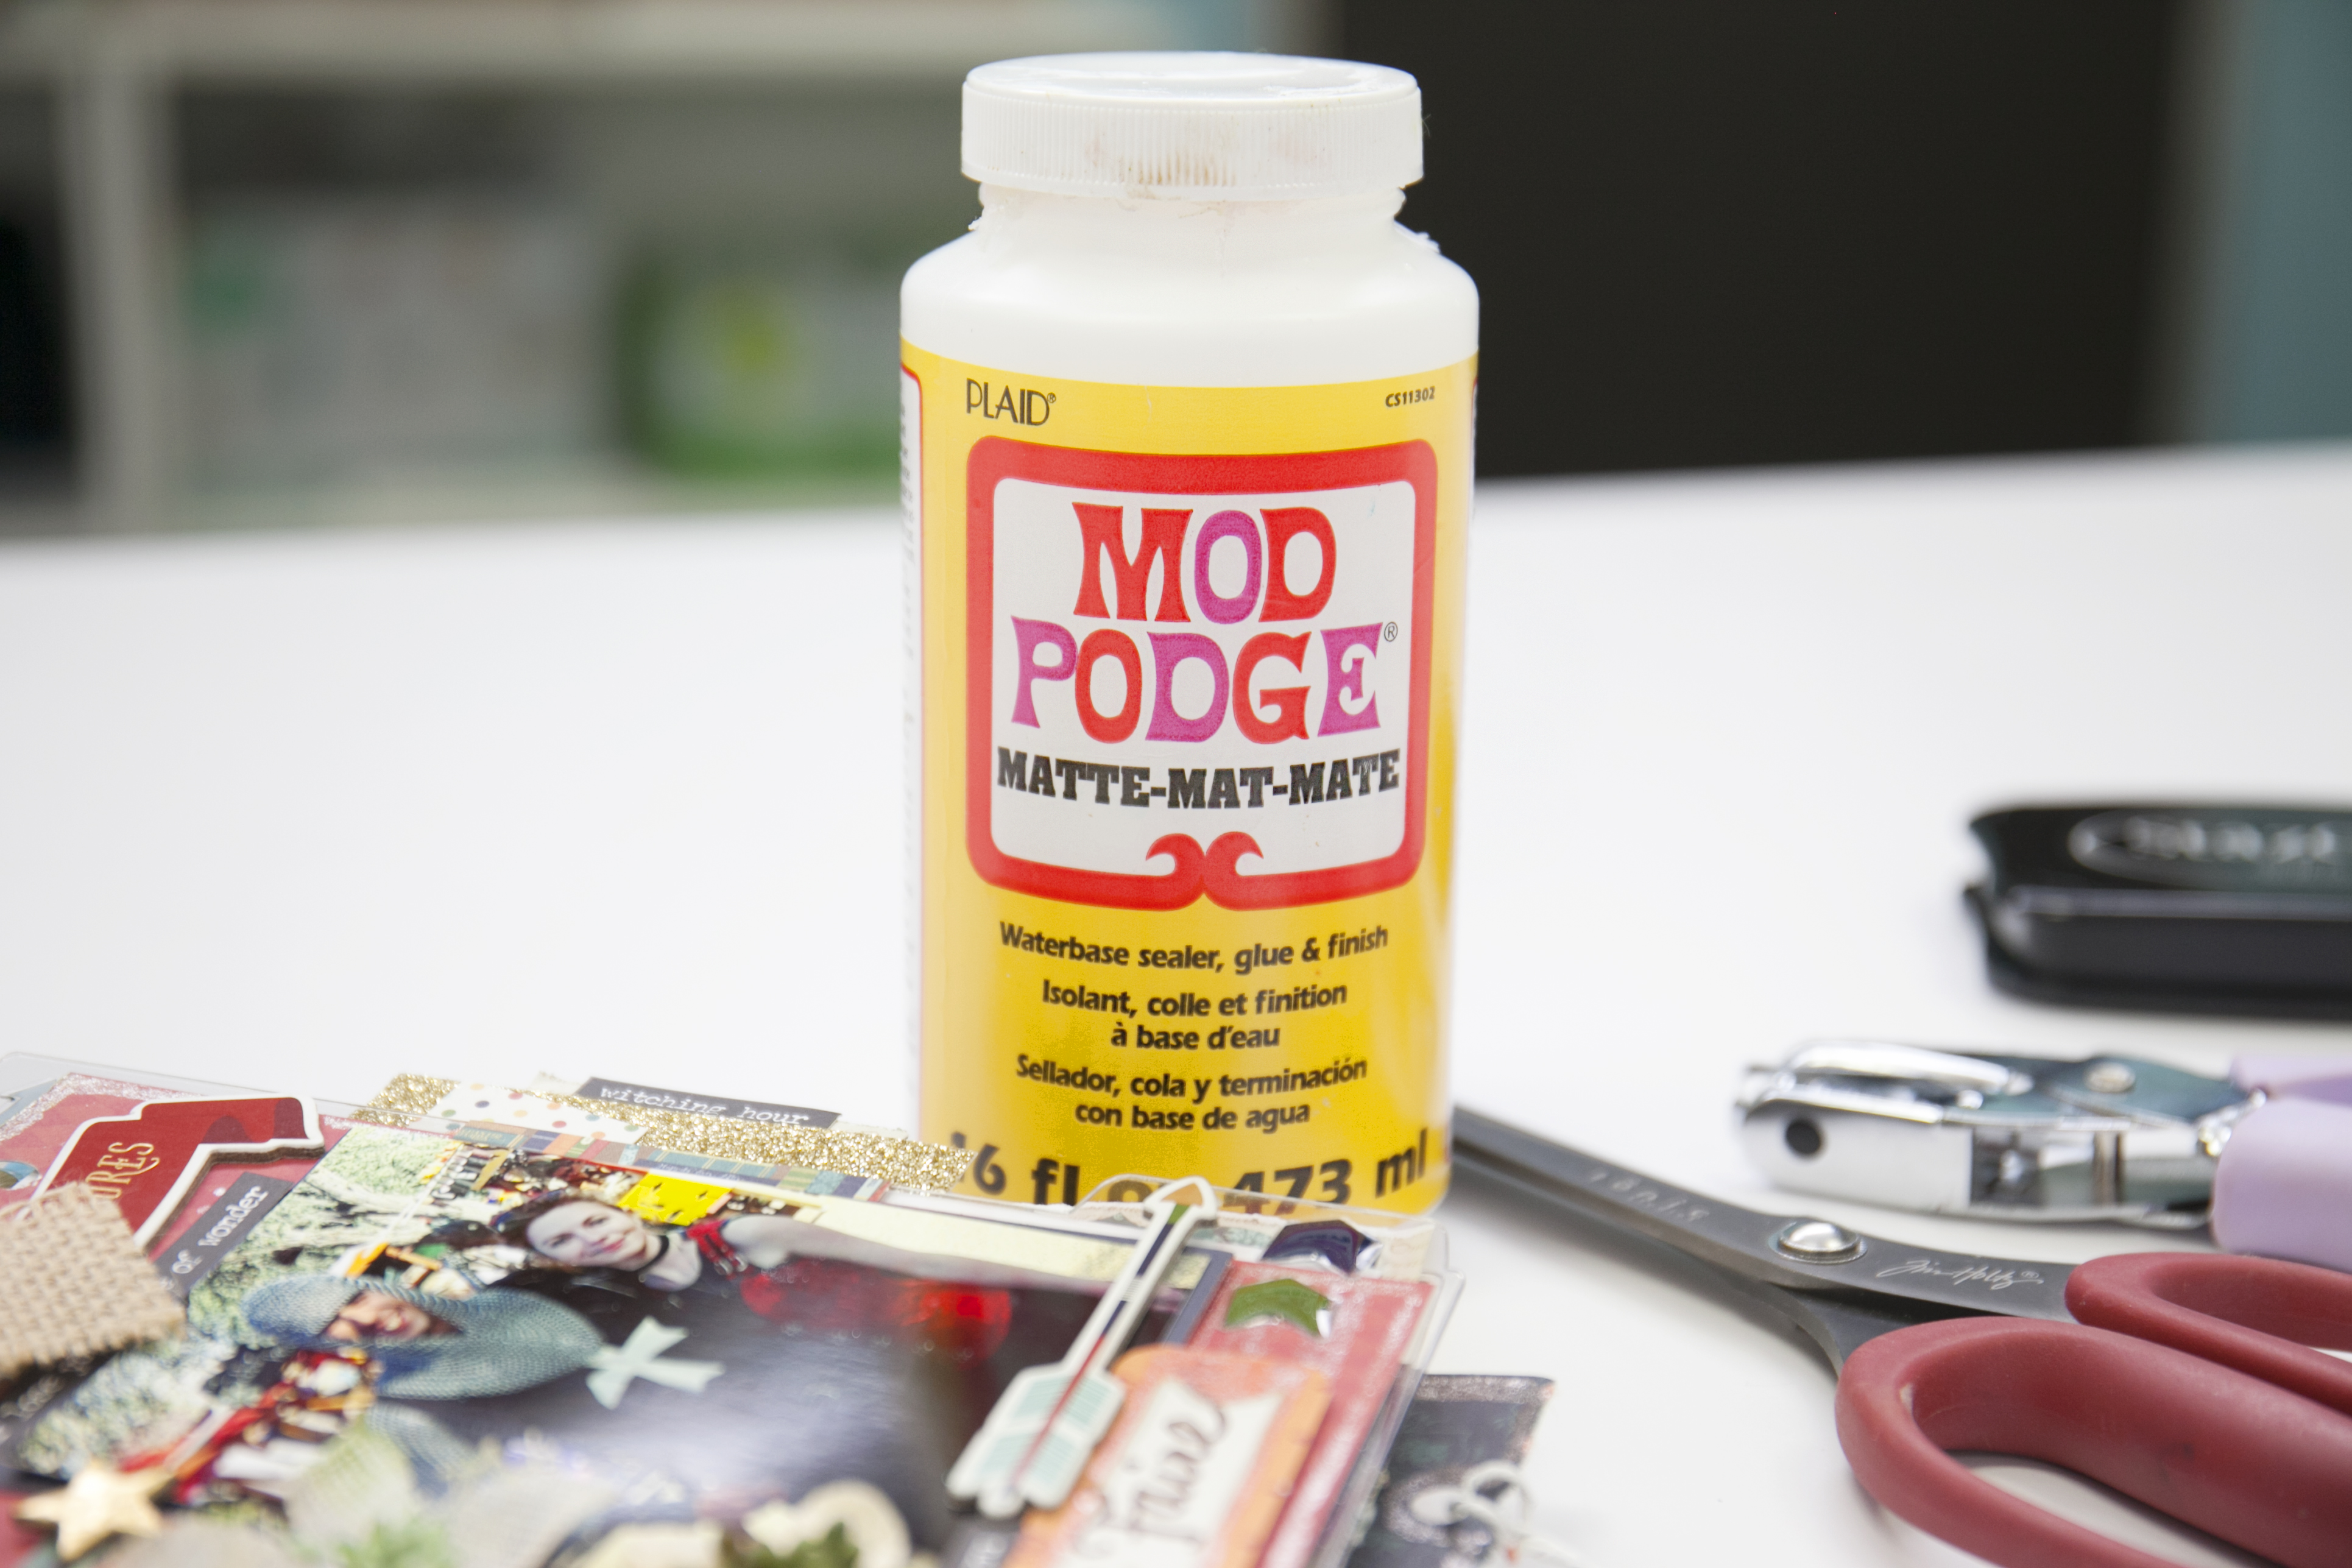
- Mod Podge (This will seal the outside and inside covers - use matte for a flat effect and glossy if you'd like the finished project to be shiny)
- Paper piercer (to make holes for brads and stitching)
- Brayer (to apply pressure to glued papers and to smooth papers that are adhered to the album cover)
- Sealer (such as Krylon Crystal Clear Satin Finish Acrylic Spray, to seal the Mod Podge)
Extra Supplies
- Xyron 12" x 12" machine and permanent adhesive
- Crop-A-Dile (punches holes in metal or cardboard and sets eyelets effortlessly)
- Acrylic paints
- Distressing inks (to add color and distressing to album covers and patterned papers)
- Distress ink pads and refills
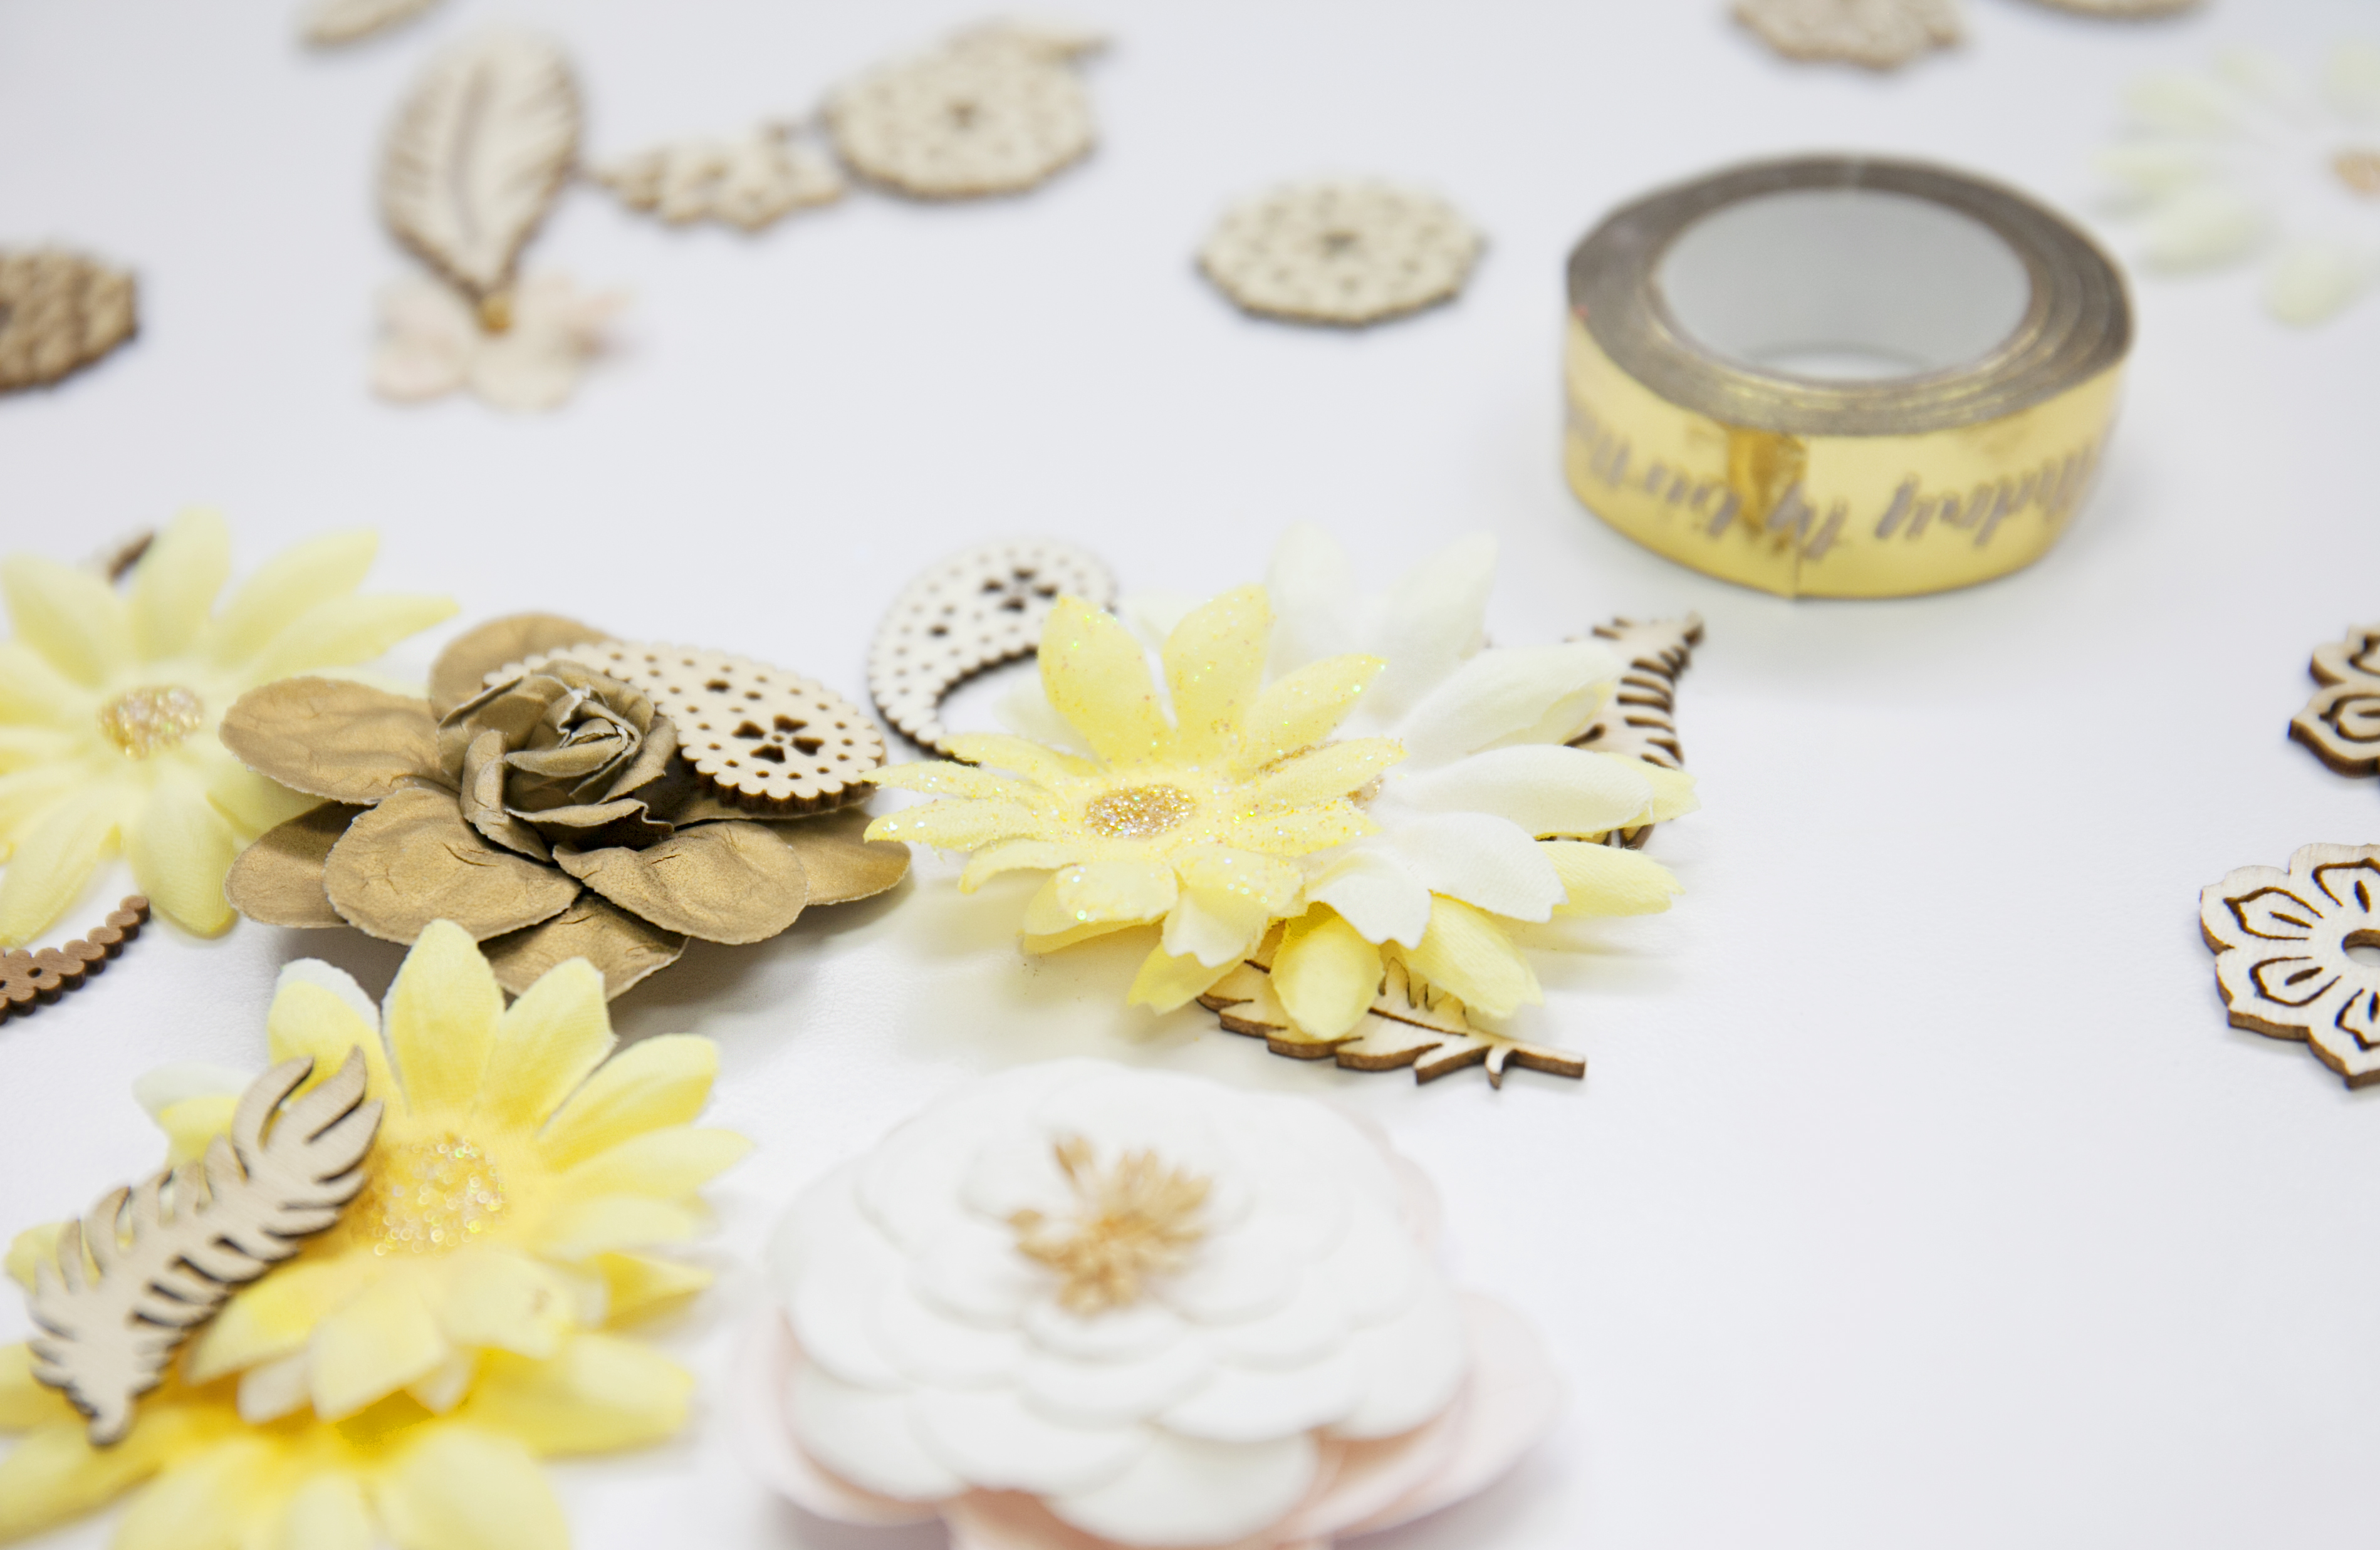
- Embellishments
- Patterned papers
Tips on Decorating or Altering Your Album Cover
1. Your album must be completely empty before beginning
2. If the album has pages that are permanently attached, decorate the cover before scrapbooking the interior pages.
3. Try different adhesives on the cover to find one that will hold items in place, permanently. Consider the Xyron 1200 Adhesive and Laminating System for complete adhesive coverage on the backside of 12" x 12" papers. Mod Podge can also be used for a glue base. Experiment to find what works best for your materials.
4. Make a sketch of how you want your completed album cover to look. Remember the spine too since it will show when the album is on a shelf.
5. With the theme of your album in mind, draw light pencil lines on the cover where you want specific items to be located. Be sure that the pencil lines will be covered up, because they are oftentimes not entirely erasable. Don't use a pen for this part of the process - ink can bleed through paper or fabric layers if liquid sealer is applied.
6. If you will be including layers of paper (collage-style), see that all papers that will come in direct contact with the cover are completely covered with adhesive on the backside. I've found that using a thin coat of Mod Podge makes the surface smoother and bubbles rarely appear when the final top coat of it is applied. Remember, paper layers are the anchor for the entire project, so make sure everything is secure.
7. Add brads, hand stitching, or machine stitching before gluing background papers to your cover. The thickness of most covers will prevent you from doing this afterwards. You won't want prongs from the brads sticking through to the inside cover.
8. Once your layers are in one place, brush a thin coat of Mod Podge to the entire surface (keep in mind, glossy will make it shiny) to the entire surface and let it dry. Mod Podge is water based and dries quickly. If the coat is too thick, the paper could wrap and buckle, especially where adhesive wasn't applied, ruining your project. Mod Podge protects the paper layers.
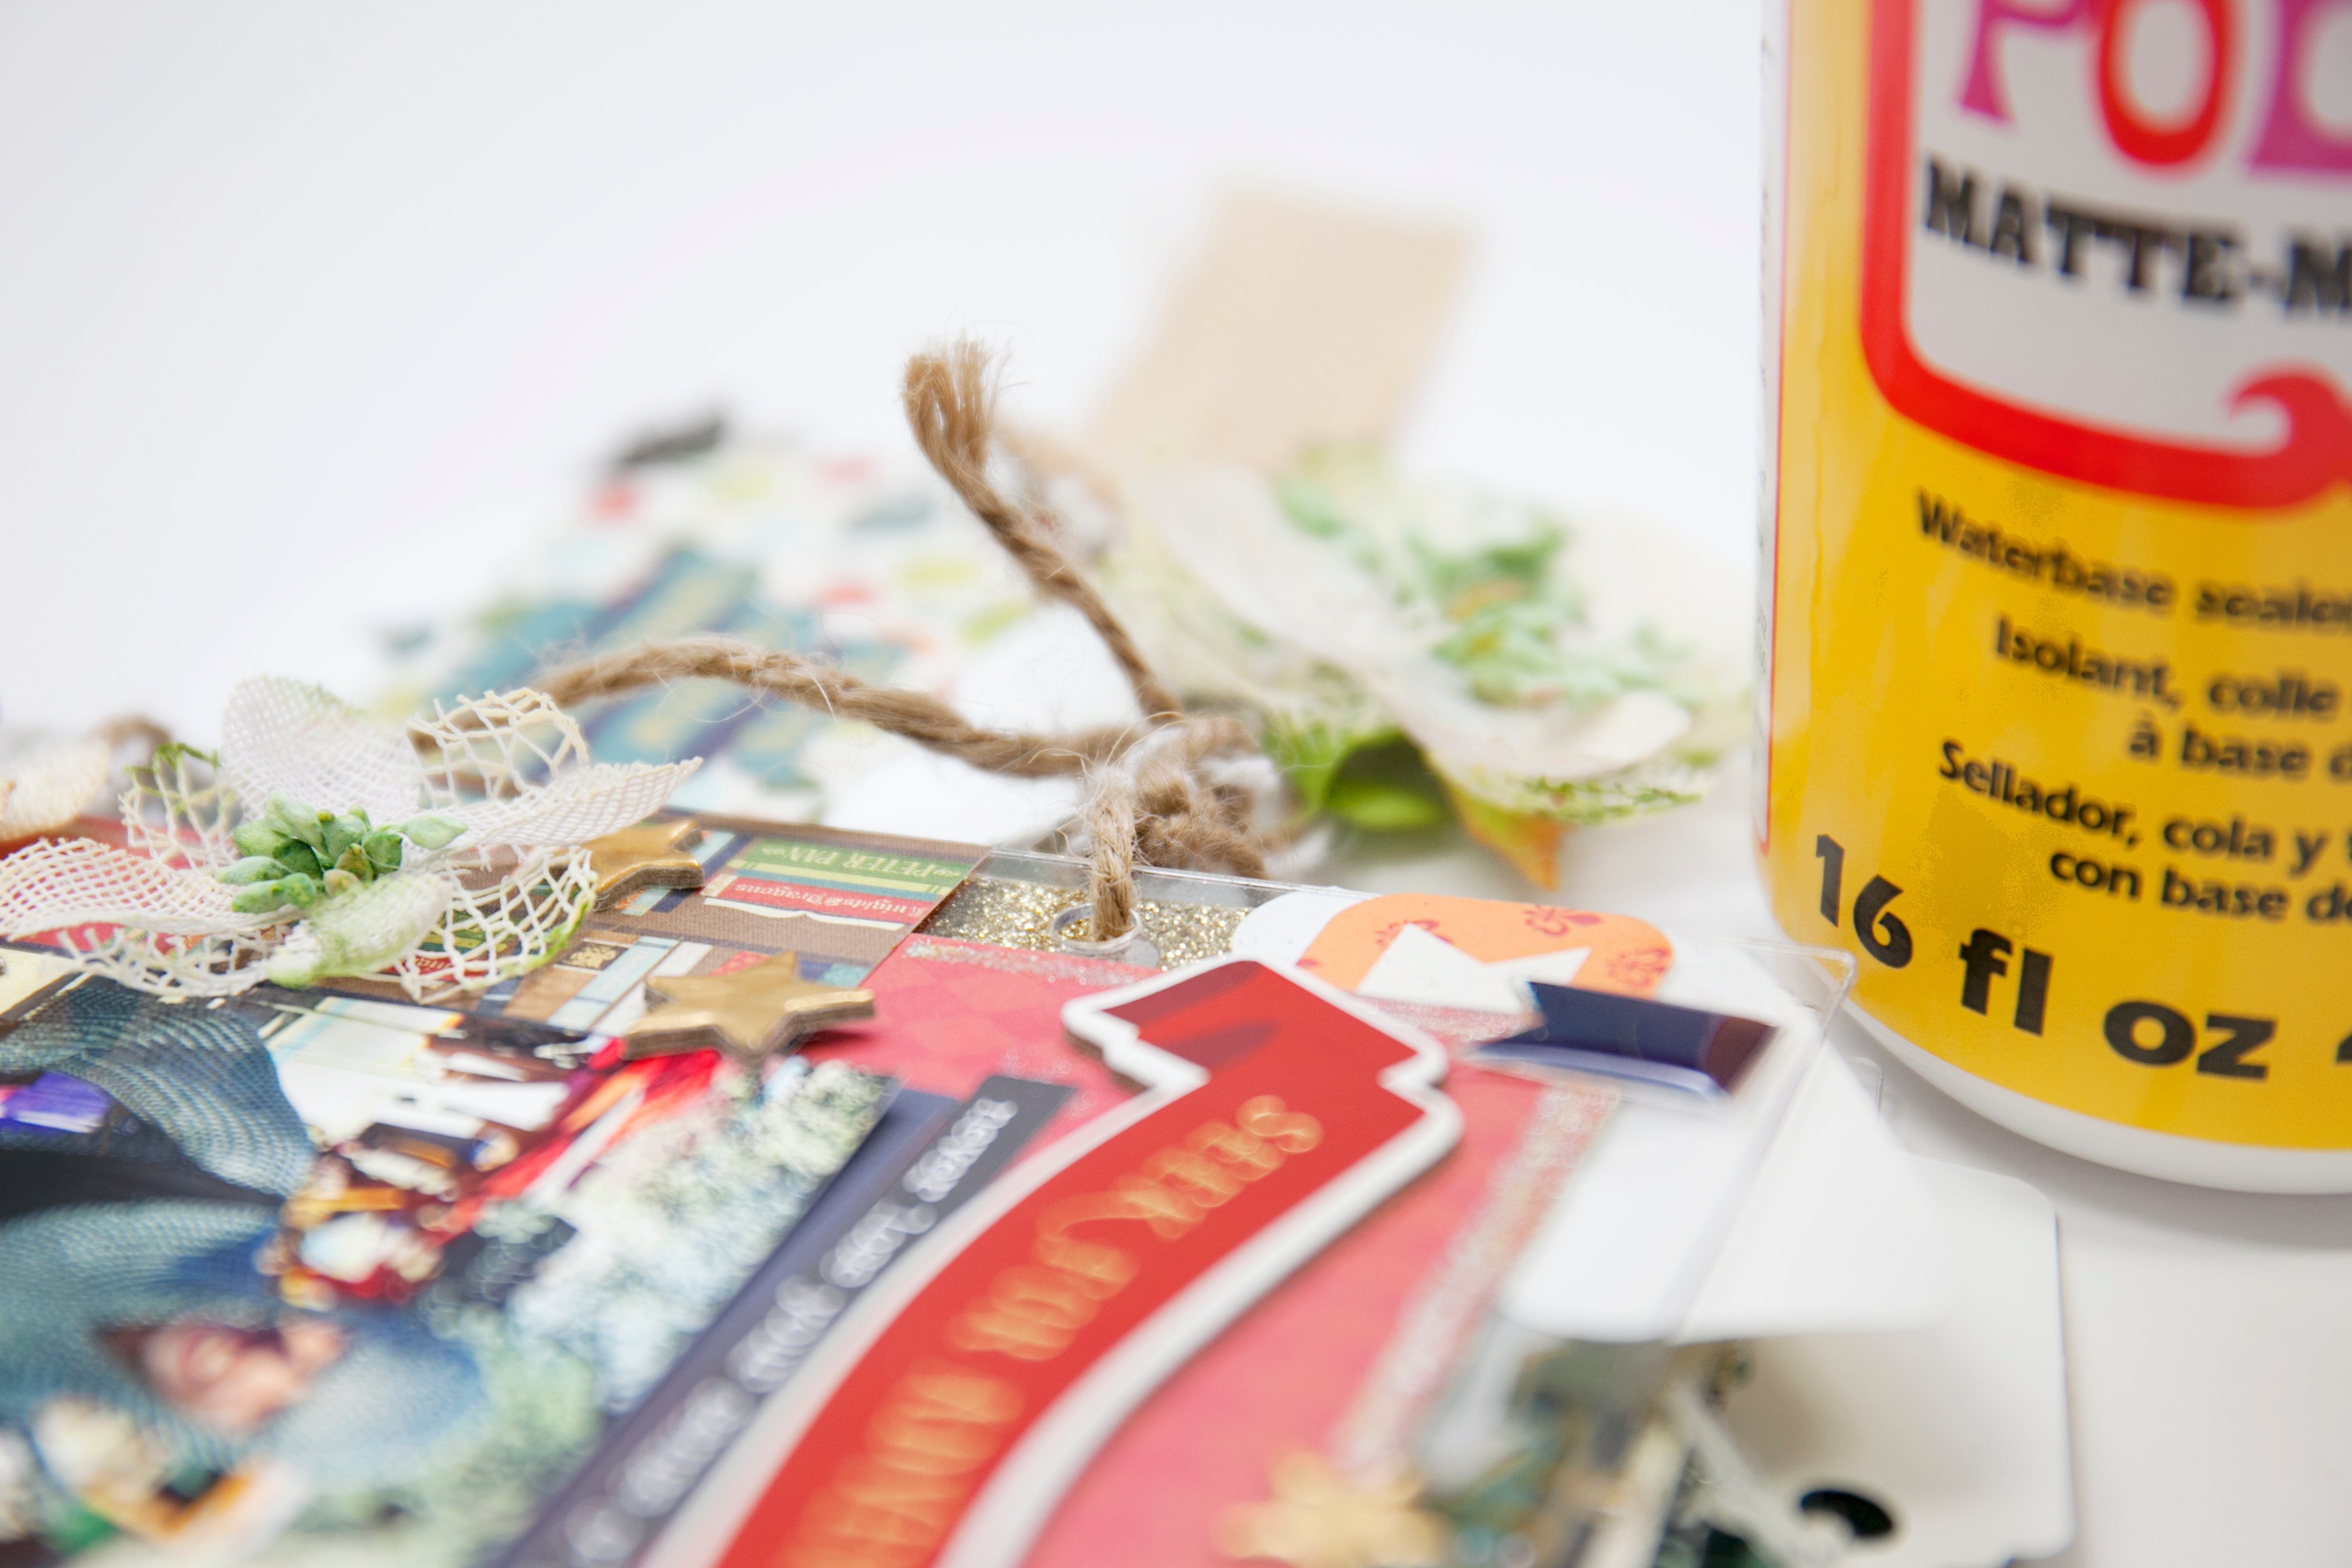
9. Stamp (use permanent ink, not water based ink), or paint, desired elements on the paper layers, then seal with another thin coat of Mod Podge. Add final three-dimensional embellishments: ribbons, pins, etc.
10. Spray the finished project with a coat of urethane. Test the urethane in an inconspicuous place on the cover.
Now you have a deeply personal, decorated album that tells your story from the outside in!
If you liked this article, you might also like...
How to Organize and Store Your Scrapbook Paper
How to Create a Unique Disney Scrapbook Album
How to Find Your Scrapbooking Style


