 From the most Magical place in the world to a magical album made by you - we have some tips and ideas to share on how to create a Disney-themed pocket page album, shared with us from Layle Koncar, from Simple Stories.
At the end of the day, it's all about getting your memories into your albums, and pocket page scrapbooking is a fun and easy way to do that - especially if you are lacking in space or time.
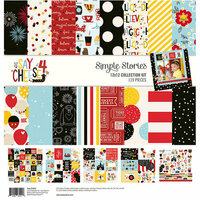
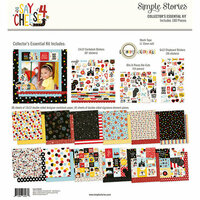
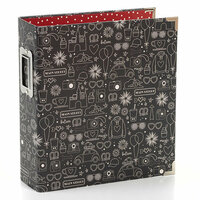
Materials you'll need for your Disney album:
- An Album
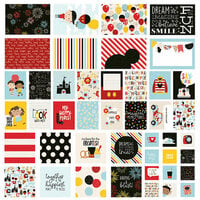
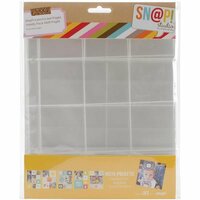
- Pocket Pages
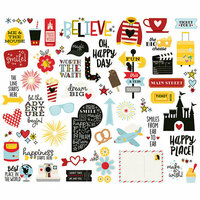
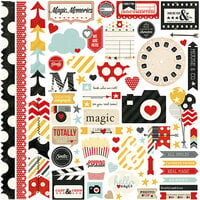
- Your favorite Disney-themed scrapbooking items
- Adhesives, scissors, and other basics
- Your Disney photos
Note: All materials that Layle used can be found at the bottom of this article!
How to Crop Your Photos to Fit in Pocket Pages

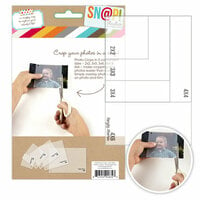
Pocket pages are really cool, but with all the different sizes, how are you sure your photos are going to fit? And who has time to measure every photo? If you're looking for a time save, Layle suggests using photo crops to ensure your photo is the perfect size, without any measuring. A photo crop is, essentially, a piece a plastic, pre-cut to be a specific size that correlates with pocket pages. Choose the size you'd like, lay it over your photo (like Layle did, above) and use scissors to cut around it. Easy-peasy! Looking for a HUGE time saver? Use your photos in their printed size!
Tip from Layle: When you use your crop, make sure you're pressing down slightly so your photograph doesn't slip, that the way your photo is the size you want!
Create an Enticing Intro Page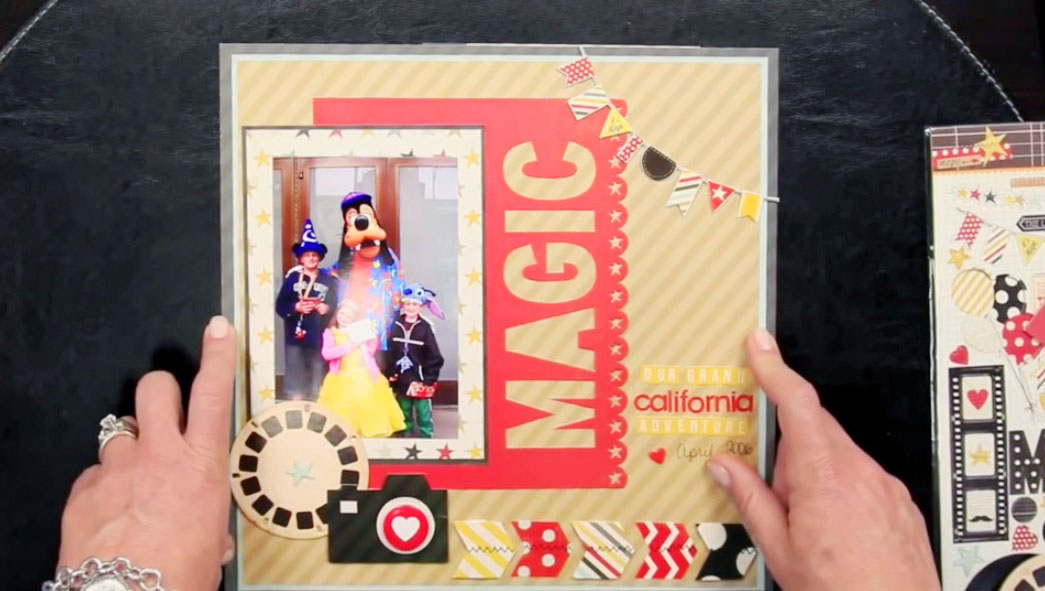
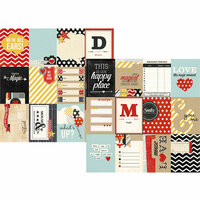
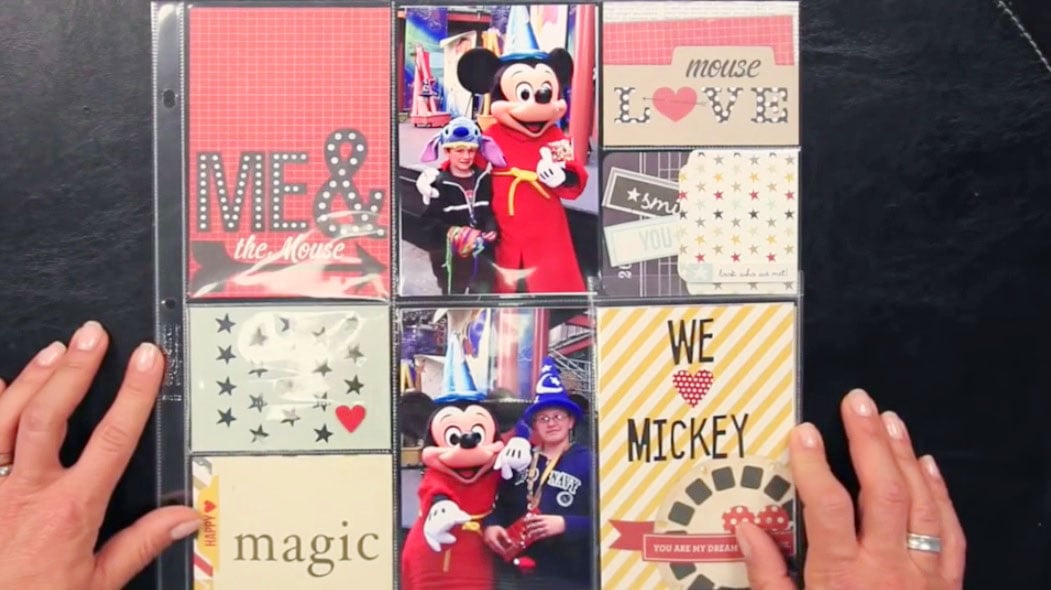
Layle suggests creating an enticing intro page for your Disney-themed album! Start with a 12"x12" pocket page and create a standard layout. Think of this as an introduction in all senses of the word - just like a preface or book introduction, this album introduction should tell you and the other viewers what to expect when they enjoy your album! Looking at the layout above, it's easy to see that this pocket page album is going to be about a treasured experience at Disney!
Tip: Choose a photo that includes everyone who came on the trip, or of your favorite place. Try to stick with one that, you feel, holds the essence of your vacation!
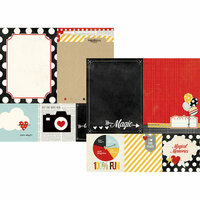
Tell Your Story Through Journaling
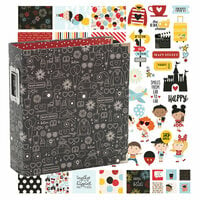
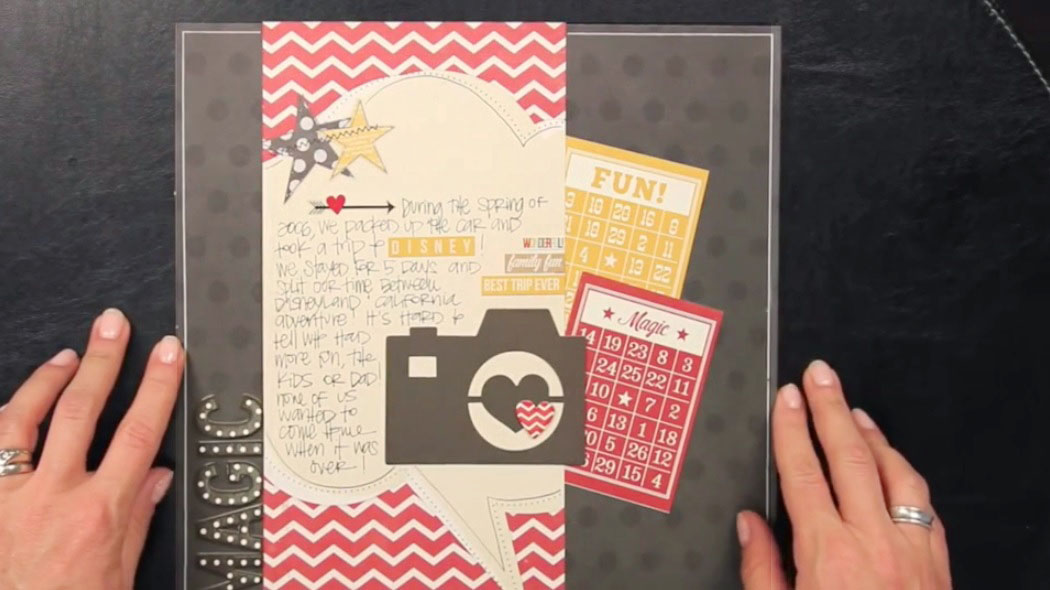 On the back of your intro page, use your favorite Disney papers, embellishments, stickers, and more to create your own little work of art - no photos needed. This is a space where you have the opportunity to journal about your memories. Be creative and most of all, have fun! Above, Layle used papers that she likes, some alpha stickers to spell out "MAGIC," and did a bit of journaling.
Tip: Not sure what to say? Explain the "behind the scenes" moments of the photograph you used on the introduction layout. Were the children so excited that you had to take multiple photos? Did somebody keep blinking to the point of hilarity? Tell your story - and don't forget the place and date!
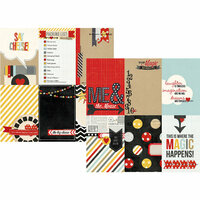
Store Your Memorabilia and Souvenirs
From the airplane tickets to the Disneyland ones, or perhaps a pretty button you found or fortune cookie slip, there are so many fun items we find along the way of living. Layle shares how helpful using pockets and sleeves can be. Keep your treasures within your pocket pages to hold these items in a visually appealing way - that way you can keep them in a safe place, others can pull them out if they'd like to see, but they don't take up a ton of room. Win-win.
Tip: If you would like your memorabilia to be stored in the pocket without the risk of falling out, use the Fuse tool and bind your pockets so nothing gets lost!
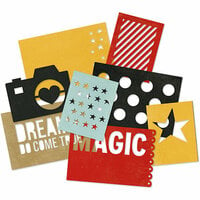
Create Photo Flips for Fun Surprises!
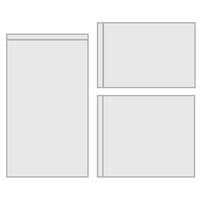
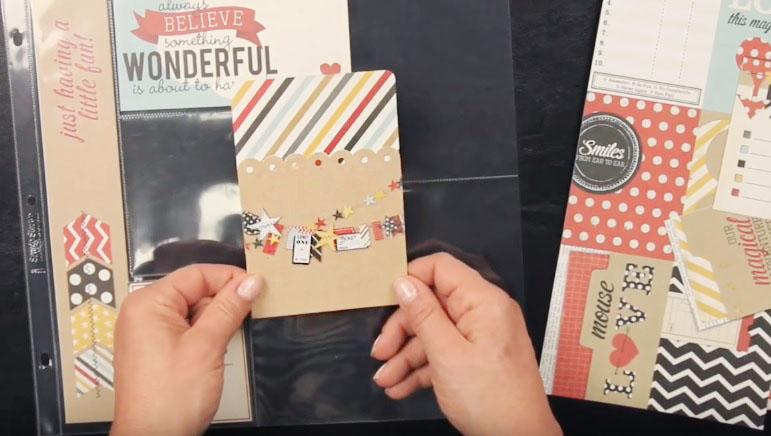
If you want to share more information than you have physical space for, create a photo-flip! Above, Layle shares how one works. It's quite simple. First, grab two of your favorite pocket sized cards. Choose one of the cards and use a scoreboard to make a score line about 1/4 of an inch from the top or edge (depending on which way you'd like the card to flip, up or from side to side).
 Next, fold at the score line and, using an adhesive runner, attach the two pockets cards together. Voila, you have a secret "flip-up" area!
Tip: Not sure what to put inside your photo-flip? Try adding "blooper" photos for extra fun!
Layle Koncar is the Director of Marketing for Simple Stories! She has been teaching scrapbooking and craft classes for the last 13 years and loves to see people be creative and make connections with other crafters during her travels. In addition to crafting, Layle loves reading, traveling, skiing, perusing flea markets, and spending time with her family - husband, Nick, and her two boys, Jack and Sam.
Like this article? You might also like...
New Research: Scrapbooking Makes You Happier and Healthier!
Tips for Organizing Your Die Cut Pieces