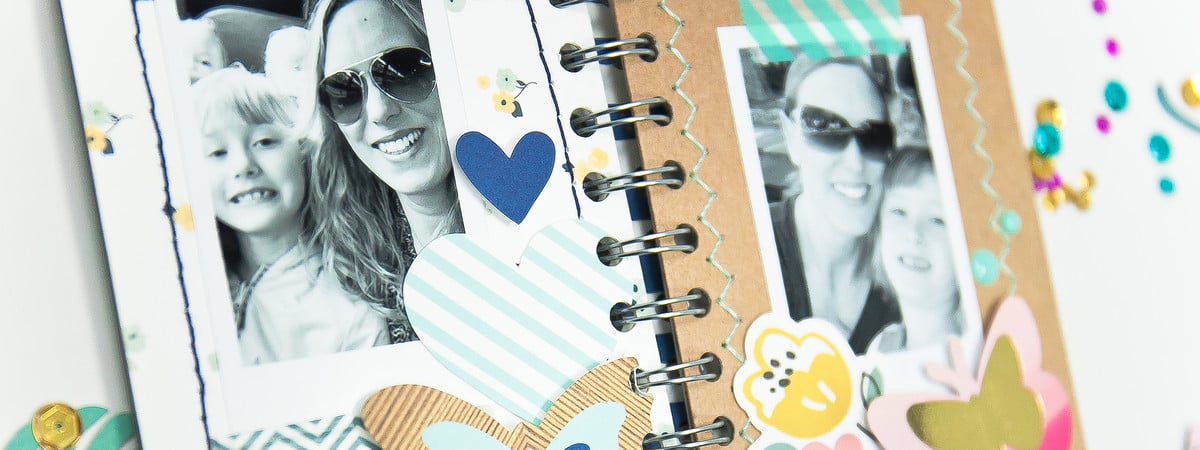
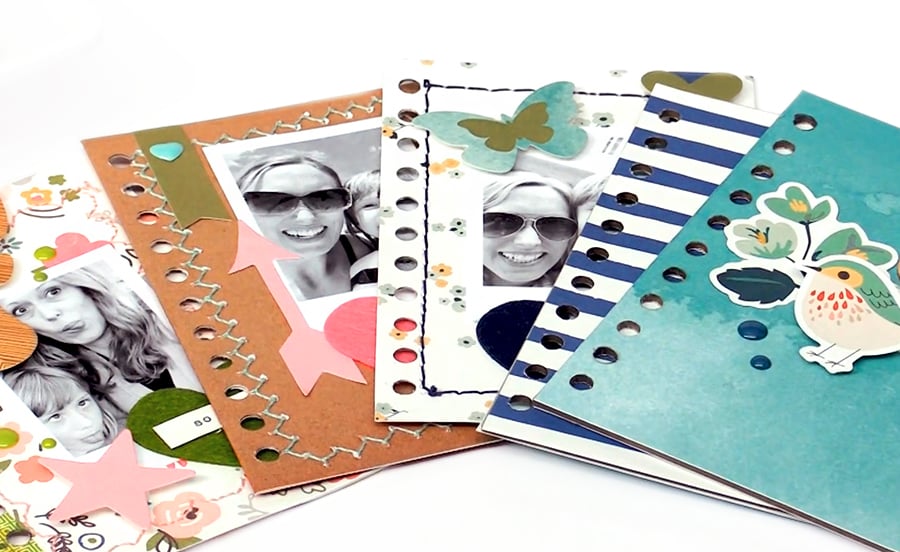
From jotting down grocery lists and household to-do's to brainstorming strategies on the job and documenting your memories, journals are the unsung heroes of note keeping! With so many needs and uses (and self-proclaimed notebook addictions), needing a new journal is a circumstance that pops up more often than we'd like to admit! Like scrapbooks, cards, and other papercrafting projects, many creative-types make their own journals to fit their journaling needs and styles.
In a few short steps, we'll show you how to make your very own handmade journals!
Supplies Needed to Make a Handmade Journal
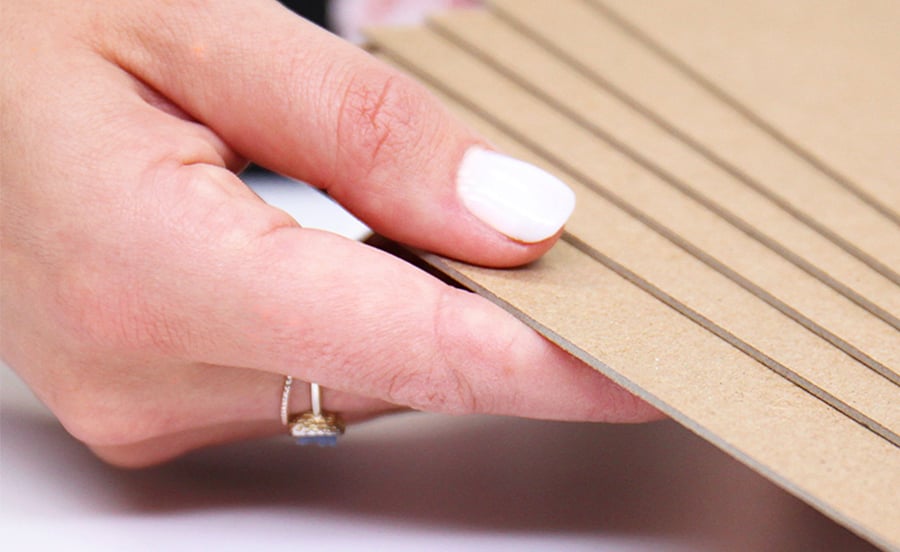
- High quality chipboard for your front and back covers (we recommend these, which are acid-free, archival, and come in a variety of sizes and tones)
- The Cinch Bindery Tool from We R Memory Keepers for easily creating your journal
- Spiral binding to hold your new journal together
- Wire cutters to cut your journal's spiral binding
- Paper trimmer or scissors
- Patterned paper for decorating your journal cover
- Embellishments for decorating your journal cover
- Adhesive
1. Make a Plan!
 First thing's first, you need to decide what your journal is going to look like. If it's for lists, you may want a small journal that will fit in your purse. If it's for documenting your thoughts, a larger journal with lots of room to write may suffice.
Tip: Popular notebook sizes are A4 (8.3" x 11.7"), A5 (5.8" x 8.3"), and A6 (4.1" x 5.8"). There are many other standard sizes. Part of the beauty of creating your own journals is making them virtually any size you want!
No matter the size, your journal will need a front and back cover! There are many chipboard options available, such as black, kraft, and white. You'll also need interior pages. Decide now whether or not you'd like blank paper, lined paper, or colored paper.
You'll also want to choose your embellishments during the planning stage, as well as if you want your journal to be blank or more of a mini album! All of these decisions are important to consider when creating your new, unique journal!
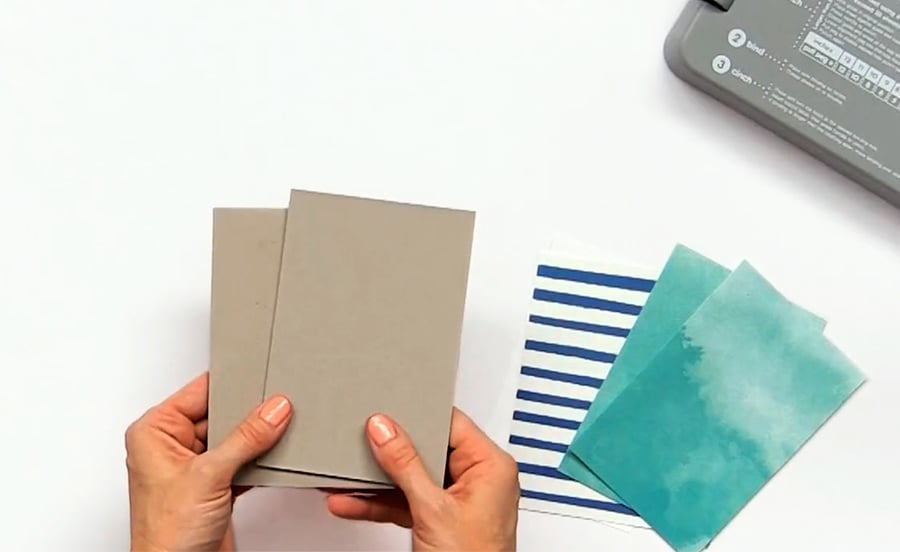
2. Cut Your Chipboard and Paper
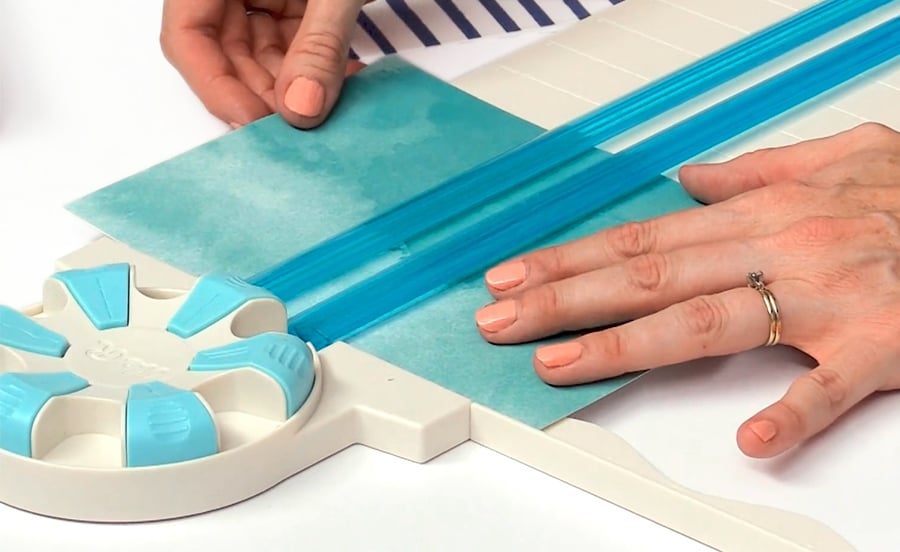 Once you've chosen which beautiful paper you'd like to adorn the front and back of your handmade journal, you'll need to trim it (and your chipboard) to the size you've decided on. Also, you can decide now if you'd like to have the front inside and backside covers to have paper on them too. Once you've decided, cut them so they are the same size. Cut your interior pages to size as well.
Tip: Make sure your trimmer or scissors are sturdy enough for heavy chipboard to prevent unwanted paper tearing and trimmer damage. If you're unsure, you can check with the manufacturer your trimmer or scissors are from.
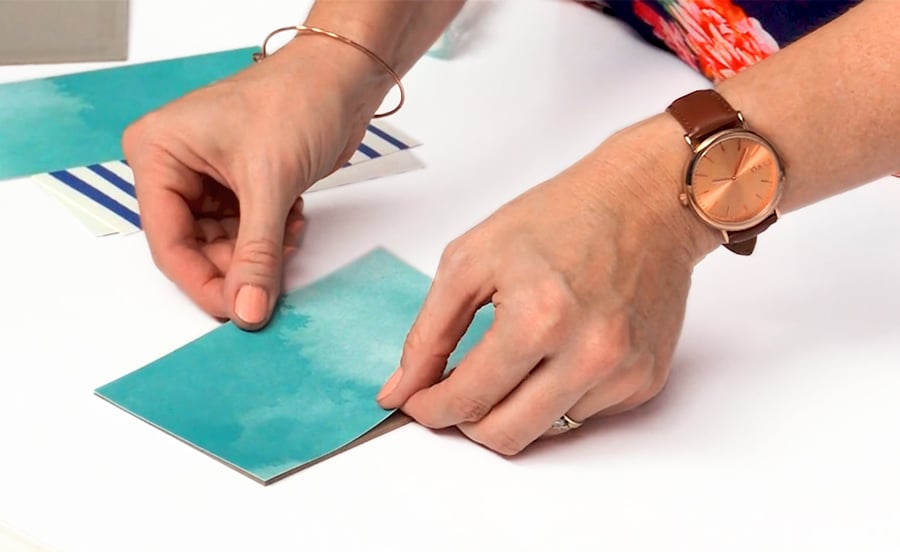
3. Adhere Your Paper to Your Front and Back Covers
Once you've cut your chipboard and patterned paper to be the same size, adhere your patterned paper to the chipboard using a permanent adhesive. If you've decided to cover both sides of the front and back covers, adhere your patterned papers to both sides. If not, just adhere your cover paper to one side each.
 4. Embellish your Journal Cover
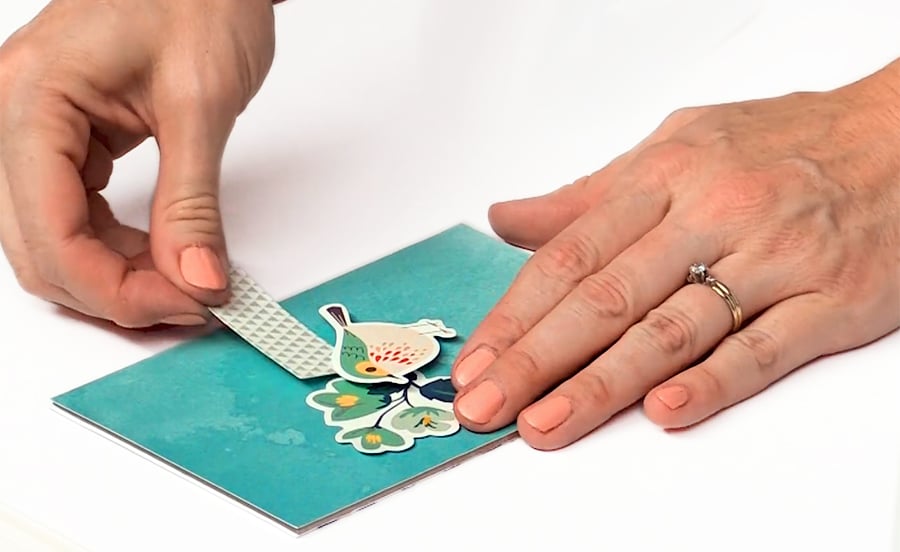 Decorate your journal's cover with the embellishments you chose! Feel free to get creative and really have fun in this stage! If you're making a mini album, you can decorate and create all of your page layouts ahead of time if you'd like, or leave them blank and decorate later. If you're making a journal to write in, you can use blank pages. It's up to you!
You can also decide to decorate your journal after you've put it together. Your choice.
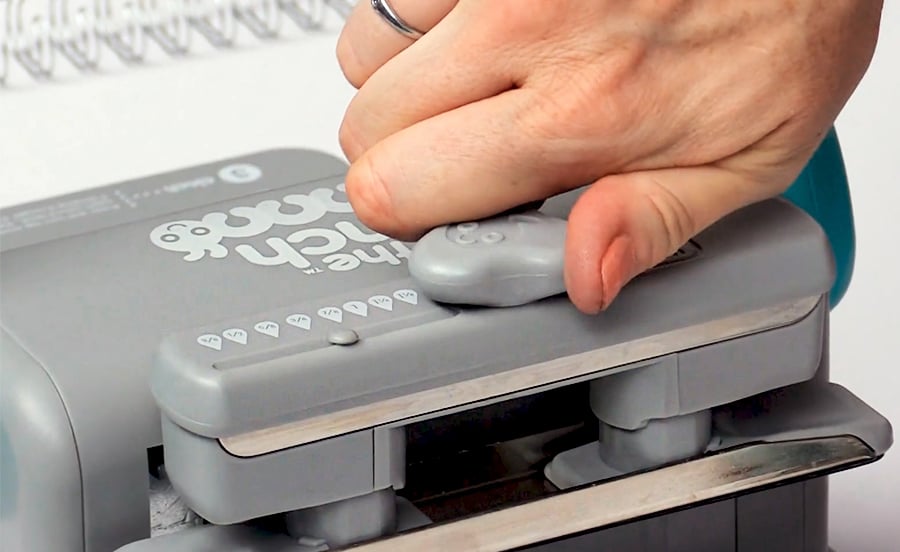
5. Adjust Your Cinch Bindery Tool
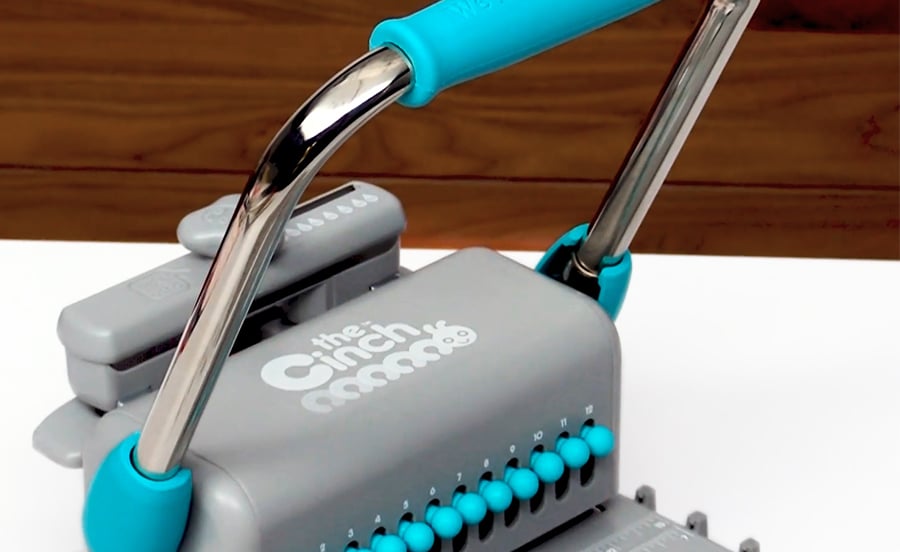
The Cinch Bindery Tool looks like a complicated machine, but it's extremely user friendly. The base of the instrument has everything you need to know permanently printed on, so you'll never lose the instructions! On the base, you'll find an easy-to-read chart that will tell you exactly where to adjust the toggles for perfect hole punching and binding every single time!
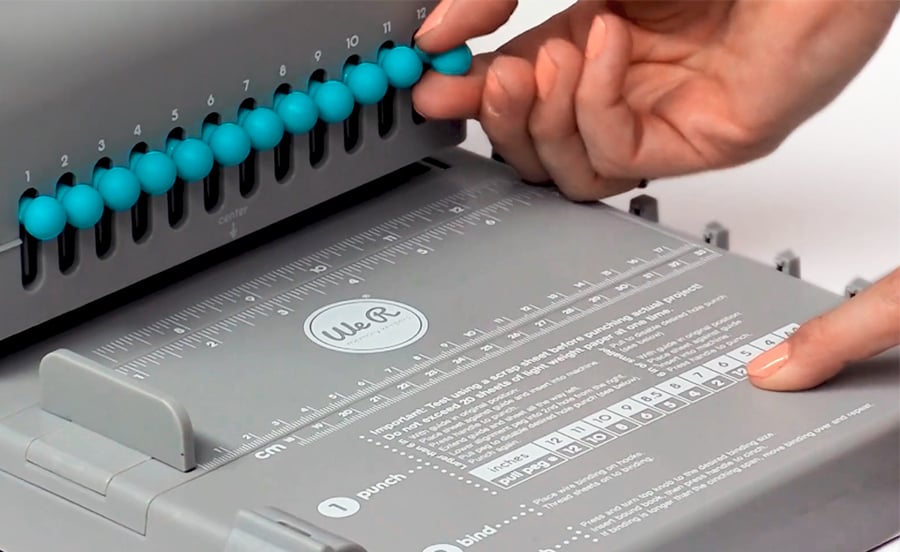
6. Punch Holes With the Cinch
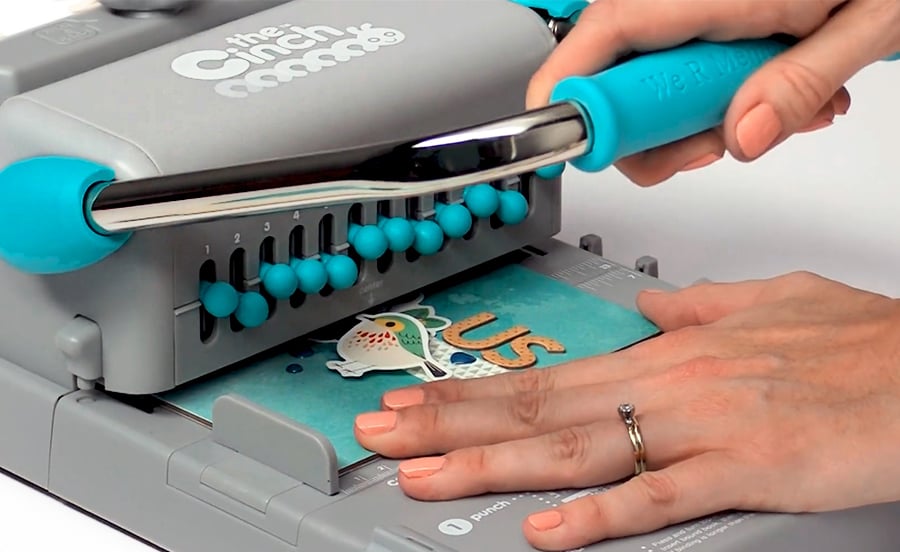 Once your chipboard journal front cover is decorated and your Cinch Bindery Tool is adjusted, it's time to put your one-of-a-kind journal together! Insert the left hand side of your chipboard cover into the slit in the front of the machine, like pictured above.
Hold your cover in place and pull down on the large Cinch handle. This will punch the holes into your album!
For the back cover, place the right hand side into the slit and pull the lever down - that way the design you chose will be on the outside cover of your journal!
Repeat with the interior pages of your journal. The Cinch can punch up to 20 sheets of copy paper in one press. If you're using a thicker paper or cardstock, press a few sheets at a time to ensure that the holes are cleanly and precisely punched.
Tip: Pay special attention to which side you're punching so your journal isn't upside down or inside out!
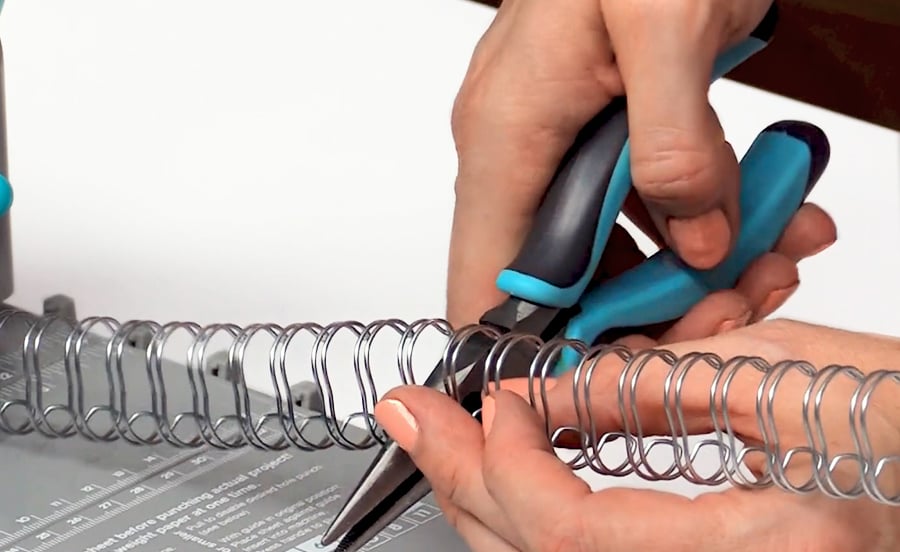
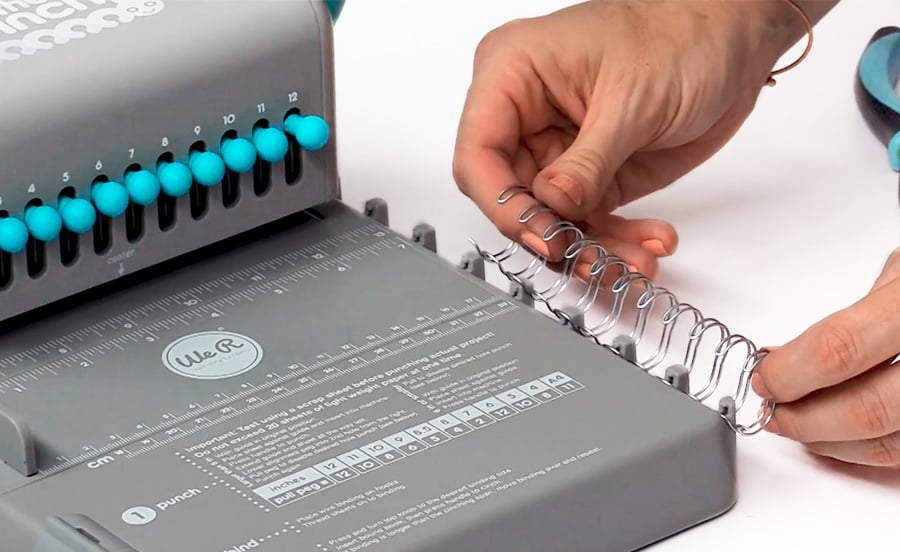
7. Select and Cut Your Spiral Binding Wire
Spiral binding comes in a coil (liked pictured below). Typically, it arrives with more rings than you need. How do you know how many spiral binding rings you need? Count the holes in your freshly-punched journal! However many holes you count is how many rings you'll need.
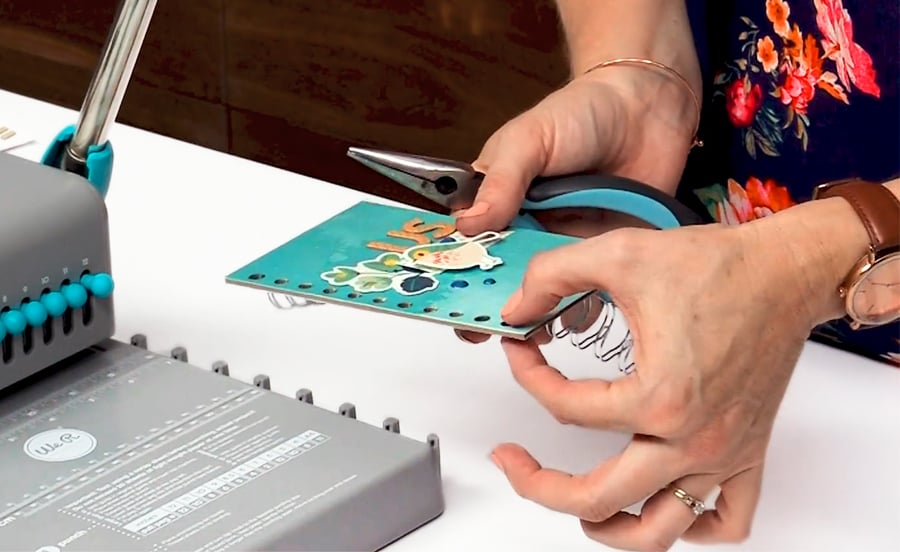 With your wire cutters, trim your spiral binding to however many rings you need. Store the excess for another (smaller) journal later!
8. Put Your Journal Together
The Cinch Bindery Tool has a series of safety hooks on the side of the base. These small plastic hooks are designed to hold your spiral binding still while you put your journal pages together. Place your cut spiral binding on the hooks like pictured below.
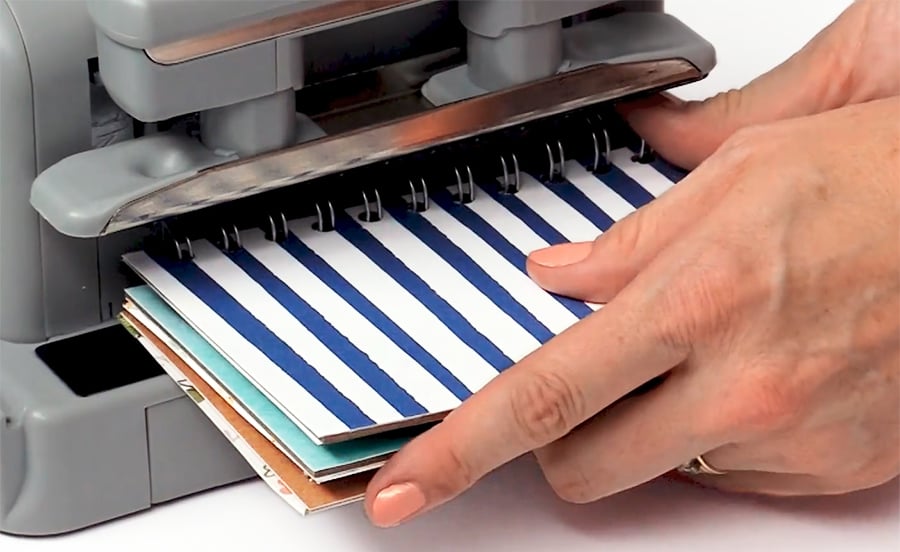
 Now, you can start putting your book together! In order to make sure your journal is in the correct order (if it's blank, this will be less of a concern), Aly Dosdall of We R Memory Keepers shares a priceless tip.
Tip: Place the last interior page of your journal on the rings first - not your covers. Go from the last page to the first page, pages face up. Once the interior pages are on your spiral binding rings, place the front cover, face up. On top of the front cover, place your back cover, face down. This method will help not only keep your journal in order, but will keep the rings in the right place so your journal opens and closes with ease.
9. Close the Spiral Binding to Finish Your Journal
 The reverse side of your Cinch Bindery Tool has a place to press your spiral binding together, safely and securely. Adjust the toggle to the size of your spiral binding. The size options are printed clearly on your Cinch Bindery Tool. The package your spiral binding came in will tell you the measurement.
 After adjusting the toggle, place your journal, binding side in, into the slot in the back of the machine. Gently press down the large lever of the Cinch Bindery Tool to clamp your spiral rings shut. Take your shiny new journal out of the machine.
 Turn your back cover page so it's in the very back and voila! Your brand new, unique, handmade journal is complete, beautiful, and totally YOU!
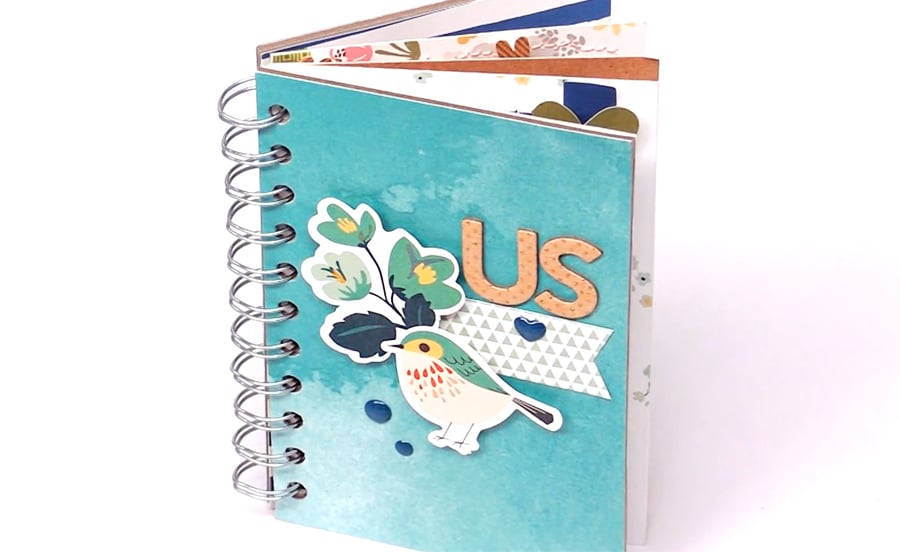 Whether you go through journals like there's no tomorrow or you love to give handmade gifts, a little bit of chipboard and the Cinch together will have you creating a lifetime of beautiful, unique vessels to store your lists, notes, wanderings, and be the perfect gift... it's a cinch!
Summary
How to make a handmade spiral journal
- Measure and cut your chipboard and paper
- Decorate your journal cover
- Adjust the toggles on your Cinch Bindery Tool
- Place your journal cover (one at a time) into the Cinch Bindery Tool and press down lever to punch holes
- Repeat with your interior journal pages
- Cut your Spiral Binding wire (however many punched holes are in your journal = how many spiral rings you'll need)
- Hook your wire onto the wire hooks on your Cinch Bindery Tool and place your interior journal pages over the rings, starting with the last page first.
- Place your front cover on top of the interior pages (face up) then your back cover on top of that (face down)
- Gently take the spiral binding off of the hooks with the pages on it
- Adjust the toggle for the binding press on reverse side of your Cinch Bindery Tool
- Place your spiral binding, with the pages on it, into the slot in the back and press down to close rings
- Show off your new journal!
Photographs and tips from this article were created with the help of Designer Aly Dosdall from We R Memory Keepers!


