Have you started working on your Christmas and Holiday gift tags yet? I like to get started early so I can explore some different creative options for my friends and family. Today, I want to show you how you can use some exclusive items from Scrapbook.com to create beautiful stamped and die cut Christmas tags.
In the following tutorial, I’ll walk you through the steps for creating the tags, adding gold embossed holiday messages to each tag, and then I’ll share how you can use the incredible Blending Brushes to create a soft, blended effect on holiday die cut shapes.
Keep reading for all the how-to steps. Supply list is at the bottom of the page.
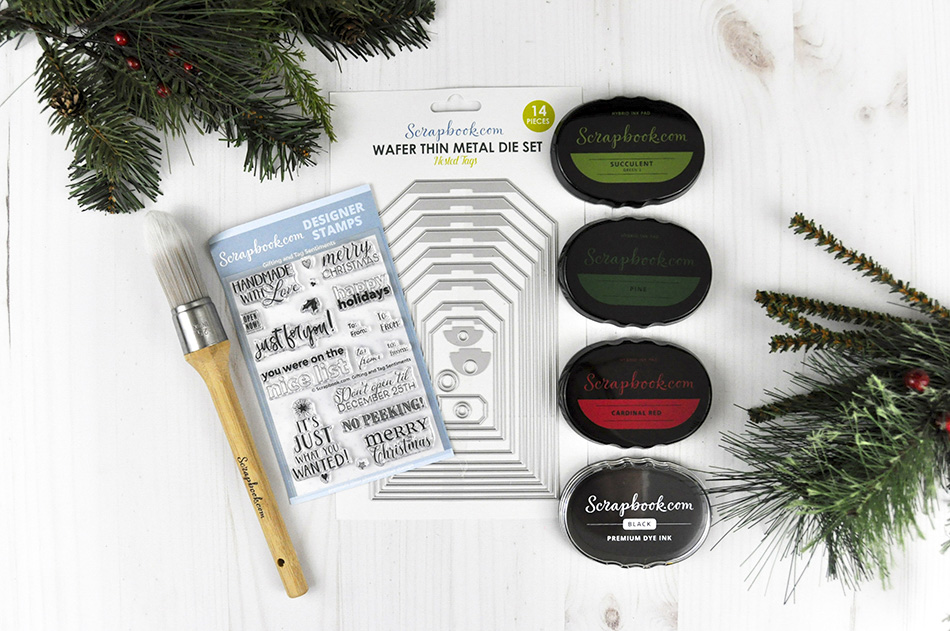
We’ll be using the following exclusive Scrapbook.com products in today’s tutorial:
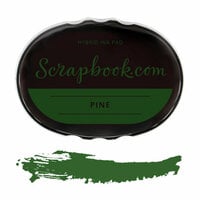
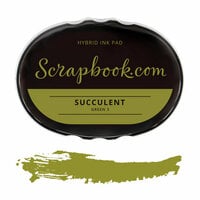
- Hybrid Ink Pads
- The Nested Tag dies
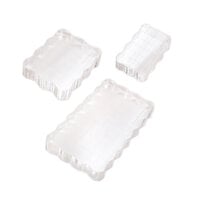
- Acrylic Blocks
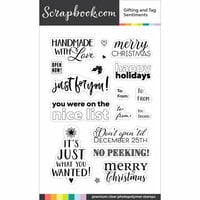
- Scrapbook.com's exclusive Designer Christmas Stamps
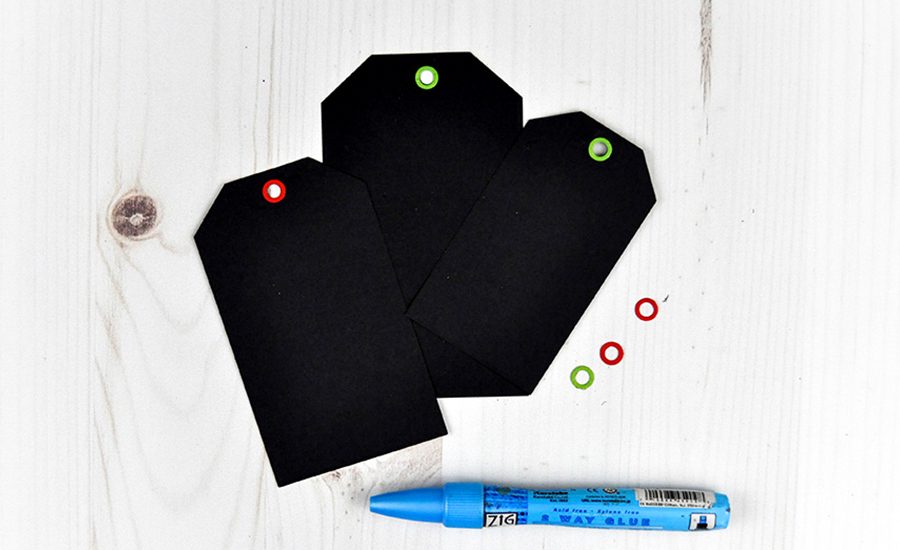
Step 1: Use the Nested Tag Dies and the Sizzix Big Shot to die cut a small tag from black cardstock. When laying the die cut on the cutting platform, be sure to add the inner die cut piece to cut the hole for the tag.

Step 2: Die cut a medium and large tag from black cardstock using the same die set for a total of three tags.

Step 3: Using the same die cut, die cut several hole reinforcers from green and red cardstock and mount them at the top of each tag.
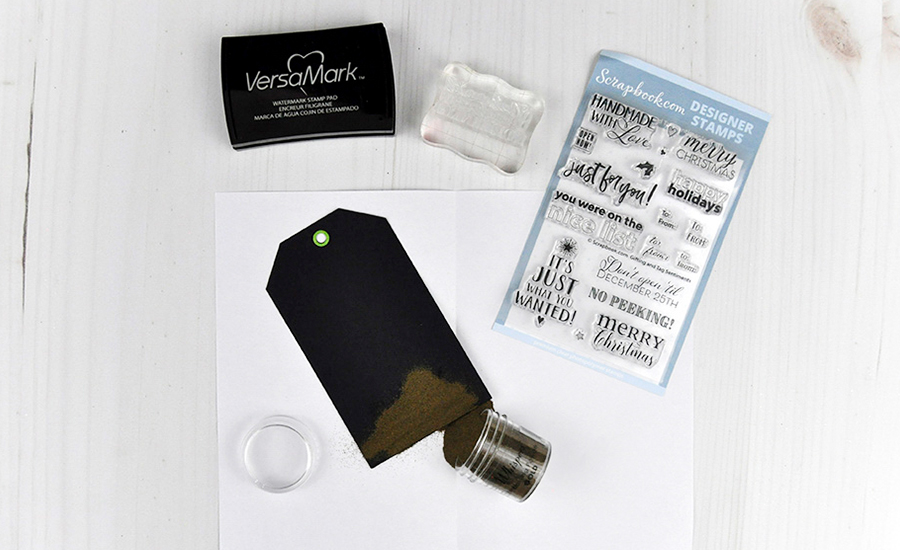
Step 4: Mount one of the holiday/Christmas phrase stamps from the “Holiday Gifting and Tag Sentiment Stamps” onto a clear acrylic block and ink with a clear Versamark Ink pad. Stamp a different phrase on the bottom of each tag.
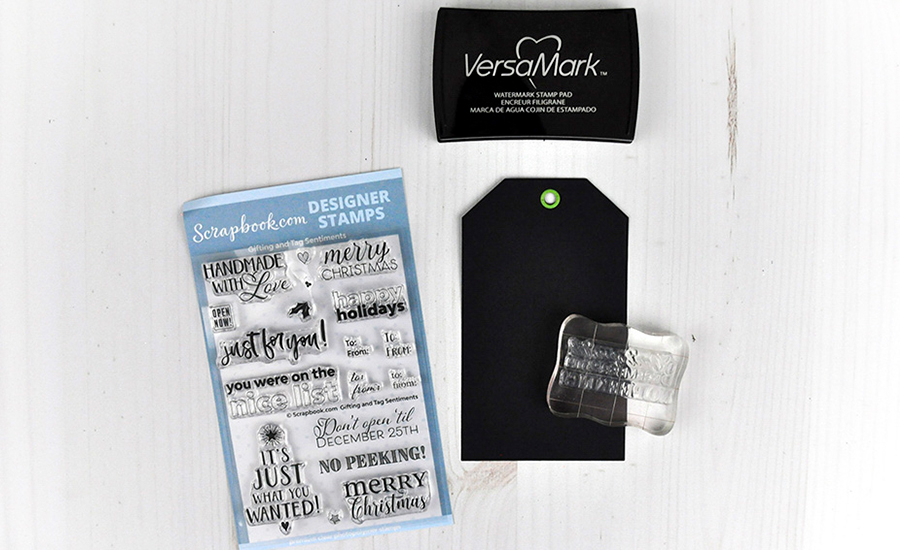
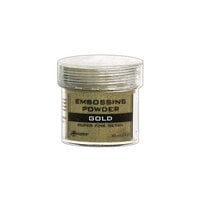
Step 5: Sprinkle Gold Embossing Powder over the top of each stamped image. Completely cover the image. Tap off any excess powder and return the extra powder to the container.
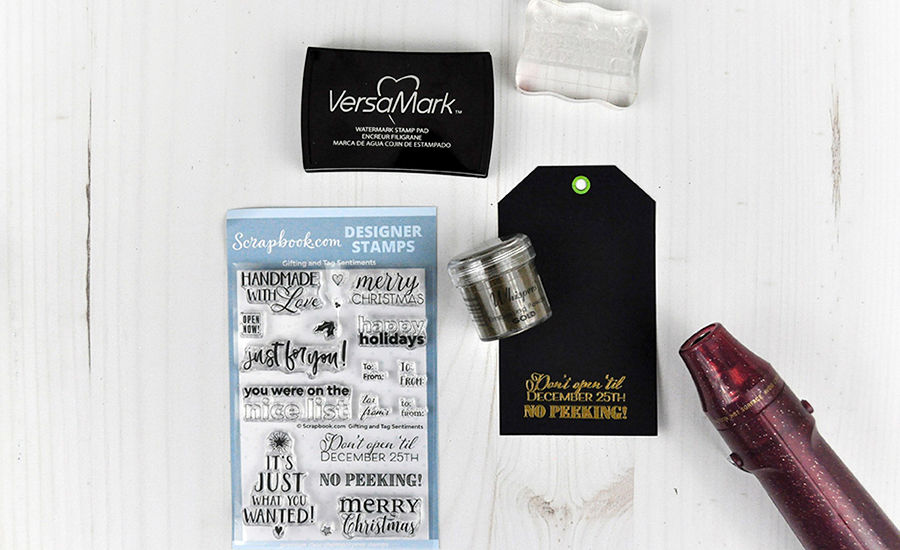
Step 6: Use a heat gun tool to set the embossing powder for each tag. The gold embossing powder will become shiny and even when set.
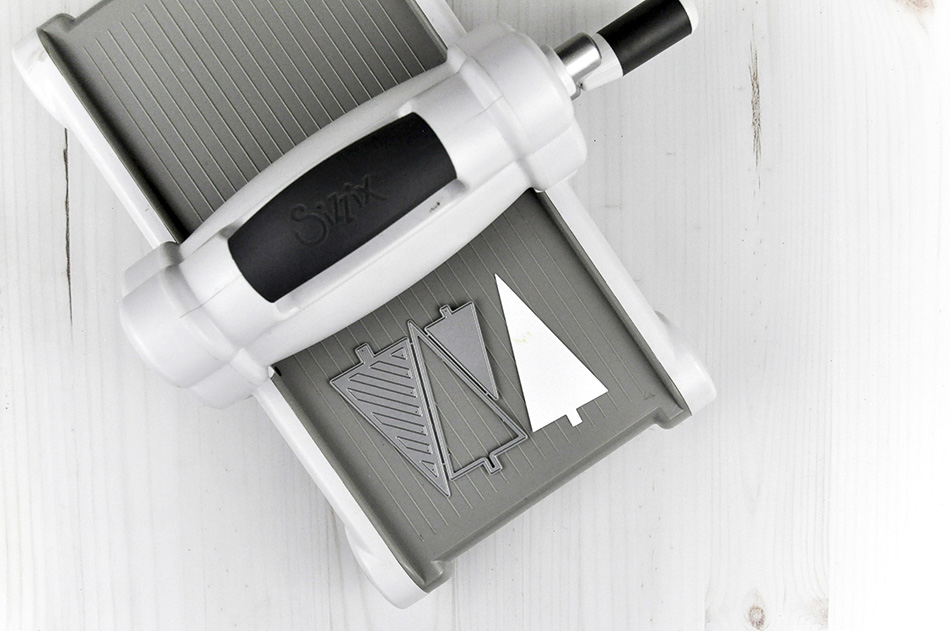
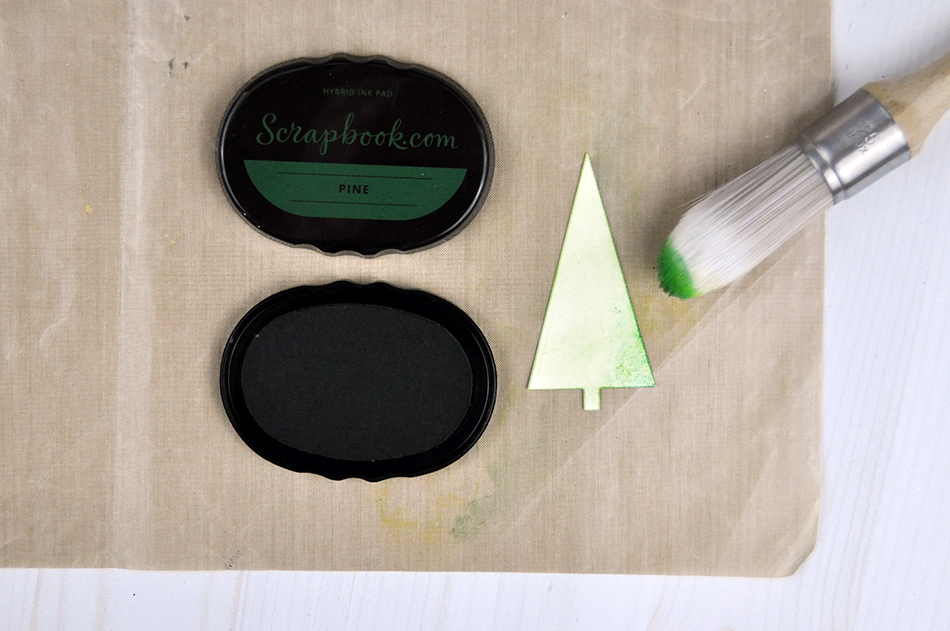
Step 7: Use a tree-shaped die to die cut a small and medium solid tree shape from white cardstock.
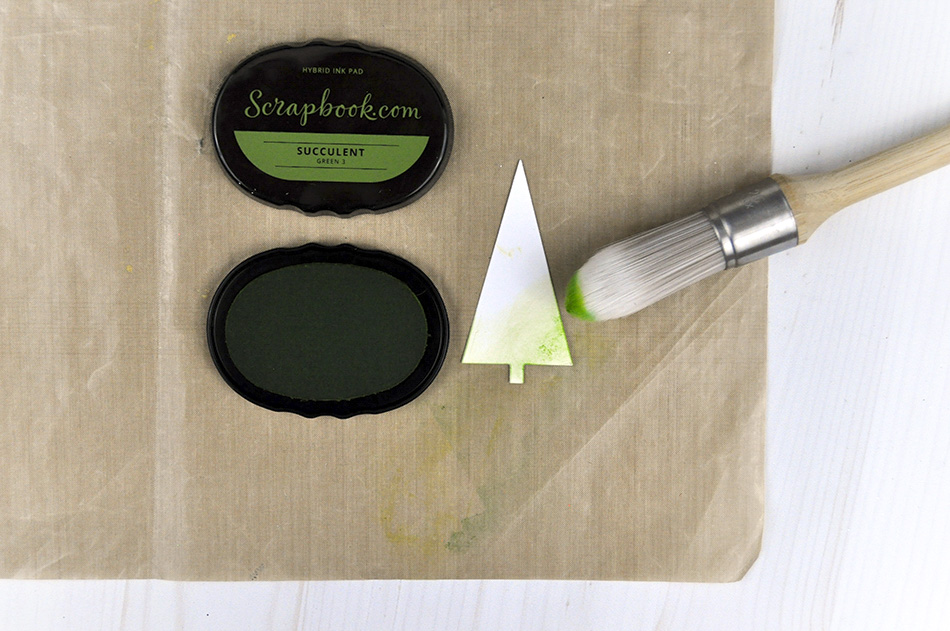
Step 8: Use one of the Blending Brushes to softly blend the “Succulent” colored Hybrid Ink onto the tree die cuts. Use swirling strokes to add the color to the trees.
Step 9: Wipe off excess ink from the blending brush and add “Pine” Hybrid Ink to the Blending Brush. Blend the darker green ink along the outside edge of the tree die cuts. Once the color has been blended, use the tip of the brush to dab additional color onto the die cuts. This will create a texture for the tree shapes.
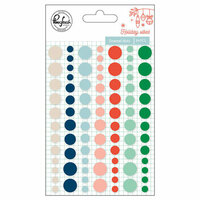
Step 10: Mount the die cut shapes onto the large and medium tags. Add ribbon to the top of each tag and add a few red enamel dots to the die cut tree shapes.

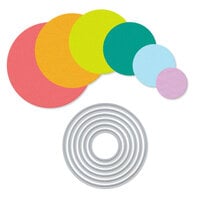
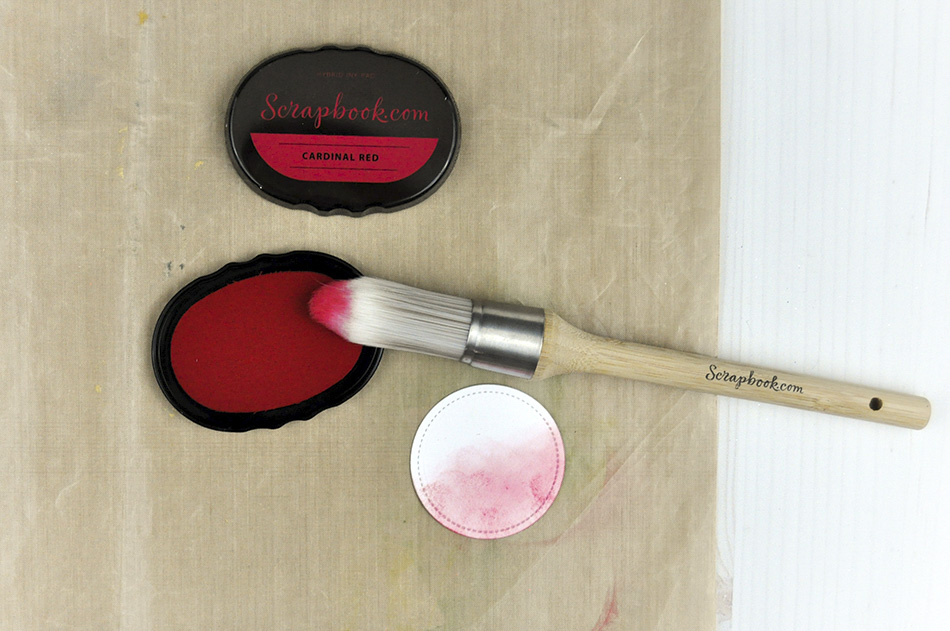
Step 11: Use a circle die cut shape to cut two medium circles from white cardstock.

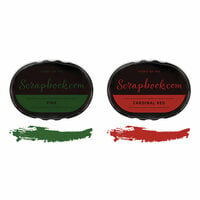
Step 12: Add “Cardinal Red” ink to the Blending Brush and blend the lower half of the circle with the red stamping ink.
Ink Tip: Did you know you can get both Pine Green and Cardinal Red ink pads in one amazing duo? Check out the Holiday Group kit!
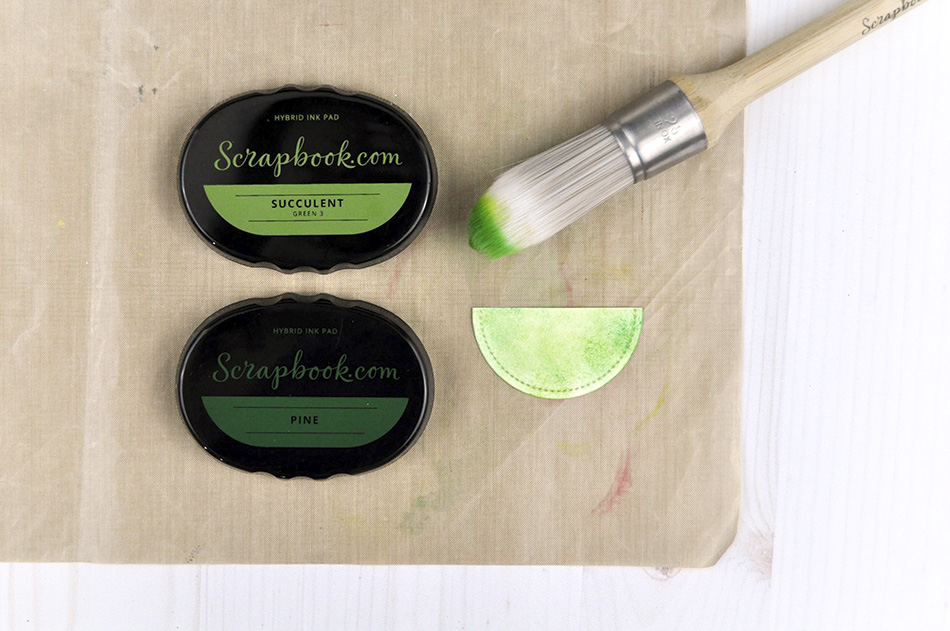
Step 13: Clean the brush. Cut the second circle die cut in half. Using the same steps as for the tree die cuts, add the “Succulent” and “Pine” Hybrid Ink colors to the half circle die cut.
Step 14: Mount the green half circle on the red, blended circle. Add a gold rectangle to the top of the die cut to form an ornament. Add a strip of red cardstock across the ornament and mount three green enamel dots on the circle die cut. Tie the top of the final tag with green ribbon.
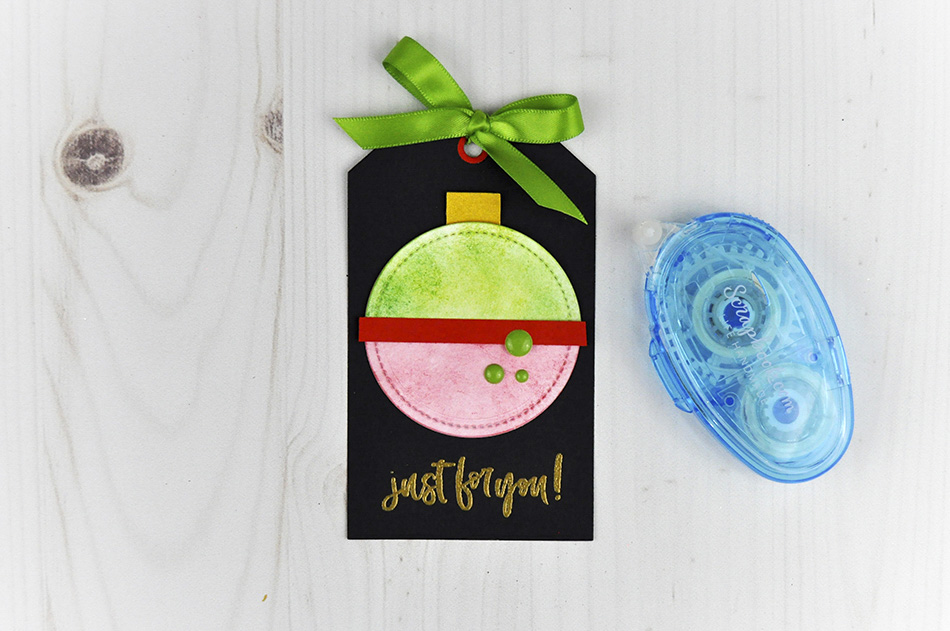
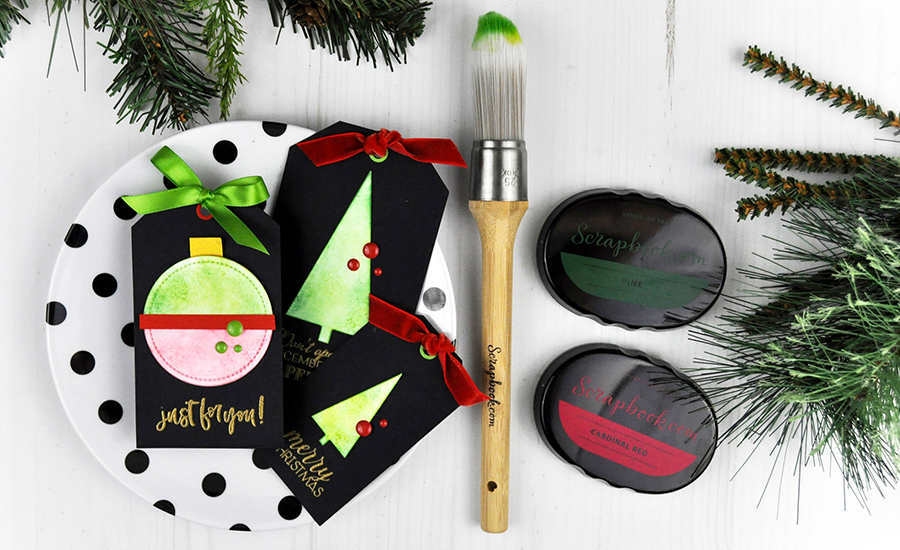
Here’s a closer look at these tags. The blending effect is soft, while the black tag and gold embossing powder keeps the holiday tags dynamic.

Take a moment to pin your favorite image to your Holiday Card Making Pinterest board. You can shop the supply list below.

 Make sure you leave Jennifer Gallacher some love on her variety of channels! Follow her at www.jengallacher.com or on her Social Media channels. You can find her Instagram Profile here and her Facebook Page here! See all of her beautiful projects in her online gallery.