Christmas is the most wonderful time of the year! I send lots of Christmas cards to friends and family, so it's time to make some festive cards.
For this tutorial, I used the new Premium Hybrid Ink Pads and Exclusive Clear Photopolymer Stamp Sets. They are perfect for creating easy card backgrounds with ink! Three essential supplies are needed for this easy background: Washi Tape, Hybrid Ink, and a Blending Dauber!
See the complete product supply list at the bottom of this post!
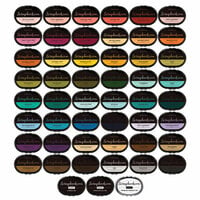
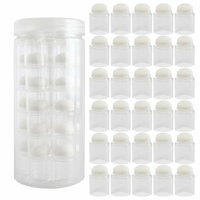
For this background technique, you will need a roll of Washi Tape and one color of ink from the Exclusive Hybrid Ink Pads. You can see all of the colors here.
First I cut the card front to 4"x 5.25", then adhered Washi Tape stripes diagonally as a mask. If you want to, you can do the same thing vertically or horizontally too for a different look.
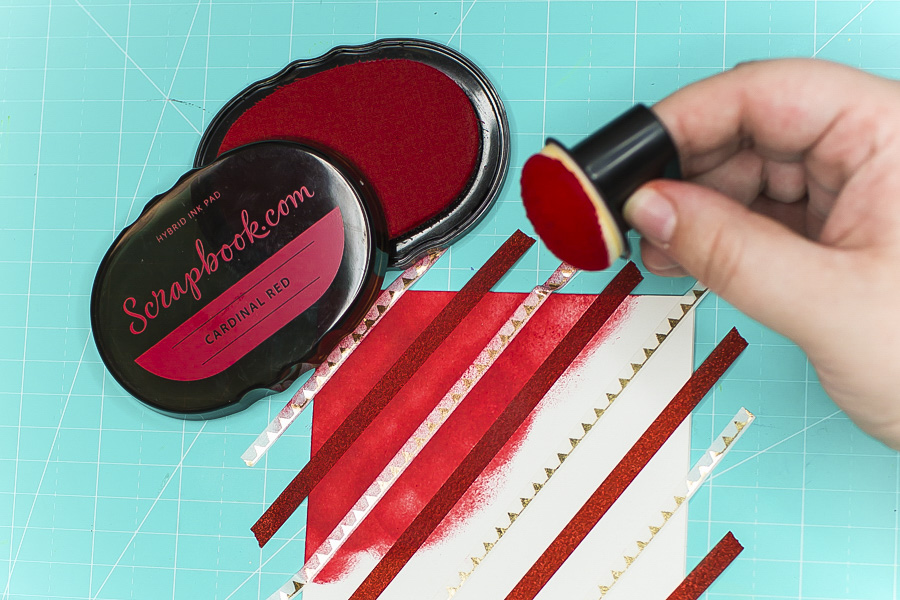
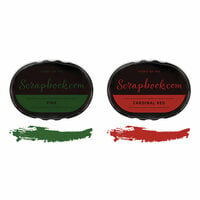
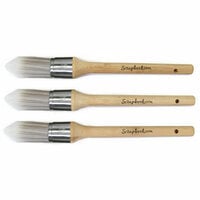
The next step is ink blending. I chose the Cardinal Red Premium Hybrid Ink Pad because it has a beautiful and festive rich, red color, but you can try it with any ink from this collection. I blended over the Washi Tape pieces with a Jumbo Sponge Dauber.
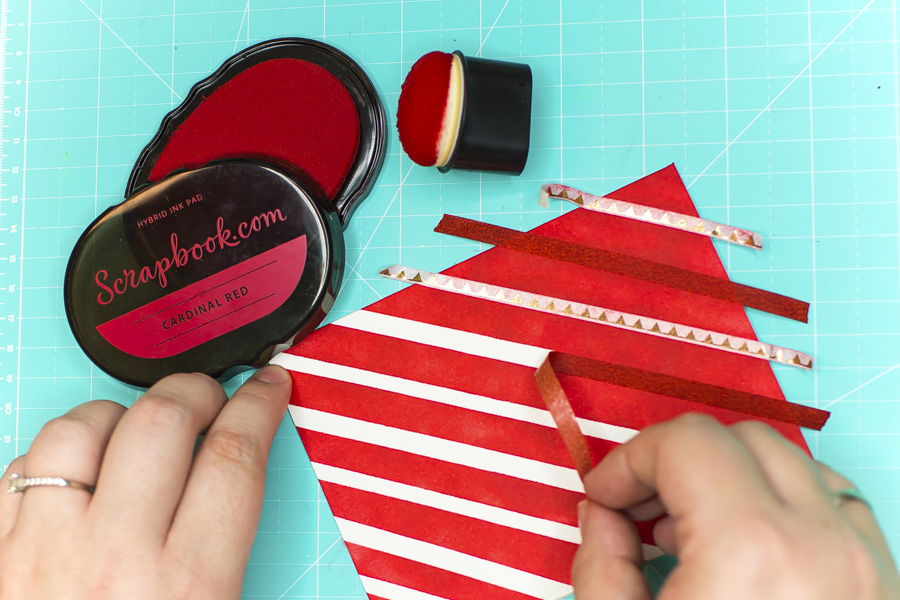
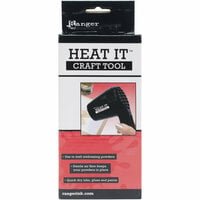
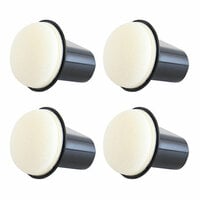
When I had finished adding and blending the ink, I heated the paper, so that the Washi Tape pulled apart from the paper to make the pieces easier to peel off. I also splattered Premium White Hybrid ink on the background as well, to get a snowy effect. I did this fun technique by adding a little white pigment ink to a Clear Acrylic Block, then adding a drop of water to it. Once it was a little milky, I coated my brush in the watery-ink and gently tapped it above the card to create splatters.

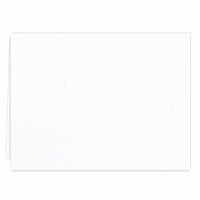
Next, I adhered my striped background front to a Neenah Solar White A2 scored card base. I love the thickness of this paper. Your card will be much heavier and these card bases are exclusive to Scrapbook.com.
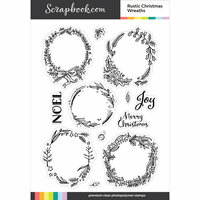
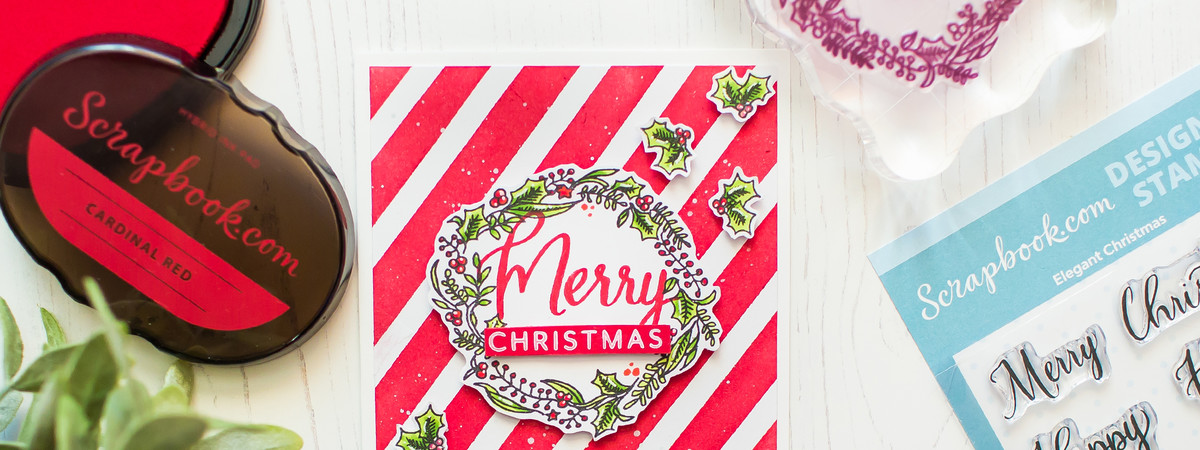
My favorite part of card making is stamping and coloring. I stamped the images from a holiday wreath stamps set with the Black Premium Hybrid Ink Pad, then colored them. To make the card really pop, I stamped my holiday sentiment inside the wreath with red ink to match the background.

When it was done, I fussy cut the images and adhered them to my card with Dimensional Foam Dots. In the end, I stamped the "Christmas" sentiment from the Holly Jolly Sentiments Stamp Set with Premium White Hybrid ink onto a piece of red cardstock and adhered it to the card too.
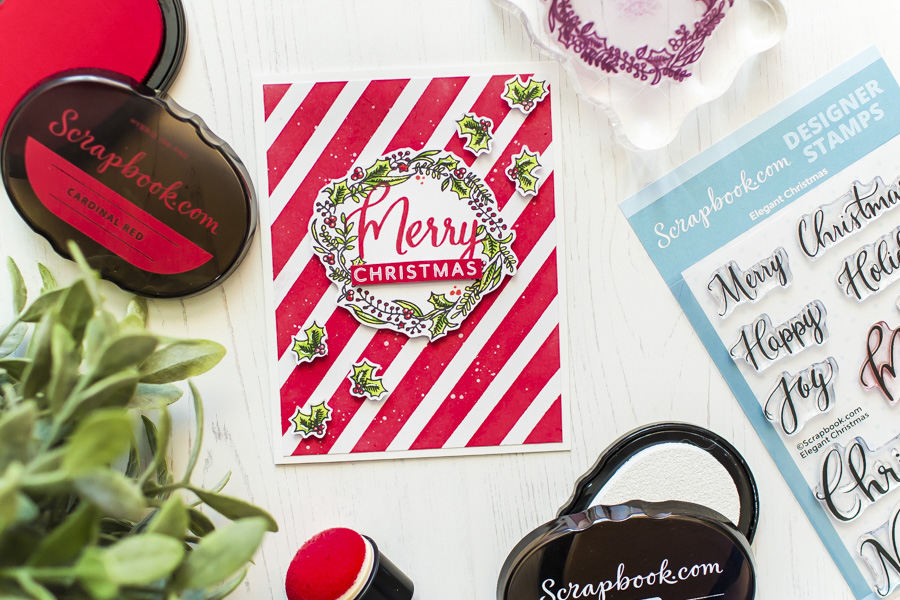
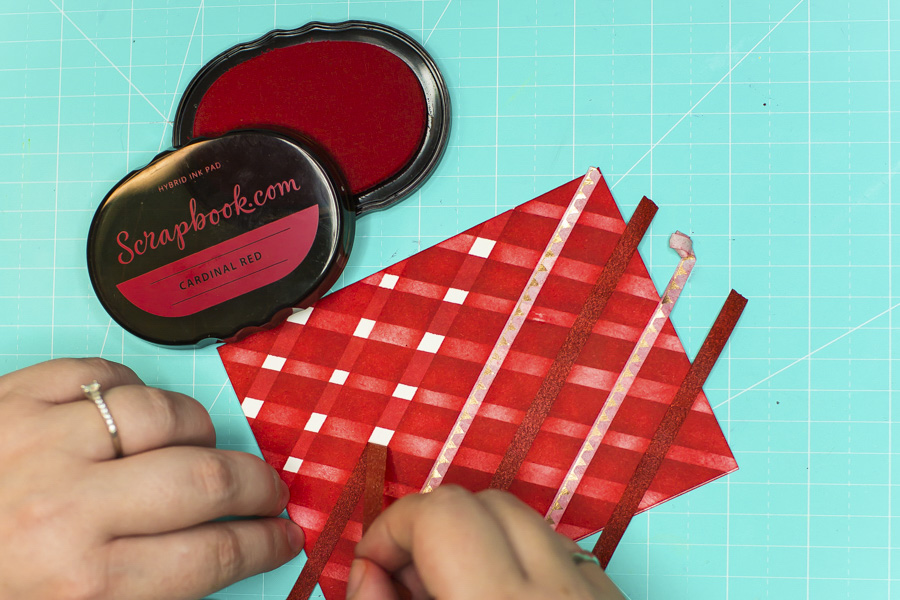
Bonus tip: If you want, you can use Washi Tape pieces twice on your background, going in opposite directions and you will create a unique look, just like I did below!
I hope you enjoyed this tutorial and don't forget, you can try this technique with any Premium Hybrid Ink Pads. I can't wait to see what you will create!