Spring has finally arrived here in Canada after a brutally cold, long winter. I was so excited to receive the Mid-Century Floral and Happy Little Sentiments stamp sets from Scrapbook.com so I could start playing with them.
These sets are both so much fun, so I decided to make an art journaling page as a gift to a dear friend of mine. The floral stamps inspired me to make a bouquet of flowers to bring the warmth and beauty of Spring permanently into my friend’s heart!
In this step-by-step tutorial, I will show you my process for making these happy and colorful little flowers to use on cards, scrapbook layouts and your art journaling pages!
See the complete list of products and supplies at the bottom of this post.
Step 1: Stamp the images
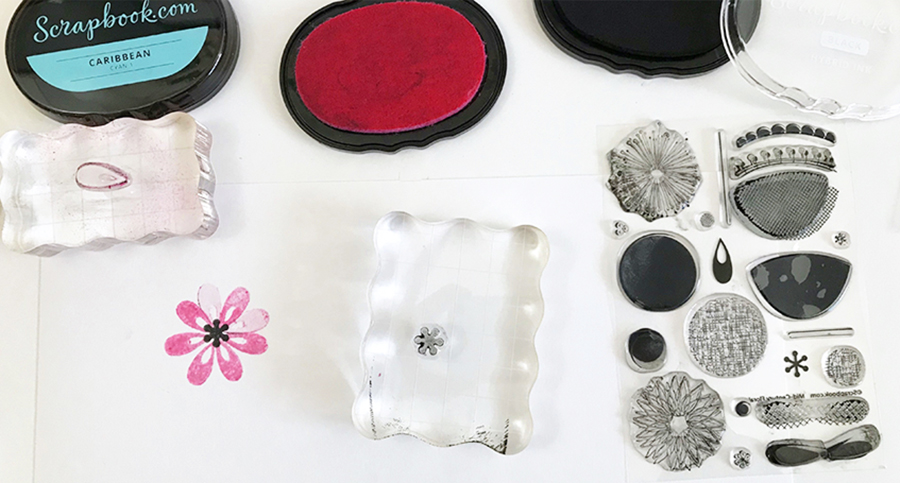
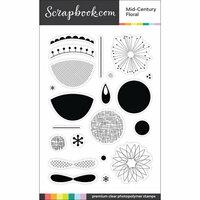
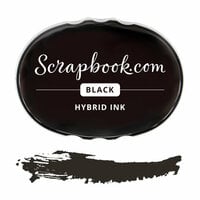
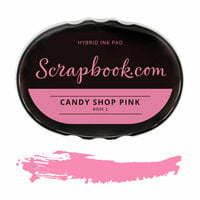
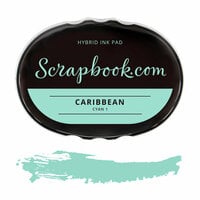
I started by using Scrapbook.com's Black, Candy Shop Pink, and Caribbean Hybrid Inks to stamp the flowers on a thick piece of white cardstock. I had an idea to stamp the images and then add a watercolor paint layer on top of them, so I wanted to use a paper type that could handle the wet media without buckling or warping.
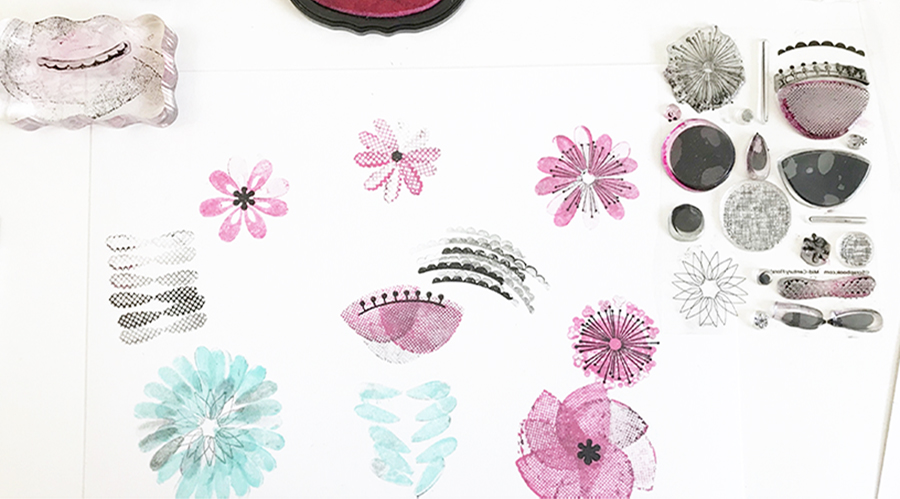
The real fun part was being able to mix and match all the different options of petals to make up a variety of layered flowers. With this stamp set, there are so many possibilities! I am sure I can make multiple bouquets from this set without duplicating a flower!
I alternated the three different colors of Scrapbook.com inks until I had a whole bunch of different stamped flowers.
Step 2: Paint the flowers
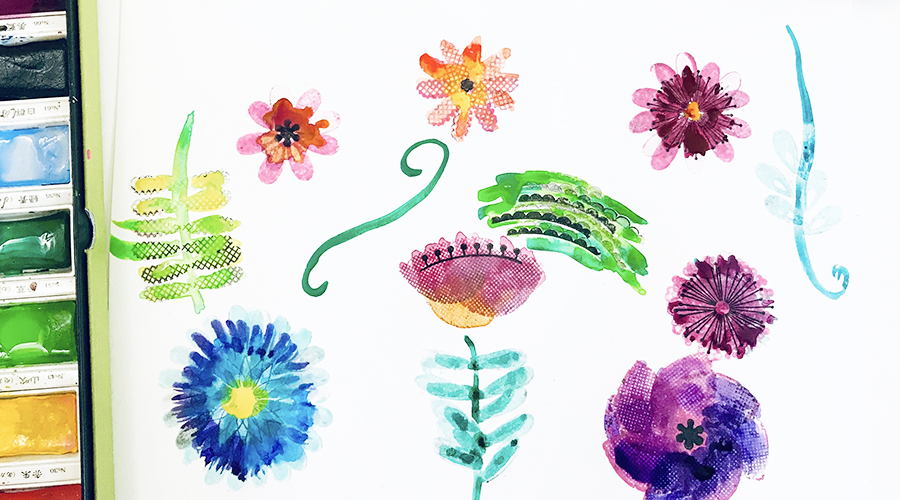
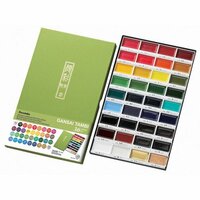
After the flowers were stamped into some unique and original designs, I went a step further and decided to paint over them with watercolors! I used the Kuretake watercolor palette since I love the bright colors and creamy, smooth consistency of the paints.
I started by painting one solid color over a stamped image and then going back and layering it with a second color. Within moments, the two colors were flowing together and creating magic!
Tip: Sometimes watercolor painting can take a little bit of practice until you get comfortable with the way the medium works. A good rule of thumb is to ensure your paint brush is always saturated with water so that the colors can flow freely.
One of the wonderful features of Scrapbook.com's hybrid inks is that they do not react with water. They dry incredibly fast and set so that the stamped images don't smudge when I apply the watercolor paint directly over it. That's what makes the hybrid ink so perfect for art journaling pages. I cannot recommend it enough!
Step 3: Cut out the flowers
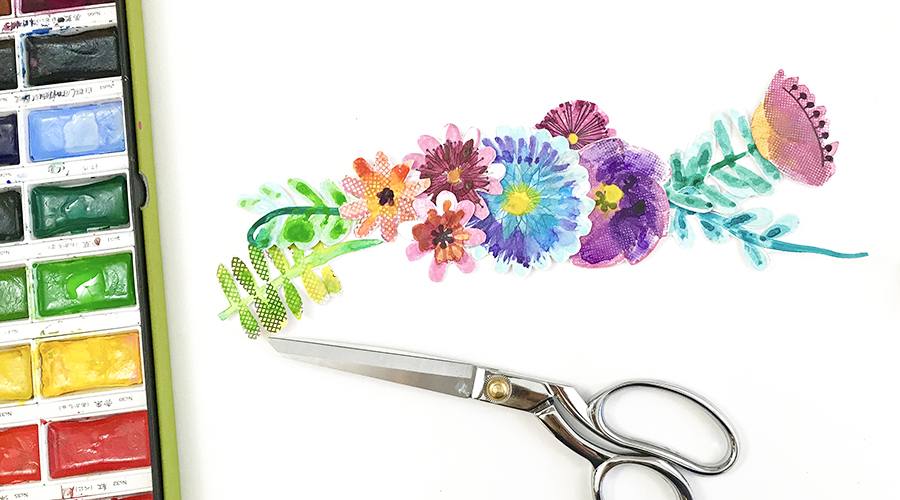
The next step is cutting out the flowers. Fussy cutting takes time, effort, and a little bit of precision - but it's totally worth it. I certainly didn't do a perfect job but I like the fuzzy fussy cut edges of the flowers.
Then, I layered the flowers on top of each other with a little bit of overlap to make a bouquet or spray and adhered them together with a touch of hot glue. Since the flowers are now all one piece, I can just place the whole design on my art journaling page.
Step 4: Paint the background
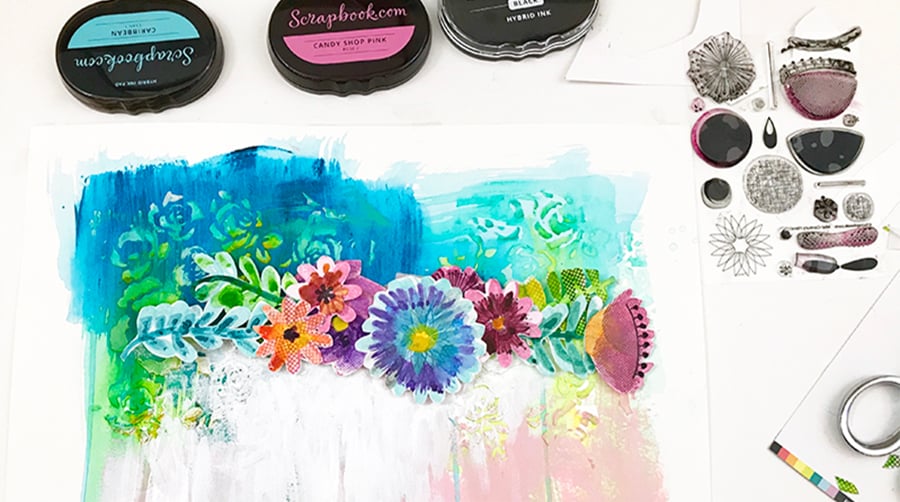
For this page, I applied some watered down acrylic paint to the background in broad strokes. I chose a couple complementing colors of paint, and then added texture with light modeling paste in a few areas and a pretty rose stencil pattern in others.
I created some depth and dimension by alternating strokes of the acrylic paint and layers of the rose stencil. You can see that some of the rose designs are behind the strokes of paint, and others are on the very top.
I painted in some soft pink and peach tones on the bottom of the page and waited for all of the mediums to sufficiently dry. Then I placed my flowers towards the top and adhered it with foam tape to give them a slight lift off of the page.
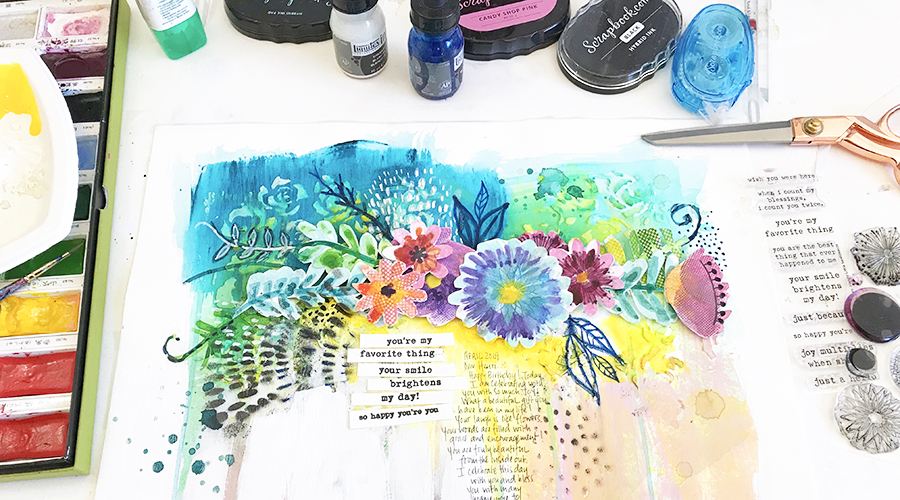
After the flowers were on the page, I let imagination and creativity take me away with some paint drops, patterns, and a variety of fun doodles.
Tip: Art journaling is not an exact science, and there's definitely no perfect way to get each page completed. Let your imagination be your guide and do whatever feels natural for the look you're trying to achieve.
Step 5: Finish the page
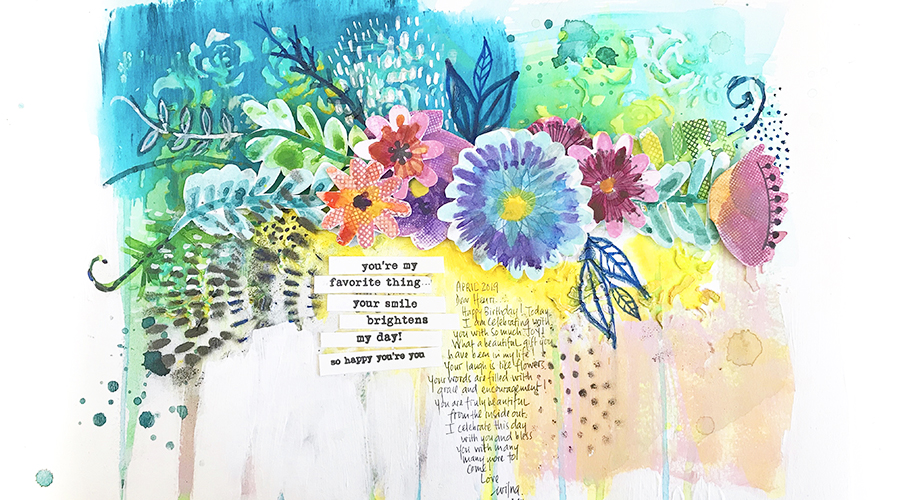
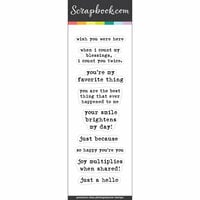
Lastly, I stamped some phrases with the Happy Little Sentiments stamp set on watercolor paper and adhered it to my page in fun, funky strips. My journal page wouldn't be complete without a little handwritten notation, which I wrote freeform down the center of the page.
There you have it - a wonderfully bright and vibrant art journaling page! I can't wait to give this project to my dear friend for her birthday and see her face light up with joy.
Thanks for joining me for this fun post! I am so happy with how this project turned out and I hope it inspires you in your own art journaling, gift giving, and all your other crafting adventures!
Looking for some more amazing ideas and inspiration? Then you'll love these imaginative products from art journaler, Jane Davenport, and this wonderful FREE instructional video about art journaling from Dyan Reaveley!