


Shop Stamping and Tools!
Plus, Add 3 FREE Gifts to Your Cart! Details Here.
Plus, Add 3 FREE Gifts to Your Cart! Details Here.


$34.99
$28.99

$39.99 $14.39


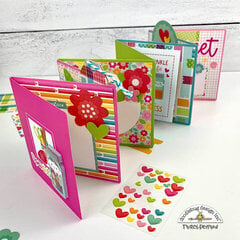
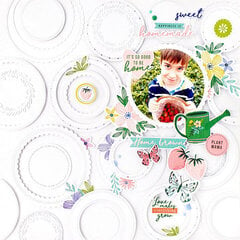
I made several buttons in different sizes with different types of paper.
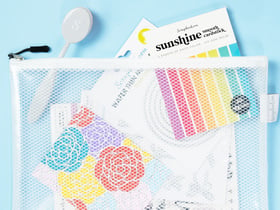
Best paper: My best pieces came from the coated cover of a DCWV paper stack and Dress My Craft 6x6 paper pad which also has a satin coating. I also liked the matte finish of some sentiments I cut from some Prima 3x4 journaling cards. I was also surprised that some 80lb Neenah cardstock wrapped around the button fine.
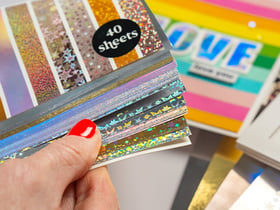
Worst paper: Where I had problem was with images from magazines and then some deli paper that I’d lightly printed on with acrylic paint and a gel press. When i tried to press the back on, the metal edge of the button cut through the paper. The magazine and deli paper paper just wasn’t sturdy enough. It did work ok with deli paper id printed with several layers of acrylic paint.
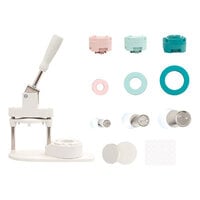
Different sizes: For medium and small buttons, you just have to apply firm pressure to press on the back. Nothing excessive. It does take more effort to press the back on to the large button.
The only downside is the need to turn and press the die 4-5 times to get the image cut out of the paper. The press doesn’t apply even enough pressure to get a clean cut in one press. It’s not a big deal if you’re just doing a few. If you’re doing large batches, you might want to use your digital cutting machine.
Glad I got it.
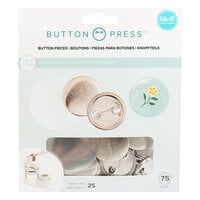
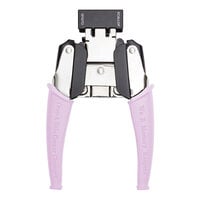
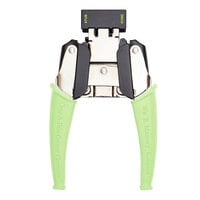
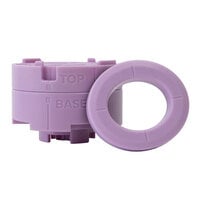
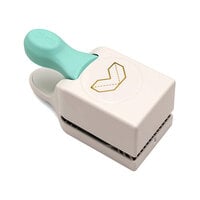
Used in this project: WRMK Button Press
You must be signed in to comment. Please click here to sign in.