


This article was written by Scrapbook.com founder Jill Davis! Jill shares with you her organizational methods and concepts. With permission, she touches on Stacy Boatman's expert approaches to getting organized. Don't forget to shop here at Scrapbook.com for all of your craft storage and stamping needs!
Materials Needed for Organizing Stamps and Stamping Equipment
- Containers to hold large, medium and small stamps
- Scissors
- EZ Mount (if you decide)
- Label maker to label containers
The Challenge Faced When Organizing Stamps and Stamping Equipment
This may take some time, but you'll want to get your stamp collection organized and into a system that functions the same way your brain does when stamping. You'll have to set up an inventory file or notebook so you can quickly find what you have. Think about purging stamps you don’t like or won’t use (take a deep breath, this is just a suggestion).
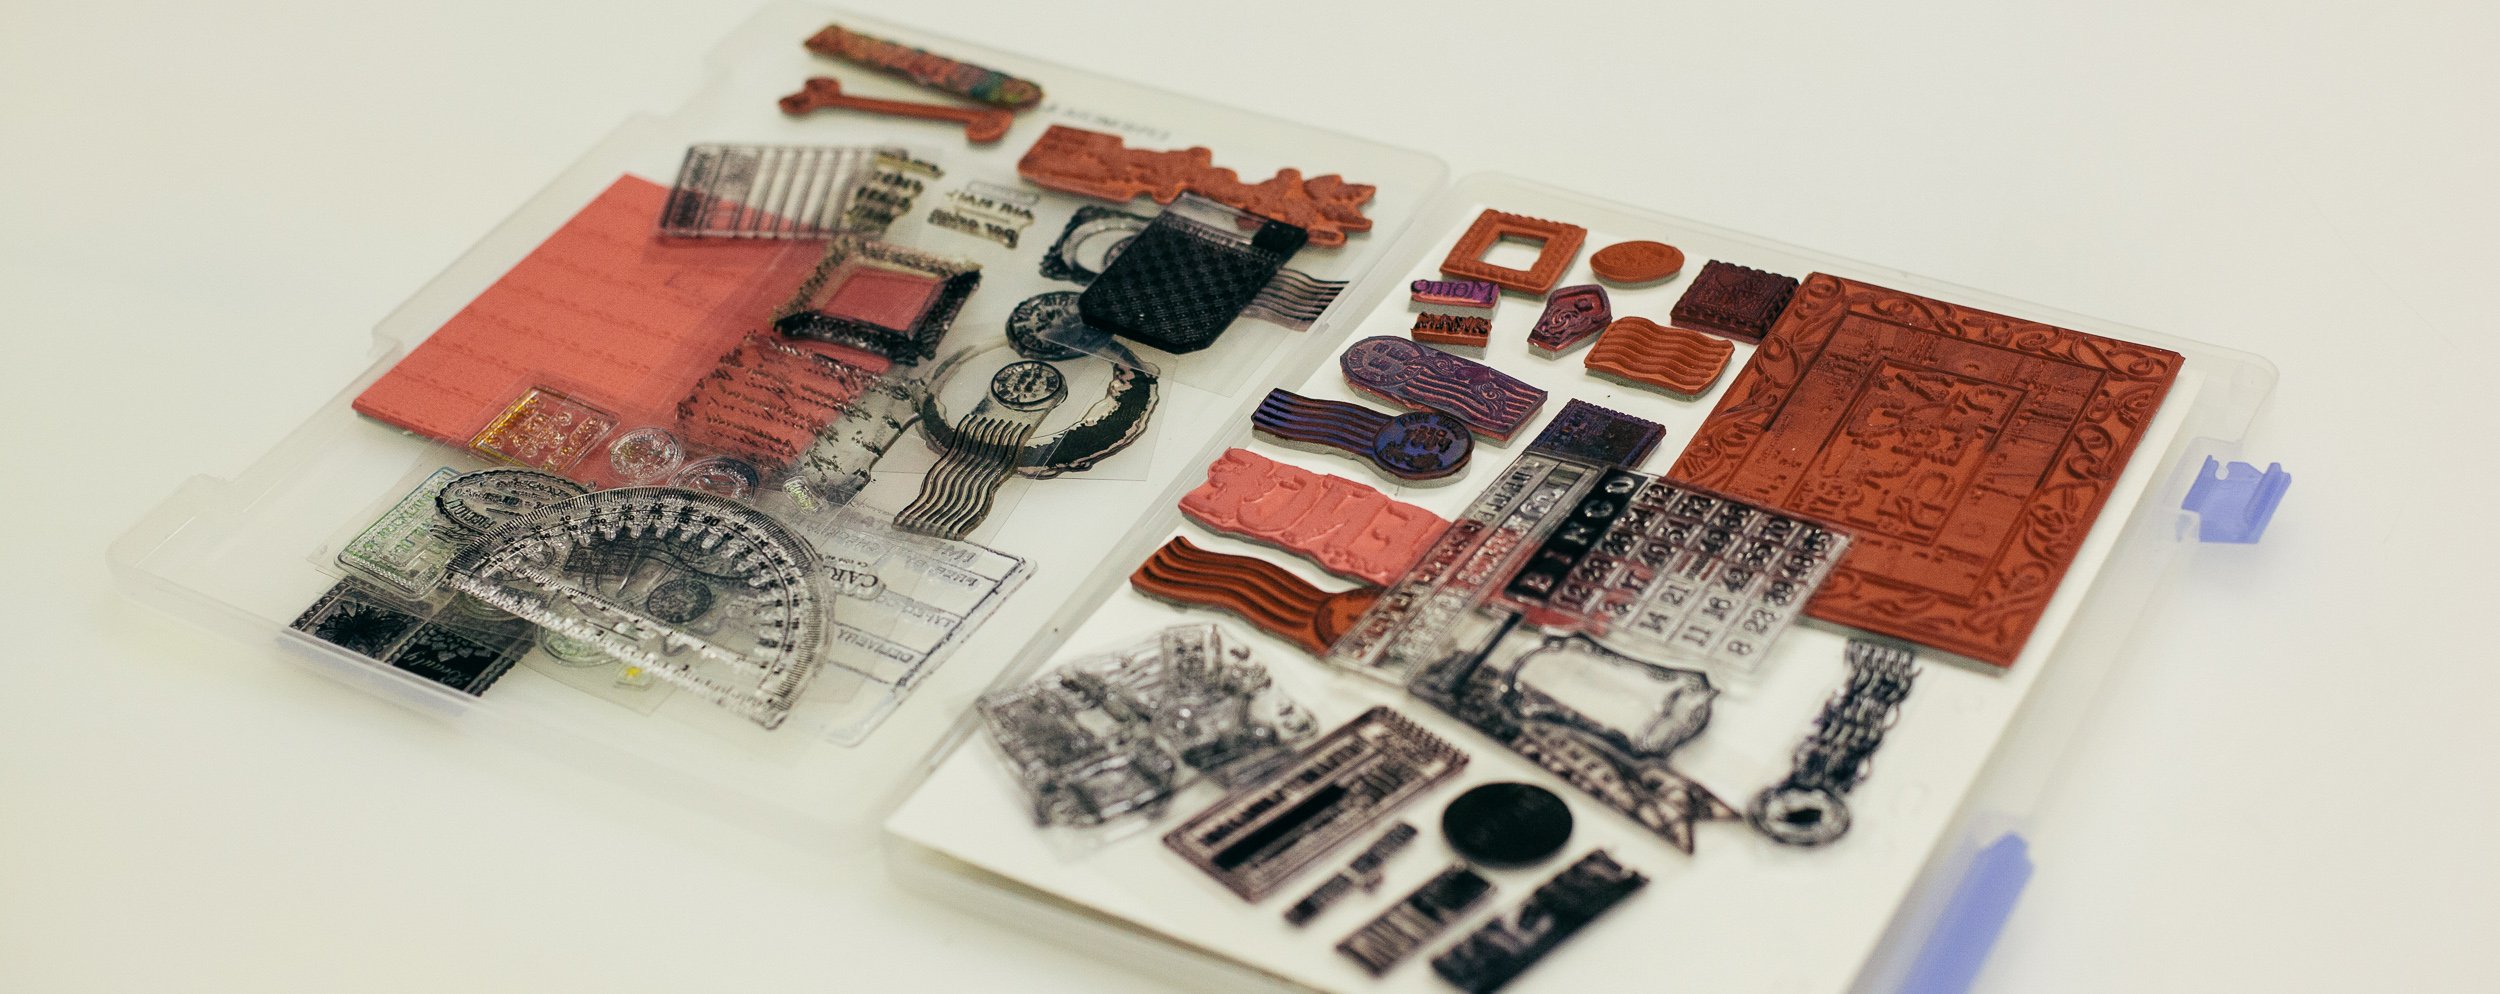
We’re going to corral your wild stamp collection and tame it, whether it be small or large. The key with stamps is that if you don’t remember what you have, it’s quite certain you won’t use them. You need to have them stored in a way that you can see them, or have a good inventory system you can reference. I’m going to cover foam stamps, acrylic stamps, and rubber stamps with images and alphabets. I’ll also address stamps that are mounted and un-mounted, as well as offer suggestions for how to manage your inventory!
The first steps to organizing stamps are to see what you have, decide what you want to keep, and figure out how you’d like to store them. It’s time to get your stamp box. YES, the one that’s been sitting in the hallway for months and has been annoying the daylights out of you and your housemates. This is a great time to purge if you haven’t done so already. The fewer products you have, the fewer things to sort! Take a hard look at what’s left in your box after purging. How is it working for you? Are you okay having several different storage methods for your stamps, or do you want them all in one place? Are you comfortable with wood mounts, or would you prefer them all to be cling? Do you generally purchase stamps by theme or from the same manufacturer? Are there some stamps you LOVE but are a hassle to use? Why is that? What can you do to remedy these problems?
Also, let’s address stamps that are in sets - do you want to keep these sets together or break them apart? Start jotting down answers to these questions (i.e. keep wood mounted stamps as-is, separate alphas from non-alphas, keep sets together, etc.). When you start looking at storage options, you’re going to need to accommodate ALL of your solutions. This may mean only ONE storage method if you have a few stamps, or multiple systems if you have many.
There is one approach that many scrappers and stampers have used: changing to a complete cling system. Yes, that means un-mounting your wood stamps. Now, before you quit reading, please note, I LOVE wood stamps! Many of us love how they sit on a shelf and how they feel in our hands, but we DON’T love how much room they take up. Plus, it’s hard to find what we’re looking for because they are in stacks and are not visible!
Stacy solved this problem by un-mounting ALL of her wood stamps and put them onto EZ Mount (which has one sticky side to hold the rubber and one cling foam side for storage and use with acrylic blocks). She says she has never regretted this decision. She now stores all her stamps in one location.
Un-mounting is easy to do, especially if you have a pair of Tim Holtz scissors from Tonic.
Stacy had a lot of stamps, but she was able to un-mount all of them in a weekend. It really doesn’t take a lot of time, even though it looks daunting. Such little effort will cause BIG results!
Now that you have a good idea of what you have in your stamp inventory and what the can be done with what you have, let’s talk storage. I’m going to list options in each category - mounted, acrylic (this includes un-mounted rubber and anything that clings), and foam stamps. Find what works best for you.
Acrylic Stamp Storage Solutions
- Original packaging in bins, baskets, or boxes
- DVD tins or DVD cases
- Plastic sheets in a 3-ring binder - you could also use baseball card sleeves or business card sleeves
- Original packaging in document boxes – office supply stores often carry them
- Original packaging stored in a recipe box
- EZ Mount Stamp and Store Panels
- Stamp binder
Foam Stamp Storage Solutions
- Backed with Velcro or magnets on boards/walls
- Photo boxes
- Glass jars - any theme
- Stackable trays
- Zip-style bags - stacked or hung
- Backed with foam core and stored in vertical paper holders or magazine files
Wood Mounted Stamp Storage Solutions
- Wooden storage unit, like a printer's chest or map drawers
- Shelving unit
- Shallow plastic drawer units - good for a few stamps, your unit will sag and the drawers will stick or derail if you overload it!
- Stacked in clear shoe boxes - again, good for a few. Ideally, you don’t want to stack your stamps
- Tackle box, great for a small stash or for crops
- Pizza boxes (clean and unused)
Figure out which solution above will work best for your stash and your space, then start dividing those stamps into the proper locations. But don’t put them away just yet; you’re going to want to do an inventory of them, which I’ll address in a minute.
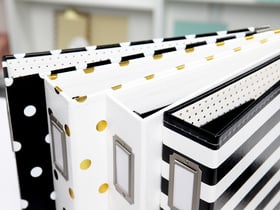
Stacy has two systems for ALL of her stamps: they’re either alpha stamps or non-alpha stamps. Her non-alpha stamps are stored in document boxes. They take up the top shelf in four of her cabinets. They’re labeled on the spine from 1 to 24 (some numbers have multiple boxes).
Inside, she is able to attach her stamps to both surfaces of the box. The boxes are also thick enough to accommodate foam stamps WITH acrylic stamps on both sides! She found out a wood-mounted Unity stamp will also fit well, without having to be un-mounted. She has one theme per box, and each theme gets a number. So #1 is florals, #2 is punctuation, #3 is boy, #4 is Winter/Christmas, #5 is travel, #6 is journaling... You get the idea. You can also do this alphabetically but if you get a new theme the numbering will be off.
She labels the outside as well, so it’s easy to see what theme each box holds.
To keep track of what she has (especially since she broke up some sets), she came up with an inventory system on a Heidi Swapp Memorydex. She likes the Memorydex because it’s easy to take out cards if she purges a stamp, or if she wants to include a card in a page kit to remember to use that stamp. This system is very easy to retrieve, remove and replace. Each of her categories has a tab in the Memorydex, numbered from 1 to 24. She either stamps the image or cuts it out from product packaging and tapes it to the Memorydex page. Each image is labeled with the manufacturer and set name. When she needs to find a daisy stamp, for example, she flips through her Memorydex to see if she has one she wants. If it’s there, she grabs the appropriate box to retrieve it. If not, maybe it’s time to go shopping?!
Stacy uses this same inventory system for her alpha stamps, but with a second Memorydex.
She stores her alpha stamps differently, however. Her main storage method utilizes CD cases: Not the slimline style, but those with the black insert you can pop out. About 85% of her alpha stamps will fit into a CD case. For those that are larger, she uses a document box and stores them on a shelf below her non-alpha stamps.
The CD cases are numbered, starting with the number 1. They are not numerical in her Rolodex. She says that it really doesn’t matter since she flips through the stamped images until she finds the set she wants. Then, she can check the number listed on the card that is assigned to the set, go to her CD storage cases, and find the stamp. All the CD cases are labeled on the spine for easy viewing and they are in numerical order.
Stacy keeps her stamping wheels in a drawer with her stamp cleaner and her acrylic mounting blocks. She has the images inventoried in her Memorydex under the correct theme. She makes sure, however, that it’s labeled as a wheel so she knows where it’s located.
There are great stamp storage options out there! If you’ve found one that works for you, please share a pic of your stamp storage system on our Instagram, and don't forget to use #scrapbookcom!

More Rubber Stamp Storage Options
I have a Stamping Center where I keep stamps, most of my secondary ink pads, and some tools. I keep acrylic and wood stamping blocks in the top drawer of a filing cabinet next to the center. I purged my stamps a few years ago, converting wood mounted stamps to Velcro backed stamps. When EZ Mount became available, I began using it instead of Velcro. I, like Stacy, have never regretted that decision. I will add that I LOVE acrylic stamps because of their see-through-for-placement feature, and rarely purchase rubber stamps anymore.
While organizing your stamp collection, you may feel like you lack in product, and are looking to build on your collection. Check out Scrapbook.com's great selection of clear acrylic stamps and rubber stamps!
Tip: Did you know you can sometimes carefully peel the clear image sticker off of a wood-mounted stamp block to use as a place marker in your containment system?
More Alphanumeric Stamp Storage Solutions
My system is similar to Stacy’s, but with a few differences. My alphanumeric stamps are organized by sets and stored in numbered laminated file folders, some boxes (the ones my foam stamps came in), and two plastic containers. These are all in a file drawer. I have limited myself to only the folders and boxes I currently have. If I want something new I have to get rid of something old. Each folder has one or several sets inside depending on the size of the stamps and letters within the sets.
The Velcro-backed stamps stick to strips of Velcro inside the file folders. Acrylic stamps (or cling stamps) cling to the laminate. If more area is needed inside the folder, I cut a ScrapOnizer 8.5 x 11 Clear File Folder in half along the fold, and use as many as will fit in the folder. I could use more laminated material but I like to be able to see through these sheets. The tab on each cut piece is numbered the same as the folder. I tried to group stamps in the folders by type as I filled them, i.e. typewriter keys, script, distressed, block, numbers only, etc. I did this so I’d only have to pull one file to look for the stamp set I needed. Trouble was, I ended up looking through several files to find what I needed anyway. I saved several different sizes of the wood blocks that I removed stamps from and added adhesive-backed Velcro for use with my Velcro-backed stamps.

Rolodex Systems to Keep Track of Inventory
When I read Stacy’s ideas concerning her Heidi Swapp Memorydex, I discovered the missing link in my system was my Rolodex files. The cards in my Rolodex are stamped with a letter “A” and a number “5” from each set. This shows me the height, width, shape, and style of the letters in the represented set. On the back of the card are any icons and shapes that might have been included in the set. The file number is written in the top right-hand corner of the card. In the bottom corner, there is a written notation if there are upper and lower case stamps in the set.
I use my Rolodex cards to find a font and to determine if the size of the stamps are proportionate to the space I have to fill on the layout or card I’m making. I can make decisions before digging into my stamps. I can include Rolodex card samples of a stamp set I might want to use in my pages in progress folders as a reminder, or I can use a sticky note with location information.

More Image Stamp Storage Solutions
I found narrow document boxes at Target years ago in the back-to-school section. I needed this smaller size to fit in the cupboard I have to use for image stamp storage. Image stamps in my collection that aren’t a letter or number are stored alphabetically by theme. I’ve not seen the boxes at Target since, and I check every year. Target does have larger boxes in their office supply section, so if you want to use narrower document boxes, you might keep an eye out in August and September. I do one other thing with my document boxes that Stacy doesn’t. I attach stamps to both of the sides, meaning I can fill both sides of the panel with stamps. I’ve limited myself to ONLY the document boxes that I currently have. If I do find a stamp set I “just have to have,” I get rid of something old to make room. Image samples of stamps are on cards in my Rolodex. The theme (from the document box) is written in the upper right-hand corner of the Rolodex cards.
Stamp Blocks and Supply Storage Solutions
I only have a few wheeled stamps in a “stamping” bin with cleaners and other primary tools. Other tools and stamp blocks are in a file cabinet drawer.

For further examples of how to go about organizing and storing a stamp collection of considerable size, check out My Stamp Storage by Nancie Waterman of Vamp Stamp News. Included in the article are excellent photos of her stamping storage system as well as tips and solutions to stamping storage issues.
Further Insight
When our home was in disarray from the clutter of sorting for this challenge, I remembered some experiences that kept me upbeat and determined. My husband and I visited the construction site of a beautiful building being built in our area. We saw a scene of dirt, debris piles, huge machinery and equipment parked about the property. Each was necessary for the job at hand, yet distracting to the beauty of the architecture. Months later we revisited the site and what we found was such a contrast. Instead of a construction site, there stood a beautiful building, complete with well-manicured flower gardens, trees, and water features. We enjoyed being there and appreciated the work that had transpired to get the structure to that point. I think you get where I’m going with this… We have to work through messes sometimes to get to the life we seek. Take some time today to focus on what’s at the end of this “construction” challenge for you--a beautiful studio or space that you’ve created and will love to be in.
Summary
When stamps become a collection rather than usable tools for creating, it’s time for an intervention. Life will take on new meaning, and you won’t have to think so hard when stamps are contained, organized and have a referencing system. Your lovely stamps will soon be organized, and what a great feeling that will be. Woohoo! Keep motivated and remember your construction site is okay!
Stamping storage may be just the tip of your craft studio organizational iceberg. If you are in need for further craft studio organizational insight, giving the following articles a read-through would be immensely beneficial:
- Decluttering and Organizing Your Craft Space
- How to Brainstorm Your Way to Your Dream Studio
- Inspiring Craft Spaces to Help You Get Organized
- How to Use Space Assessment to Organize Your Craft Space

NOTE: You may also be interested in our in-depth article on top stamping tools. You won't believe some of the recent innovations in stamping!
This article is a lesson from our free class, Get Organized. Go ahead and enhance your craft space organizational knowledge by signing up today and taking this class for FREE here!