


Hello crafty friends! It's Mona Tóth here, and I am super excited to be a guest designer on the Scrapbook.com blog again.
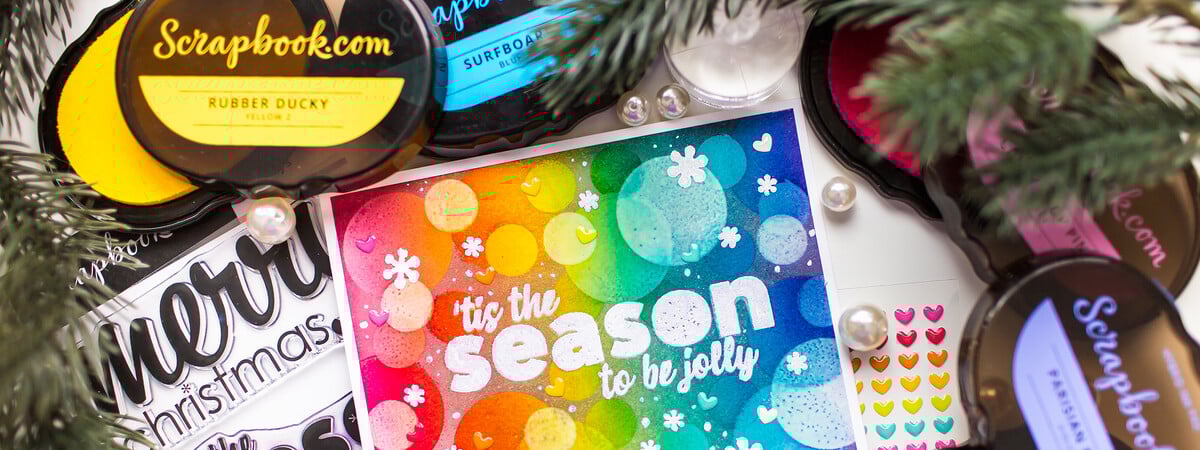
Today I am going to show you how to make a rainbow Christmas card with a beautiful blurry bokeh effect. In photography, bokeh is the blurred aesthetic that occurs in the out-of-focus parts of an image produced by the camera lens.
I'll show you how to achieve this really cool look using Scrapbook.com's clear photopolymer stamps, exclusive hybrid ink pads, and some clear embossing powder. Let's have some holly jolly holiday fun!
See the complete list of products and supplies at the bottom of this post.
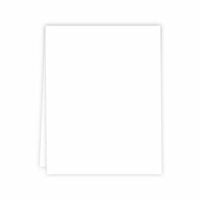
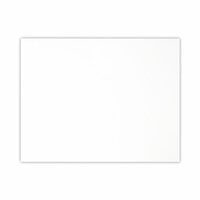
 I started with a Scrapbook.com Neenah A2 pre-scored card base and folded it along the scoreline. These cards are super simple to use and are real time savers in card making.
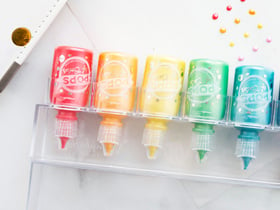
Next, I prepared all the supplies I needed for the card. One of my favorite tools to work with are soft-bristled blending brushes. They are super soft like make-up brushes and make blending a breeze.
If you hold the brush by the end, your blending will be super soft. If you hold it close to the bristles, then you can make the blend effects more intensive since you have more control.
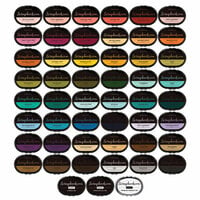
Because I love rainbows so much I decided to pick rainbow colors for the ink blending. You can choose any group or family of the hybrid ink pads as well, or you can create a monochromatic version too. The choice is yours!
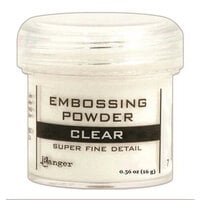
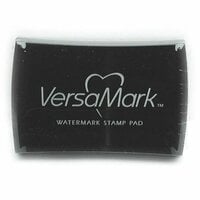
 Next, I stamped the big holiday sentiment to the center of my card front with watermark ink. I sprinkled on clear embossing powder, then I heat embossed it.
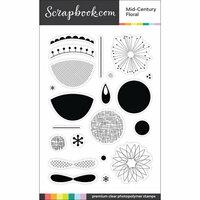
I repeated the same process with circle stamps from the Mid-century Floral stamp set too.
It's a little hard to see the sentiment and the circles at first, but that's okay, we're not done yet! You'll see them clearer after the next few steps, I promise.
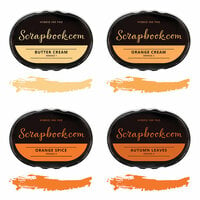
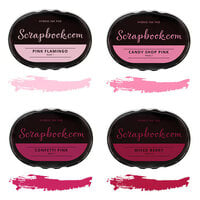
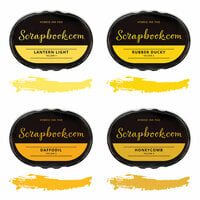
 When it was done I started the ink blending. I used the hybrid ink pads in the following order: Candy Shop Pink, Orange Cream, Rubber Ducky, Oasis, Surfboard and Parisian Purple. These are all the #2 colors (or the second lightest hue) from each color family.
Stamping Tip: If you love stamping big, bold sentiments, long titles, borders, or other large stamps like Mona, then you need to get our Long Rectangle Clear Acrylic Stamp Block. Add it to your Christmas list - it's the perfect stocking stuffer!
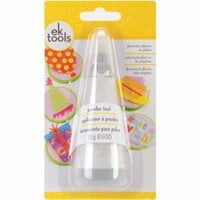
 The next step was stamping and heat embossing again. But before stamping, I made sure I dried all the ink fully with a heat gun. Once it was cooled down, I used the antistatic powder tool on it.
Then I stamped with the circles from the Mid-Century Floral stamp set using watermark ink again, added clear embossing powder on it and heat embossed it again, repeating the whole process but this time with the 3rd lightest ink pads from each color family.
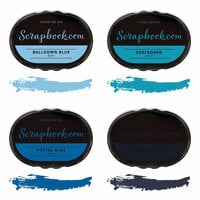
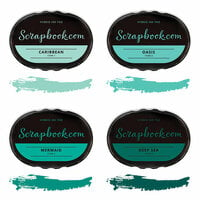
This time I blended with Confetti Pink, Orange Spice, Daffodil, Mermaid, Postal Blue, and Mardi Gras.
 You can repeat this process as many times as you'd like for more intense depth and dimension in your designs. Just make sure you use the following order: ink blending, heat embossing, powder tool, stamping, clear embossing powder, heat embossing. And don't forget to use darker and darker inks as you go.
 Before finishing up, I gave the card a few gentle wipes with a slightly damp paper towel, dried it thoroughly and stamped the big and bold sentiment again with the watermark ink.
This time I used super fine detail white embossing powder to pop it out from the design in the background. I also stamped a few tiny flowers (they kind of look like snowflakes!) from the Mid-Century Floral set and added a couple of flurries with a white pen to make it extra festive.
 To complete the rainbow theme, I added heart-shaped rainbow sprinkles in the same color areas as the inks.
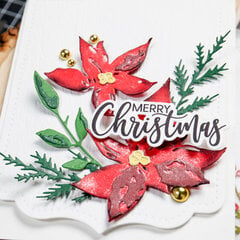
Here you can see the finished card:
 Here is a close-up so you can see the bokeh effect. It is a really cool and festive look on holiday cards that reminds me of the way Christmas lights twinkle on the trees.
 I am really thankful that Scrapbook.com let me share this card making technique. I hope you got inspired and now you are ready to create a rainbow of holiday cards for all your friends and family! Merry Christmas in July!

Looking for some more amazing card ideas and inspiration? Then you'll love our holiday sneak peeks in the Christmas in July post!