


Hi everyone! It's Laura Volpes here, and I am really thrilled to be guest writing on the Scrapbook.com Blog with a tutorial on how to create a fun double slider card!
I love interactive cards - I think they are really fun and have such a wow effect! I also love creating cards with scenes, so I paired the two together for this cute and whimsical double slider! Let's get crafting!
See the complete list of products and supplies at the bottom of this post.

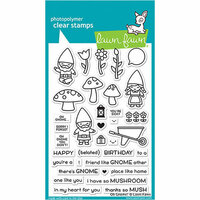
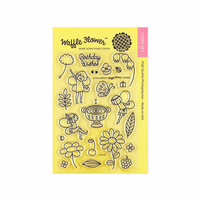
I started by stamping the adorable images from the Waffle Flower Little Fairies stamp set*. I used Scrapbook.com's black hybrid ink and Neenah Solar White cardstock. I stamped quite a number of images because I wanted to have a nice and full scene, using my Mini MISTI to speed up my stamping.
*Please note this product has been discontinued.

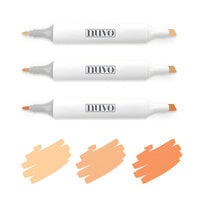
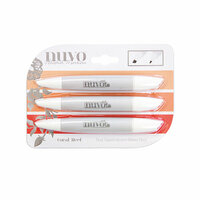
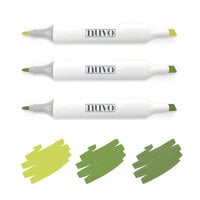
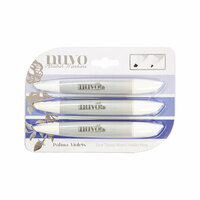
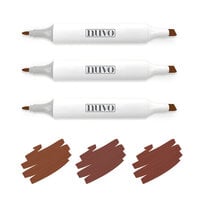
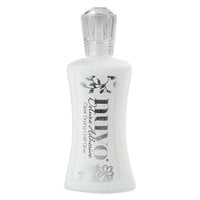
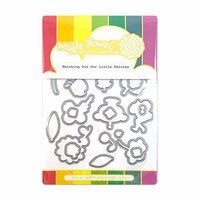
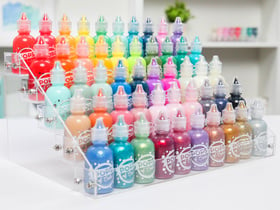
For the coloring, I used Nuvo Alcohol Markers. I went for some simple shading and coloring and then used the coordinating Waffle Flower die set to cut out the images with my Big Shot Express.
I then started working on my slider card function. I used the Lawn Fawn Double Slider Surprise dies to cut some more Neenah Solar White cardstock. This die set is truly a must-have for slider cards; it makes creating slider cards so quick and easy! I chose to cut the three scene pieces to decorate them first (I find this easier when putting it all together). We will cut out the inside mechanism pieces in a later step.
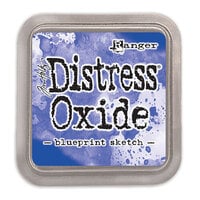
 The two rounded rectangles will be the slider panels of my card, and the other die cut will be the central panel or main pocket piece. Using a blending tool, I did some ink blending on the panels with Distress Oxides in Worn Lipstick, Shaded Lilac, and Blueprint Sketch to create a sky for my scene. I then added some stars by diluting Perfect Pearls with some water and creating droplets with a paintbrush.

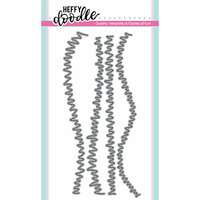
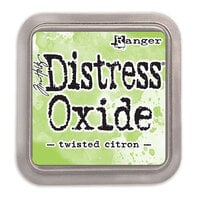
Next, I created some grassy borders by first cutting out shapes with the original Lawn Fawn Slider Surprise set and then a Heffy Doodle grass border die. That way, I got the perfect shape and outline of the panels and the grass. I finished off these pieces by adding color and shading to the grass with more Distress Oxides. Now it's time to assemble the scene!
 Before gluing everything down, I used one of the smaller dies in the Lawn Fawn set to cut two circular notches out of the sides of the central panel. These are the little finger holes for pulling out the hidden panels.
While assembling my scenes, I made sure to leave just a little bit of empty space on the sides of the two rounded rectangles. They won't be fully visible when pulled out of the card, so I wanted to make sure there was some blank space on the inside edges.
Now that all three of my scenes are complete, I can start assembling the slider mechanism.
Tip: Don't immediately break out the adhesive when you're assembling a scene. Make sure you stage each of the elements first to get a feel for where you want them to be. Once you're 100% happy, glue away!
 To complete the slider element, I needed to die cut another main pocket rectangular panel like the large center one I decorated above. This will be the back of the slider's main pocket to complement the front, decorated one.
Since I need the two side panels to slide out with ease, I need to create a "track" for them to move on. Think of this like building the rails for a drawer that allows it to slide smoothly out of a dresser. I die cut this pillar shape (shown above) that will sit between the front and the back pocket panels and will allow the side panels to actually slide in and out.
There is a secret ingredient to this fun card, and it's not what you might expect. It's some thin, clear plastic packaging like your stamp sets come in, or even a plastic bag from the grocery store. This material is thin, slick, and durable enough to move your side panels in and out of the card.
 I used some leftover clear plastic packaging and cut a strip roughly 2 1/4" wide. The length is not incredibly important, as long as you have enough to go around your track piece loosely (you can always trim excess). It will end up fitting like a bracelet around a wrist.
I placed a small strip of 1/8" double-sided adhesive on the very end of the clear plastic. Then I took the plastic strip and wrapped it around the track piece. It shouldn't be too loose, but it needs to have some slack so that it can move freely. The plastic piece is adhered to itself only, not to the paper.
I repositioned the piece of clear plastic so that the seam with the tape is all the way to the left edge of the pivot (a little further to the left compared to what you see in the picture above). I did this to ensure that both side panels slide out the right amount. Then I added some 1/8" double-sided adhesive in that same position and used it to adhere one of the slider side scenes with the scene facing me.
 This next part is important to ensure I didn't end up with upside down or backward panels. I flipped over the track piece (end over end) from top to bottom. Not like turning the page in a book. The panel I just adhered is now face down on the work surface.
 I then added some more 1/8" double-sided tape to the clear plastic, as close as possible to the left edge of the track, just like the previous side. Time to adhere the second panel!
This one was to be adhered down with the scene facing away from me. To do this, I flipped the panel over (end over end) from top to bottom. Then I adhered this panel just like the first one.
 Now both of the side panels are adhered to the clear plastic strip wrapped loosely around the track piece.
 I gave the panels a few gentle tugs in both directions to ensure the plastic piece gets accustomed to moving around the track.
Then, I added four pieces of 1/8" adhesive along the very top and bottom of both sides of the track piece (the tops and bottoms of the pillar shape).
 It's now time to get the track in the main panel pocket! The tabs of the two main pocket pieces will help hold the tops and bottoms of the track piece (the one that looks like a pillar). It's important that the scenes on the track and the clear plastic piece are still able to move once the pocket is put together.
Each of the main panels has a pre-scored flap. I folded those along the score line for both pieces. Taking the back piece, with the folded edge on the bottom, I inserted the track piece right up against the score fold.
Removing the backing of the adhesive strips on the bottom edge, I pressed down to adhere it to the back panel. Then, I pressed the scored flap up over the track to secure it. I placed some more 1/8" adhesive on the top of the tab I just adhered, which gets me ready for the next step.
 It's now time to take the front pocket panel that's already decorated with the scene and use the adhesive strips I already placed on the track and the flap to secure it all together into one big pocket.
 At this stage, I played a little with the slider mechanism to make sure that the sides didn't catch on any of the adhesive...and also because it's fun! All that's left to do now is to glue the slider to our card base.
HELPFUL TIP: Make sure to check out the Lawn Fawn Double Slider Surprise product page for a helpful how-to video if you need assistance on any of the slider assembly steps.
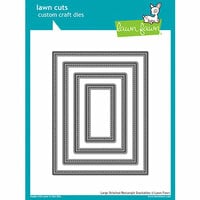
 I created the card background with a large stitched rectangle die and some cute gingham patterned paper. I then glued everything to a premade white card base. I decorated the card with some leftover die cut images from my scenes and added the sentiment with white embossing powder on a black banner die cut.
 And that's my card for today! I really hope you like it and found this tutorial useful! I want to say a big thank you to Scrapbook.com for the opportunity to share my creation with you, and I wish you all a wonderful, creative day!

Looking for some more amazing inspiration? Then you'll love these hilarious and adorable birthday card ideas that will have you and your recipients in stitches!