


Our days spent at Disney can be some of the most memorable (and magical) experiences had as families. We want to show you some tips, created by Layle Koncar of Simple Stories, on how to create a unique Disney scrapbook album so your memories not only live forever on the page, but are also showcased in a way that embodies your enchanting recollections.
Aside from traditional or standard layouts, Layle shares some additional ideas to add a touch of wonder to your Disney scrapbook storytelling.
Materials Needed:
- 1 Chipboard Album
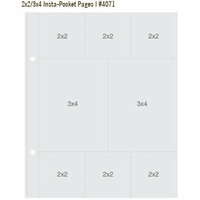
- Pocket Pages
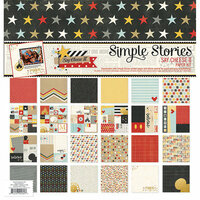
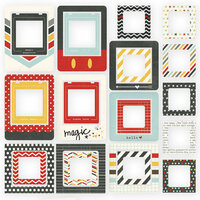
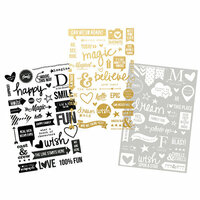
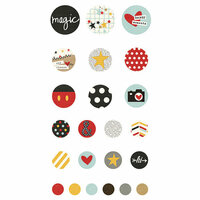
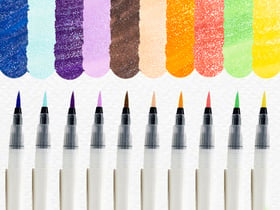
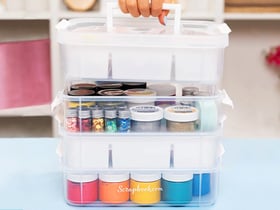
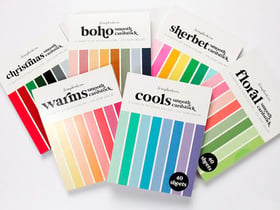
- Your Favorite Disney Scrapbooking Supplies
- Crafting Basics (Adhesive, Scissors, Etc.)
- Fuse Tool
- Your Disney photos, Printed
Note: All of the supplies that Layle used can be be found at the bottom of this article! And the Disney section of the Scrapbook.com store is full of enchanting supplies to document your Disney getaways!
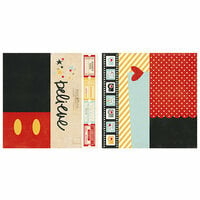
1. Decorate Your Chipboard Album

We all know not to judge a book by its cover, but that doesn't mean we can't have some fun decorating our own! Using a chipboard album will make your Disney scrapbook that much more meaningful and personal, since you can decorate the front - and it's easy to do.
Layle took her favorite Disney paper and cut it to the size of her chipboard album cover. She used a glue stick and a brayer to adhere the paper to the cover, then decorated it to her delight. Above, she added a movie reel, some flashy embellishments, and a sticker that says "Happiest Place Ever!" Personalize your chipboard album to your heart's content, with items that make you feel magical.
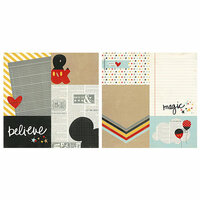
2. Create Your Intro Page with Embellishments
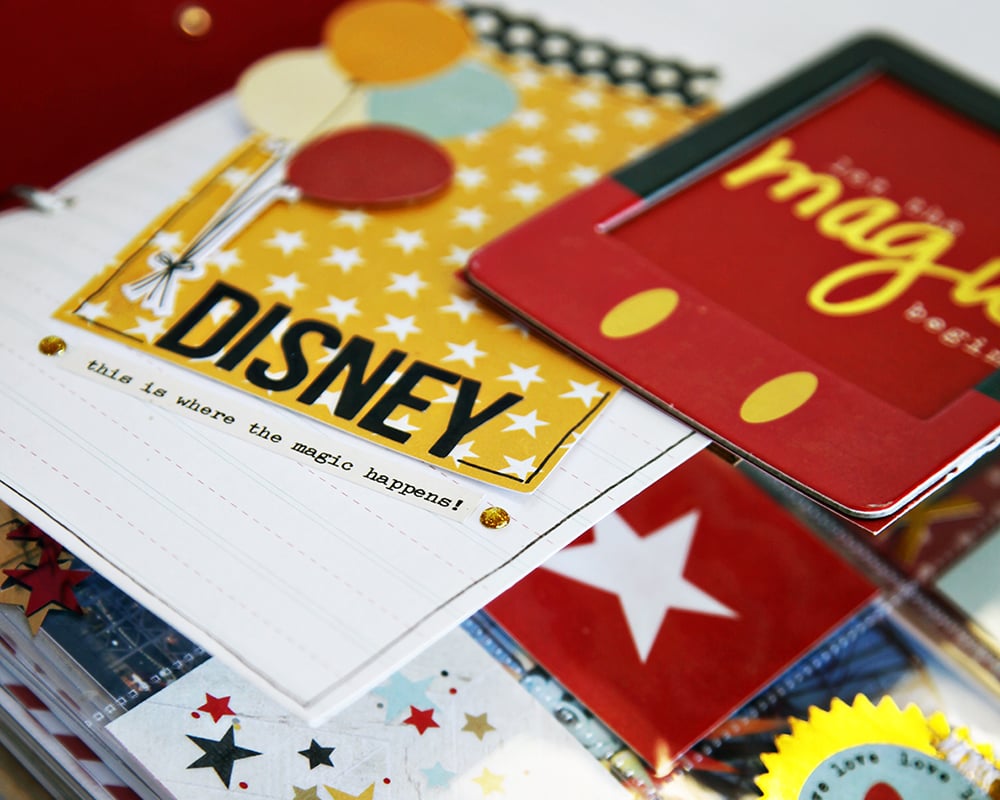
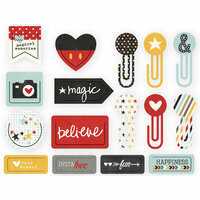
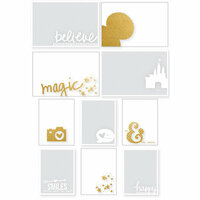
Next, Layle created an intro page in her scrapbook. A great introduction page should be beautiful to look at (and that means whatever is beautiful to you!) and give a hint about what the scrapbook is about. In this case, it's all about the mouse, so she added a variety of Disney embellishments, alpha stickers, and a fun card that says "let the magic begin."
When we open this scrapbook, we're already excited about what's to come!
Tip: Have fun with your intro page. There are no "set in stone" rules. Feel free to add in your favorite photo from the trip, journaling, or even a Disney scrapbook title!
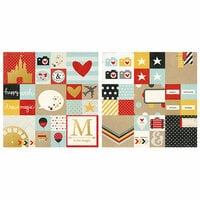
3. Decorate a Pocket Page with Goodies and Surprises!

Adding a pocket page that contains your favorite stickers, sequins, confetti, sprinkles, buttons, and more is like the bouquet of flowers at your kitchen table. They aren't necessarily necessary, but they add a look to your entire room that is irreplaceable. That's how fun-filled pockets act in scrapbooks! Layle used a pocket page with 2"x 2" slots to create a decorative page that's all about the magic of Disney.
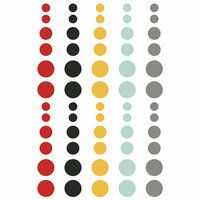
She used wooden heart pieces, star confetti, stickers, and coordinating cards to fill up her pocket page.
If you've filled the pockets with materials that you don't want to spill out, like glitter and confetti, for example, use the Fuse tool. This tool ensures that those items, even powdery glitter, will stay safely in the page pockets and not everywhere else! For items you might like to change out eventually, or access later, leave those open.
Tip: Choose cards or stickers that have words that make you smile. Above, Layle used "happy," "hello magic," and "say cheese!"
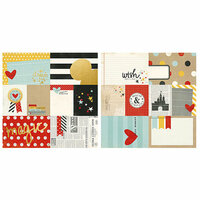
4. Create Half Pages to Add Dimension
 If you can't quite fit all of your journaling onto one of your pages, have additional photos associated with a specific story in a specific layout, or just want to add a quirky addition to your Disney scrapbook, altering your pocket pages is a great solution!
Choose one of your pocket pages to alter and grab a pair of scissors, we're obsessed with the Tim Holtz ones lately, then cut out the blocks you do not want. For example, in the image above, Layle had a page with four pockets - two on the top, two on the bottom. She cut off the right half of the page and, voila, created a fun, two pocket mini page!
When you cut your pages: make sure you do not cut over the seam that keeps the pocket closed. Cut directly to the right of the seam in order to keep the page in tact. Accidentally cut through the seam? That's ok, it happens! Use your fuse tool to fuse the edge back together.
5. Add Flip Elements to Your Scrapbook
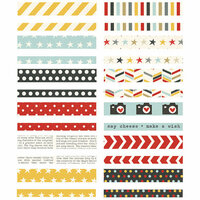
 Giving your Disney scrapbook album some interactive features will help reflect the experience of the park: playful, exciting, and a surprise on every turn! You can use washi tape to connect two pieces of paper together. Slip one into a pocket and let the other sit out, that way you have a tab that flips up and down!
Either decorate the tab with Disney stickers and embellishments, or add an extra photograph or journaling!
Tip: Don't let gravity limit you! For pocket ages that have side openings, you can do flip open tabs that open left or right too, that way you can leave little surprises all over your album!
6. Use Folders for Memorabilia and Sneak Peeks!
 Usually the problem is having too many photos and too much memorabilia to choose from, and oftentimes, we want to include more than we have room for. That's where pockets come into play. Using pockets is a wonderful way to add a decorative element and a functional one. Store those photos that just have to make it into your album, and all of those park tickets you don't want to lose, Like Layle did above with her Disney photos.
Your family and friends, or anyone enjoying your Disney scrapbook, can see what's sticking out of the pocket, take the elements out to see them in more detail, then neatly tuck them back into their safe sleeve!
Tip: Get imaginative with your pockets! Purchase pre-made ones, envelopes, or create them yourself with tools like the Tab Punch Board and the Envelope Punch Board.
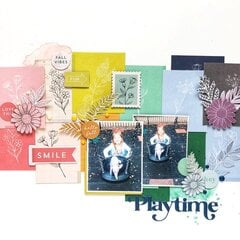
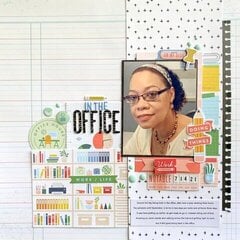
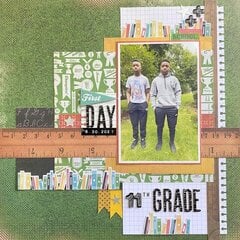
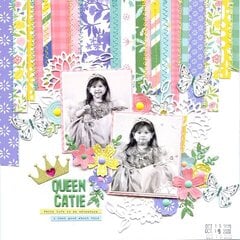
7. Create Mini Layouts

Adding in mini layouts is a great way to break up pages with picture after picture. Having many pictures to look at is a treat, but sometimes it's fun to have a layout all about the feeling of the day, where you get to let loose and be creative! Layle's layout above is a great example of an expressive page you could create. Use a large pocket page or page protector for your layout, then add it along with the rest of your pocket pages. Marrying traditional scrapbooking with pocket page scrapbooking creates a scrapbook that isn't only a joy to view, but also to create.
At the end of the day, making your Disney scrapbook is all about reliving the memories, getting creative, and sharing your stories and merrymaking with others.
Don't forget to subscribe to our YouTube Channel!
Layle Koncar is a crafter, scrapbooker, teacher, and also the Director of Marketing at Simple Stories. For the last 13 years, Layle has been traveling and teaching craft and scrapbook classes, where she has had the opportunity to share her creativity and make friends along the way - one of her favorite parts of her travels in teaching. Aside from teaching and traveling, Layle adores reading, shopping, skiing, flea markets, and creating memories with her husband, Nick, and their children, Jack and Sam.
Like this article? You might also like...
Photographing Disney (the best tips for photography at Disney!)
The Fascinating History of Scrapbooking (learn about how scrapbooking started and the role we play in its history!)
Tips to Create a Disney-Themed Pocket Page Album