I love to find interesting bottles at thrift shops, and have collected them this past year for a Halloween project. In September I finally had enough to make potion bottles for several Hogwarts-style displays for our family. It was quite the process to figure out how to display the potion bottles, which needed to be painted (or left clear), what label fit best onto each bottle, what potion looked best, and which embellishments added to the look and feel.
We used flat black spray paint to cover bottles with imperfections, and didn't paint “good” bottles, or those with aged patina that could show off intriguing "potions." If a bottle needed “aging," it was sprayed it with “frost” spray paint after it was decorated. I had some pieces of Harry Potter memorabilia I also wanted to incorporate into the arrangements, so I kept them close by to add as space turned up.
Working with my daughter-in-law, Brittany, we began by first setting up stations in my kitchen and outside. There were several:
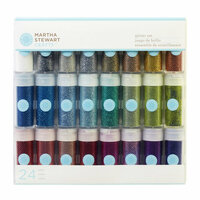
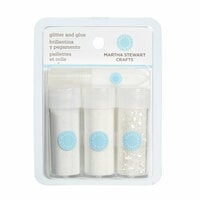
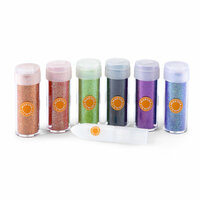
1- Potion mixing (at the sink with glitter, Perfect Pearls, fillers, bases, funnel, and mixing bowls)
2- Spray painting (outside)
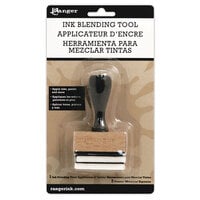
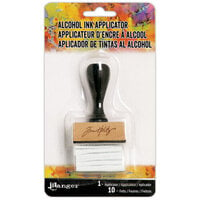
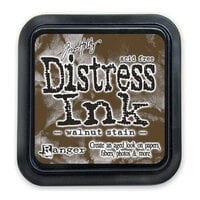
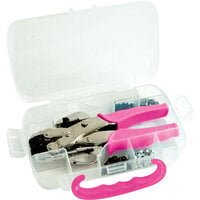
3. Inking and tools (on the counter next to the labels (ink pads, applicators, pliers, glue gun, glues, scissors, trimmer, eyelet setter, hammer, etc.)
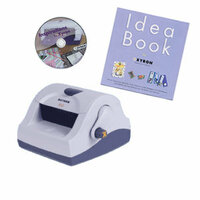
4. Label making (on a counter with a Xyron 5” sticker maker, and a manila file folder containing labels of purchased and free images from the Web)
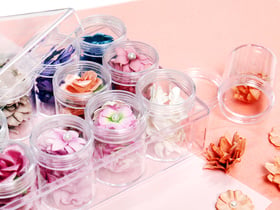
5. Embellishing (a few trays of trinkets, wire, eyelets, ribbons, fibers, etc.)
Step one was to decide on the label that best suited each bottle shape (we didn't stick it to the bottle yet). Then, we mixed the potion using water or corn syrup as the base. We found that corn syrup helps suspend glitter, Perfect Pearls and inks inside the bottles best. Who would have thought the best base for us would turn out to be something so simple. Next we attached the label to the bottle and finally we sealed the bottle and embellished it.
Of course, the process took longer than we expected, but the results were spectacular and worth it!
Here are two of many pictures taken by professional photographer, Merek Davis, my son. The first arrangement sits on my kitchen table and is on a tray so it's easier to remove when we eat. The second is on the piano in the living room by our bookcases. This space looks like Dumbledore’s mystical office, complete with a wand, candles (battery operated), chess pieces and goblet of his favorite lemon drops.


Below are some of the products I needed to complete this DIY Halloween masterpiece.