


See the complete list of products and supplies at the bottom of this post.
three tips for creating bulk cards:
- Create an assembly line for easy production
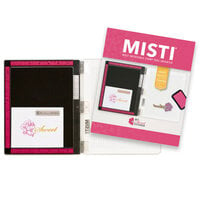
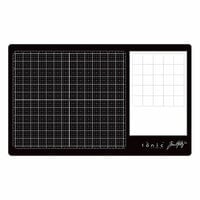
- Use a stamping tool, press, or platform like the MISTI
- Keep your designs and techniques simple
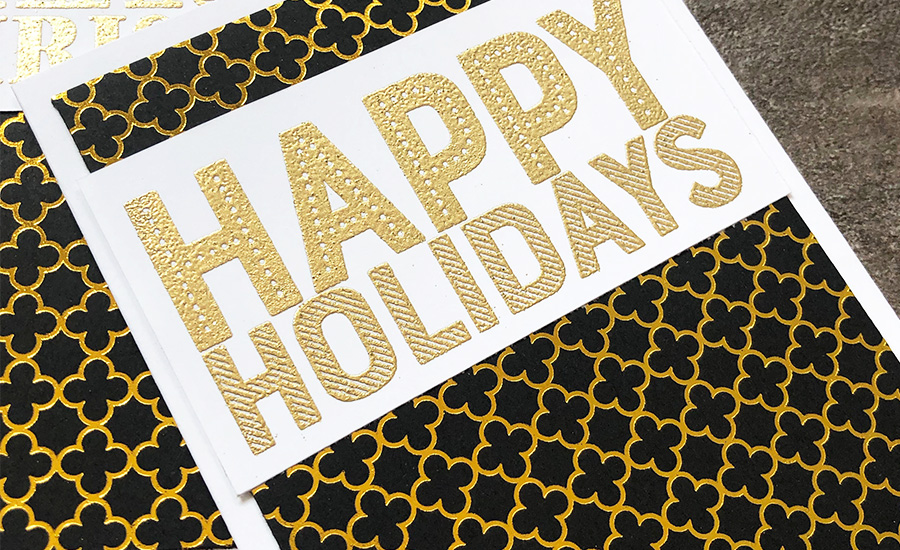
 For my cards today, I chose to create Christmas cards using the brand new stamps from Scrapbook.com. I chose two big and bold sentiments for my cards - Happy Holidays and Merry Christmas. I love these sentiment stamps because they are large enough to be the only focal point you need for simple, beautiful cards.
Set Up Your Assembly Line
Use a stamping tool
Keep Your Designs Simple
 Create Your Handmade Cards in Bulk
- Start by folding all your card bases. Use your favorite trimmer to cut the cardstock into 8.5" by 5.5" rectangles, then score down the middle at the 4.25" mark. You can also make this process even easier by starting out with the Scrapbook.com prescored A2 size cards.
- Next, take your patterned paper and cut card fronts in 4" x 5.25" size.
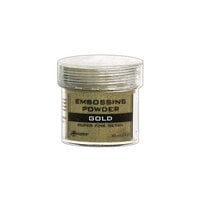
- Get your cardstock ready for embossing with a powder tool to avoid embossing powder sticking where you don't want it.
- Using some smooth cardstock and your stamp platform, stamp your sentiments in clear embossing ink and quickly sprinkle with embossing powder. Remove the excess powder from the stamped sentiment and set each aside. Be careful not to stack these on top of each other, or the embossing powder will shift before you heat set it.
- While protecting your work surface (and your hands!), use a heat tool to melt all the embossing powder into a beautiful, shiny sentiment.
- Once your sentiments are set and cooled, trim down the embossed sentiments to the edge of the embossing.
- Using a permanent adhesive roller, first, glue down all of the patterned paper card fronts to the card bases. After that's done, adhere all the embossed sentiments to the top center of the patterned paper.
- Sit back and admire your handiwork before delivering handmade holiday cards to everyone on your list!
 A Couple Helpful Reminders
I can't stress enough how beneficial a stamping tool is for this process. Using my MISTI, I was able to stamp two sentiments at a time with every impression. This cut my stamping time in half. Not only did this save time, but I didn't have to worry about crooked sentiments, readjusting, not stamping with enough ink, etc. So practical!
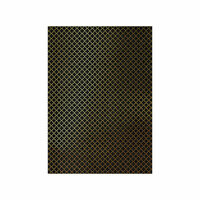
For a little extra WOW factor, try matching your patterned paper to the color or tone of the embossing powder you use. In my cards, I used gold embossing powder to match the fun gold patterns in the paper. It really added an extra layer of shine for beautiful Christmas cards.
Be sure to also check out this helpful step-by-step video that shows each part of the bulk card making process:
I hope you enjoyed today's tutorial and you learned some helpful, inspiring tips about bulk stamping and card making.
Remember to share your holiday cards in the Scrapbook.com gallery to inspire others and show us all some beautiful, simple designs that will make amazing bulk Christmas cards!