Stickles and Nuvo Drops are amazing products for adding a fun touch to all your projects. From embellishments and fun details to focal points and finishing touches, these liquid accents are a must-have for any crafter.
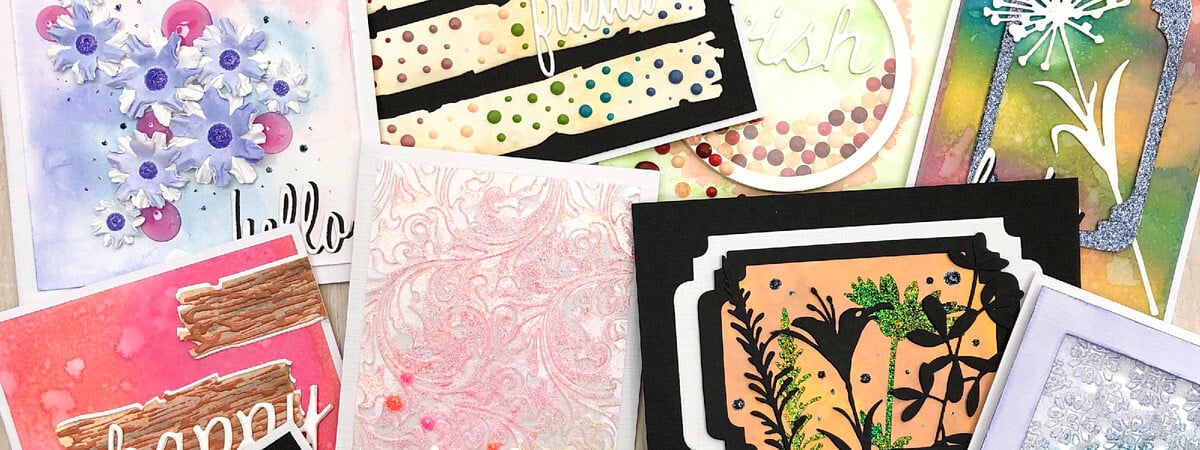
In this eye-opening walkthrough, we're going to explore 10 unique, exciting ways to use Ranger Stickles and Tonic Nuvo Drops - let's get started!
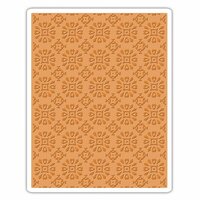
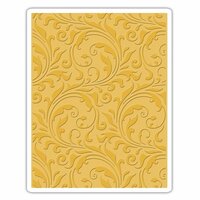
1. Use Stickles With Embossing Folders
 For this technique I used a clear piece of acetate, an embossing folder and Stickles in a few of my favourite colours. I put the acetate sheet in the embossing folder and ran it through my die cutting machine.
 While you can choose either the embossed or de-bossed side (the choice is yours), I used the side with the most de-bossed areas to fill with Stickles in Sunburst, Hibiscus and Grapefruit.
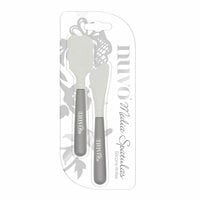
 Then I use the media spatula to spread and swipe over the acetate to cover the whole piece with Stickles. Once all areas were covered, I set it aside to dry.
 While my first piece was drying, I chose another embossing folder and repeated the process with Stickles in Mermaid Tail, Palm Leaf and Cayman.
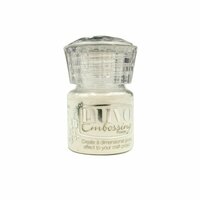
 To finish the first card, I added some of the same colour Stickles to the back of the acetate to use as an adhesive for my card base. I die cut and heat embossed the sentiments with some white embossing powder and adhered them onto the cards. I finished with a few drops of Stickles in the same colours used for the backgrounds.

2. Make a Faux Shaker Card With Nuvo Drops
 Shaker cards are a favourite for lots of crafters, so here I want to show you how to build a faux shaker card with both Stickles and Nuvo Drops. The best thing about this technique is that you can make this card over and over with all different colours or themes.
I started with pre-making drops on a piece of non-stick material so that I could easily peel them off. You can also do this on your favourite non-stick craft sheet. I set my drops aside to dry.
 Then I started applying the dried drops to a watercoloured circle, using the same colour as the drops to adhere them down. Because the drops are already made and dry, it's easy to line them up next to each other and not have them run together.
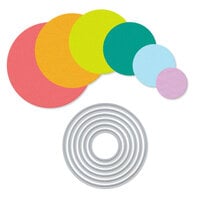
 I cut an open circle frame shape with two circle dies out of cardstock and added a circular piece of acetate to the back of the open circle. When all drops were in place I put the open circle with the acetate on top with foam tape on the back for extra dimension. I now have my "faux-shaker" circle with my dots ready to add to my card.
 I added the faux shaker to a matching green and pink watercoloured card.
 Then I added some more drops in the corner and on the edge of the shaker as a fun detail. These Stickles and Nuvo dots may not shake around, but the end result is a really fun card!

3. Blend Vintage Drops for a Beautiful Background
 For this card, I'm going to show you how to create a beautiful but messy mixed media background using Nuvo Drops. For this technique, I am using the muted colour palette found in the Vintage Drops along with a media spatula.
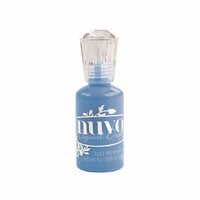
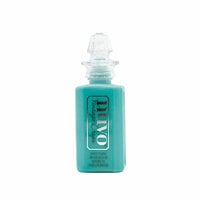
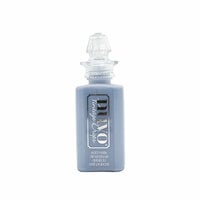
 On a piece of linen textured cardstock, I added some splotches of Vintage Drops in a diagonal stripe, all right next to each other. I went with Pioneer Green, Bohemian Teal, and Bonnie Blue.
 Before the drops started to dry, I began swiping the drops from left to right, holding the spatula at an angle on the card. I kept swiping until the drops were divided over the card with some cool blending and overlapping. I then set it aside to dry.
 While it was drying, I made a card front with Distress Oxide in Peacock Feathers and a blending tool. I also die cut a fun sentiment. Once everything was dry, I mounted the blue card front onto a white linen card base, and then mounted the Nuvo panel on top with some foam tape. After I put the sentiment on the card, I finished it with some big, fun Nuvo Drops in the same colour palette.

4. Create a Peek-A-Boo Stickles Scene
 This technique is a bit of a mix between a Stickles background and a pop of sparkle. To start, I took a piece of black linen cardstock and applied some swipes of bright Stickles from edge to edge. I set it aside to dry.
 I coloured a piece of smooth cardstock with a Distress Oxide Spray in Fossilized Amber and then ran that piece through my die cutting machine to cut out some flower shapes. I then placed the sparkly Stickles-covered cardstock behind my amber-coloured piece so that the cut-outs now showed sparkles!
 I then proceeded to die cut a couple frame pieces and some more flowers to create a scene. The background Stickles really makes this project pop!

Tip: Stickles colours can look very different on a piece of black cardstock. Test out your colour choices on a piece of scrap cardstock to ensure you like the final look.
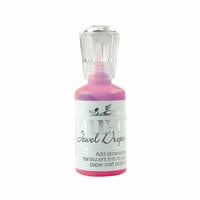
5. DIY Shiny Pebbles with Jewel Drops
 Why add drops when you can make big, beautiful pebbles? Creating glass-like pebbles is a great way to get the perfect size accents for whatever project you're working on. I'll show you how easy it is to add these fun details.
I start by pre-making Nuvo Jewel Drops on a piece of non-stick material. Since we are looking to make these bigger than normal, it's important to keep the tip straight above the drop so that it stays round. They will self-level and flatten out a bit as they dry. Since these drops are quite large, I gave them two full days to dry.
 Once they are dry, they are pretty flexible and easily slide right off the non-stick material. I added these beautiful pink pebbles to a Distress Oxide coloured card featuring swirls of lilac, blue, and light pink and fun dimensional flowers.

Tip: Jewel Drops are the best for making beautiful pebbles because they dry clear and translucent. The Nuvo Crystal Drop in Morning Dew is the perfect clear colour for creating water droplet effects.
6. Create Colourful Ombre Effects with Stickles

This technique is incredibly simple and really adds a wow factor to projects. To start, I die cut some flowers out of some cardstock that I coloured in a beautiful amber tone. Once it was cut, I used Stickles in complementing colours to add fun, sparkly details to the flowers.
 To create a gorgeous ómbre effect, I used a darker shade at the base of the flowers, and a lighter shade towards the petals. I then set it aside to fully dry.
 I then die cut the same flowers in white cardstock to create dimension for my card. I took a piece of black cardstock and splattered it with some diluted gesso for a cool effect. I then adhered the two levels of die cut flowers.
 A simple die cut sentiment at the bottom finishes out this cute card.

7. Make a Vintage Rainbow With Vintage Drops
 I see so many bright, vibrant rainbows in projects so for this I wanted to try something a little different. For this card, I wanted to use the Vintage Drops to create a muted rainbow look.
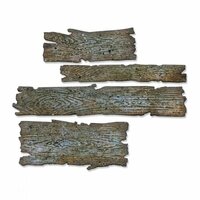
I started by die cutting plank shapes using a Tim Holtz Alterations die. I then coloured them with Antique Linen Distress Oxide ink for a rugged effect and set them against a piece of black cardstock.
 I added a fun, friendly sentiment and got out my Vintage Drops. In a diagonal pattern, I started applying the Postbox Red Vintage Drops in various sizes. From there, I went with Dusty Rose, Vanilla Milkshake, Pioneer Green, Bohemian Teal and Bonnie Blue, always varying the size of the drops.
 While the drops are shiny when first applied, then dry with a matte finish for a real vintage rainbow aesthetic.

8. Finish Your Cards With Fantastic Frames
 This is another very cool technique for utilizing the sparkle of Stickles. I started by cutting out a die cut frame a few times and gluing all of them together for great dimension. I then started adding a layer of Stickles to the die cut.
 I spread the Stickles around with my finger (you can also use a dauber) and allowed it to dry. Once fully dry, I added a second coat of Stickles for some real sparkle.
 The frame makes an exciting central element for a simple die cut flower against a distressed and coloured background.

9. Add Terrific Texture with Nuvo
 For this effect, I was looking to create faux woodgrain texture on a simple piece of die cut cardstock. I started by cutting out the plank die cuts and colouring them in with different hues of brown. I then chose the Nuvo Vintage Drops to create a matte textured woodgrain effect. Since this is a rugged look, the lines do not have to be perfect
 After they dried, I set the faux wood planks against a Picked Raspberry and Fired Brick background before finishing it off with a fun sentiment.

10. Connect the Dots With Nuvo Drops
 The last technique I have for you today is a fun one. It starts with drops and transforms those dots into fantastic and fun shapes. In this project, I started by watercolouring a piece of cardstock for a light blue base. I then started with adding Nuvo Drops.
 Using a craft pick, I started connecting the dots before they had a chance to dry.
 I did this in three separate locations on the card front, and then set it aside to fully dry.
 For this card, I decided to do some fun doodling with a black pen to form the flower shapes, drawing in the stems, and leaves, as well as a cute border. I finished off the card with a couple Vintage Drop accents.

Organizing Stickles and Nuvo

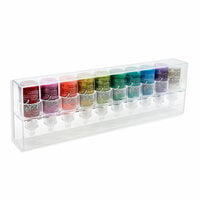
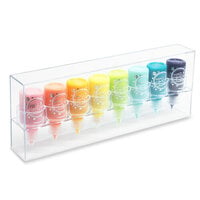
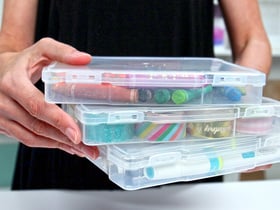
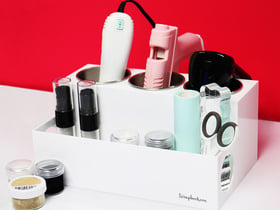
Besides being well stocked with the most wonderful craft products from various high-quality brands, Scrapbook.com is also known for their exclusive products and amazing storage systems. With all the Nuvo Drops and Stickles in my collection, the Scrapbook.com ColorCases are an absolute must-have for me to stay organized and ready to craft.
The best way to store Nuvo Drops and Stickles is upside-down so that you never get the dreaded air bubble that ruins your project. I could not have created all these wonderful Stickles and Nuvo projects without organizing all my supplies in the 1 oz and .5 oz ColorCases!

A huge thank you to Gerry for this detailed, in-depth tutorial on great uses for Nuvo and Stickles! If you've loved learning about these fun products and would like to read more, check out this wonderful post all about glitter glues!