

Spring Clearance Sale!
Save 75% or More on Clearance Items | Details Here.
Save 75% or More on Clearance Items | Details Here.


 Give a Cheer
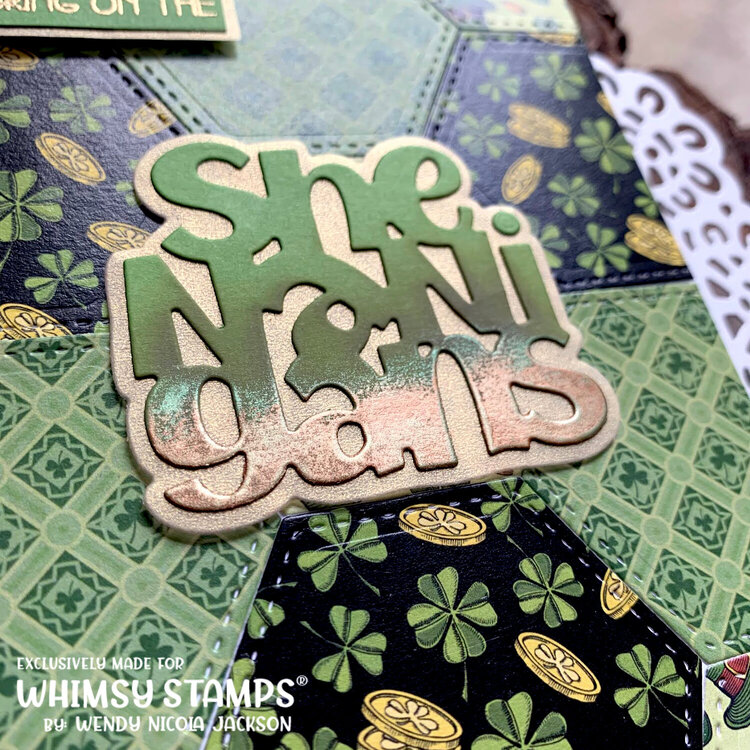
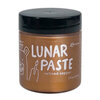
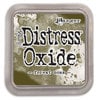
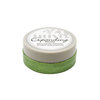
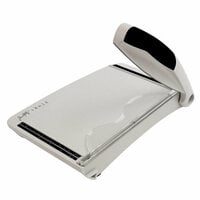
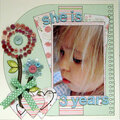
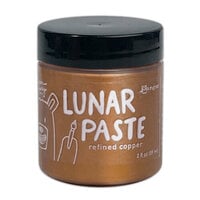
I started my project with a whole bunch of hexagons cut with the Nested Hexagon Die Set from Whimsy Stamps. The third smallest die was a good fit to create a fun patchwork style pattern for this card base. I used a top folding white notecard and glued the hexagons in the pattern I'd measured out. I used a T-Square ruler to line up where the first hexagon should go and laid out the pattern from there. I went with the darker tile under the word die, so it would anchor the design. I had initially thought the central tile which had fun leprechaun hats over it, would be a feature, but really wanted to use the word die and this was the best placement for it, so you only see a peek of the hat paper in the corners now. I diecut the Shenanigans Word Die, from Parsley Green Cardstock from Concord and 9th and then took a little Forest Moss Oxide ink and ink blended to about half way up the word die for an ombré effect. I then decided to add a little shine to the bottom quarter by adding some Bramley Apple Nuvo Mousse just with my finger tips. I didn't think the contrast was striking enough however, so I opted to add a little golden detail with some Ranger Lunar Paste in Refined Copper. I'm becoming quite a fan of these Lunar Pastes, they're lovely to work with. I just went over the Nuvo Mousse I'd already laid down with a little Lunar Paste on my finger tip and worked it over the other layer. It covered it beautifully and I felt one layer was enough. I like the uneven staggered edge finish too and you can just see a little hint of the Bramley Apple Nuvo Mousse I'd laid down first. I wanted the sentiment to read 'Bring on the Shenanigans'. So I found a sentiment strip in the Simple Sentiment Strips Clear Stamp Set from Whimsy Stamps. I used the Parsley Cardstock again to stamp the sentiment onto. I then pulled out some Pearled Gold Tonic Studios Craft Perfect Vellum Paper and trimmed a mat for the smaller sentiment and a shadow layer for the Shenanigans Word Die. I diecut the shenanigans word twice more from a thick copper coloured cardstock and adhered those two layers together with liquid glue then added them behind the vellum layer to lift the word die up off the paper a little for a fun dimensional shadow effect. I adhered the ink blended top layer directly over the vellum in line with the base layers already adhered, so no glue showed anywhere on the vellum. I gold embossed a little green shamrock I had in some very old bling in my stash to complete the strip sentiment. I used Brutus Monroe Gilded Embossing Powder to emboss the shamrock and adhered it with a glue dot. I tried adding some gold pearls and tried a couple of different sequins, but there's so much going on already with the different papers, that I felt in the end, it was better left without any extra bling.


Thanks for spreading positivity!


March 22, 2024